How To Restore A Self Healing Cutting Mat
Some of the links below are affiliate links. As an Amazon Associate I earn from qualifying purchases. This means that, at zero cost to you, I will earn an affiliate commission if you click through the link and finalize a purchase.
Are you looking at how to clean a self healing cutting mat?
I love my cutting mat, I would even go as far as saying it is my favourite tool within my sewing room. Like anything, it needs care and love so it can last longer and perform at its best.
They might be self healing but what happens when your mat gets fibres stuck in it, pen marks on it and just isn’t looking good. Don’t bother going out and paying a fortune for a new one, just clean up the one you have.
How To Clean A Self Healing Cutting Mat
Step One
You can do this in two different ways or combine the two for best results. There is no right or wrong way on how to clean a self healing cutting mat other than letting it dry bent.
Start by taking a long piece of tape folded over so you can put your hand through it. So it becomes a band around your fingers. Curl back your mat and start dapping your tape on.
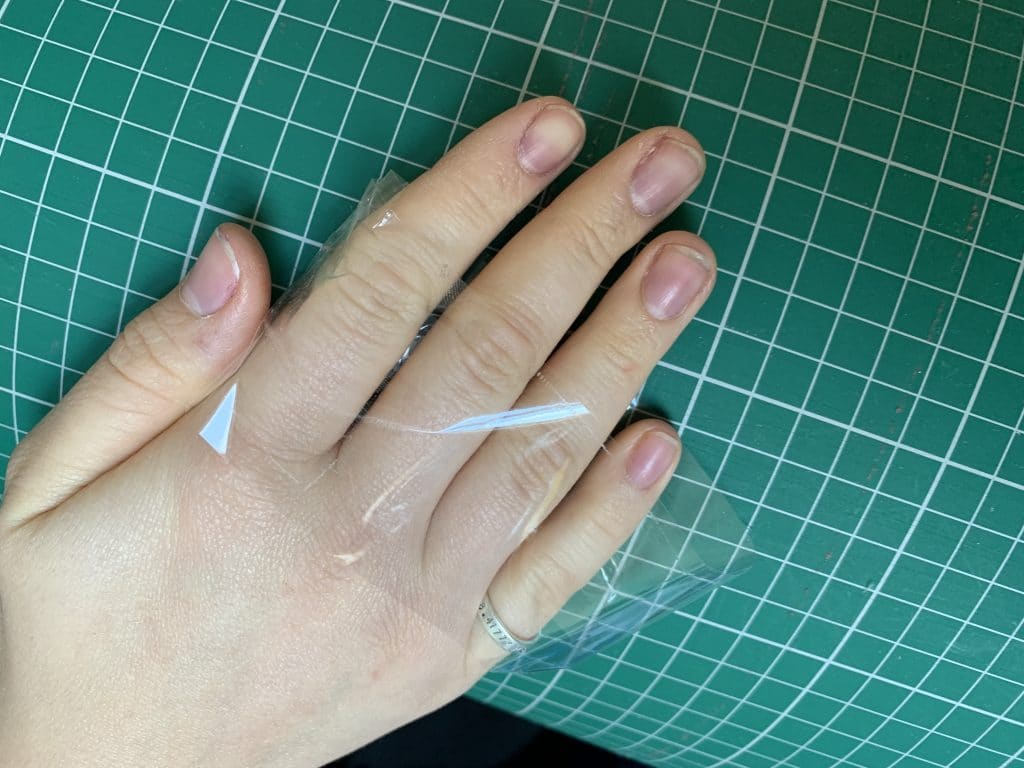
Bend the mat over your knee or on the edge of a table to help push out the stuck fibres. If you struggle try using a sweeping motion with the tape to encourage the fibres to leave the grooves.
Once you feel you have been able to get off as much of the dust, fibres and threads take your mat and gently scrub it.
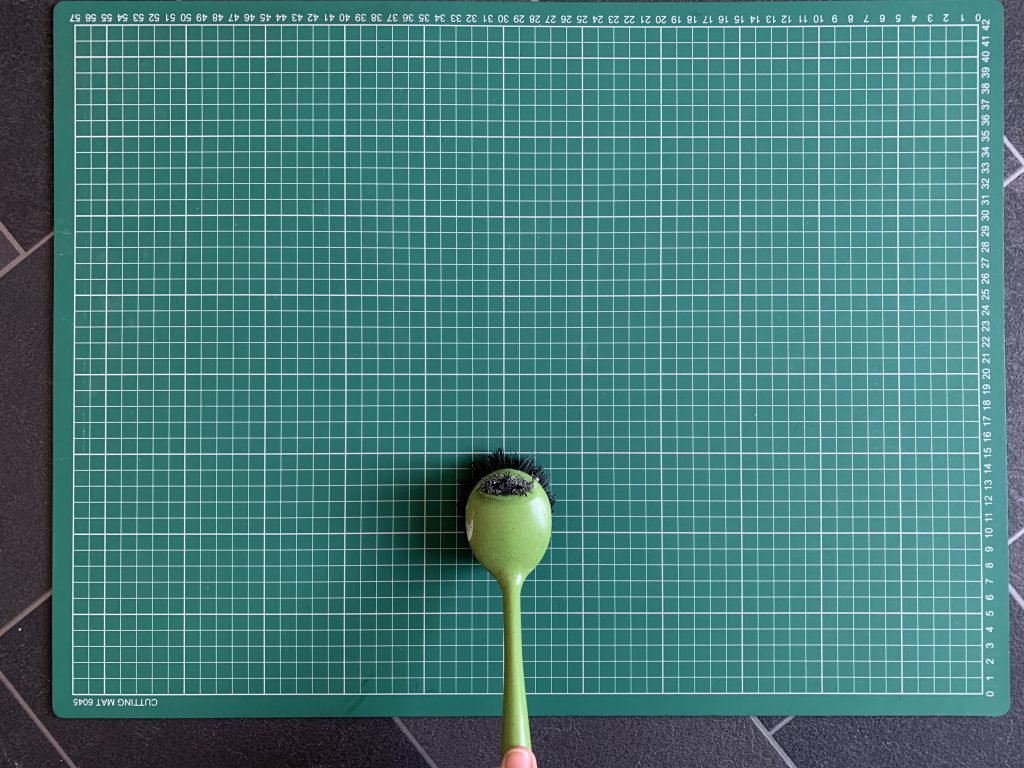
Use a fresh dish scrubber with the green touch side to work into the groves.
Tip: I used this dish brush to help the bristles get into the grooves and work out all the finer fibres and dust.
Step Two
Next step is to moisturise the mat. Using a bathtub or large container fill enough to cover the mat with cold water.
Tip: If like me you plan to use your bathtub make sure you have cleaned the tub out of dust, dirt and bath toys.
Add in a solution of 1/4 cup of vinegar to every 4.5 litres of water.

Tip: Don’t use hot or warm water as this will cause your mat to warp and bend making it very hard to get flat again.
Leave to soak for 15-20 minutes. I tried not to bend my mat too much while soaking as I was worried it would have a lasting effect. If you need to bend it a little, it is fine to do so, just make sure it dried flat.
Step Three
Add dish soap to the mat to help add moisture to the mat.
Using a different scrubber or brush, gently scrub and clean the mat using the water, vinegar and soap mixture.
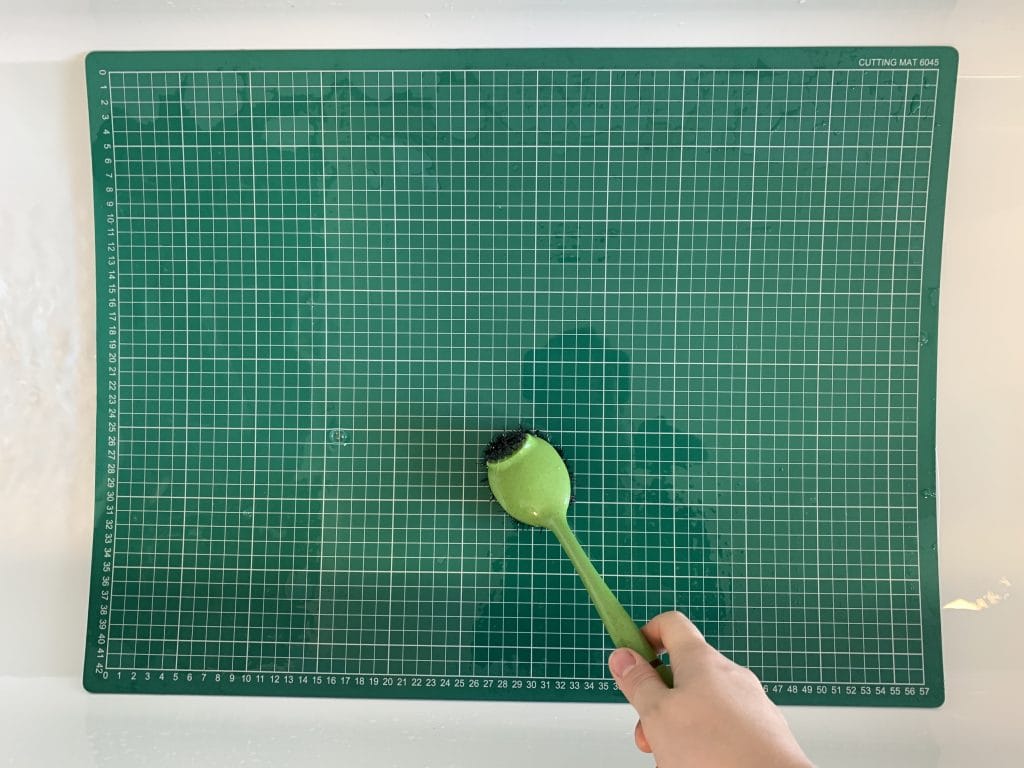
You want to make sure any of the remaining fibres and thread stuck in the mat come out, otherwise, your mat won’t be able to self heal properly.
Step Four
Once you are satisfied that the mat is clean and back to health take it out.
You can either leave it to dry on a flat surface or you can pat is try with a cotton towel.
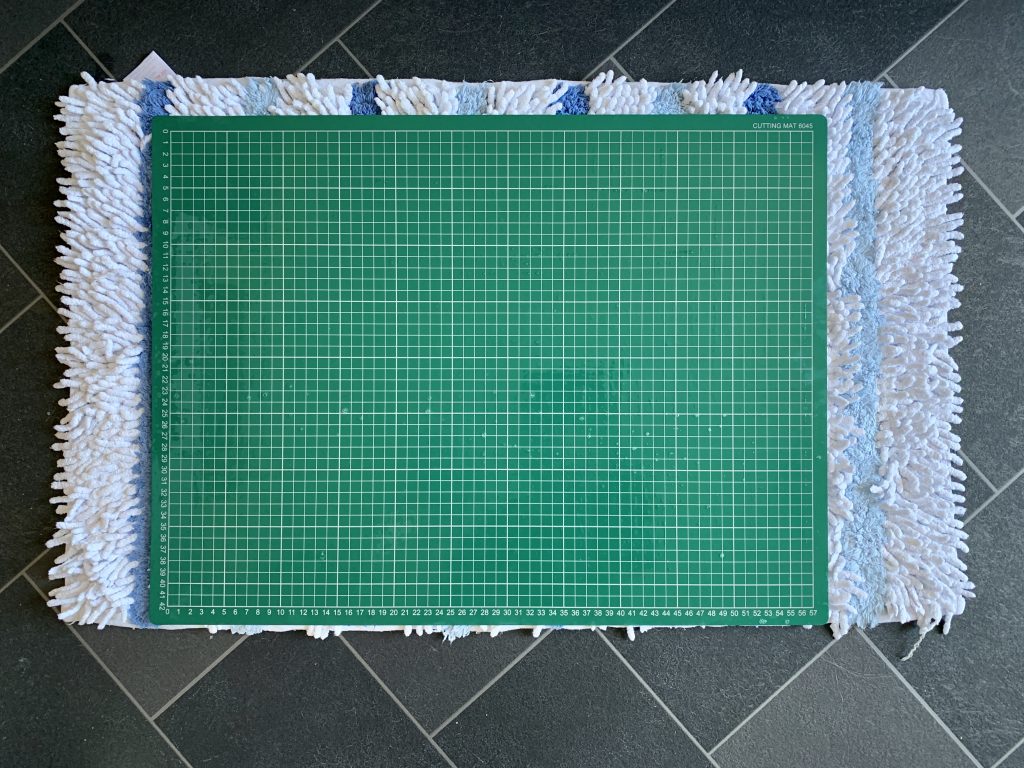
Tip: Make sure your mat is flat when drying otherwise it will dry bent and warp.
If you notice any of the edges curling or warping simply find a heavy book to hold down the problem areas. The added weight will help keep the mat flat while drying.
Once dry you can go back to using your beloved mat.
That is everything on how to clean a self-healing cutting mat. If you have used another technique you wish to share leave me a comment below. Alternatively, if you tried this technique I would love to know how you found it.

