6 Ways to Flatten a Warped Cutting Mat
Some of the links below are affiliate links. As an Amazon Associate I earn from qualifying purchases. This means that, at zero cost to you, I will earn an affiliate commission if you click through the link and finalize a purchase.
Have you got out your cutting mat to work on a project only to find that it’s warped?
This has happened to me several times over the years. However, thankfully, I’ve found that there are several ways you can fix a warped cutting mat quickly and easily, so you can get back to working on your craft projects.
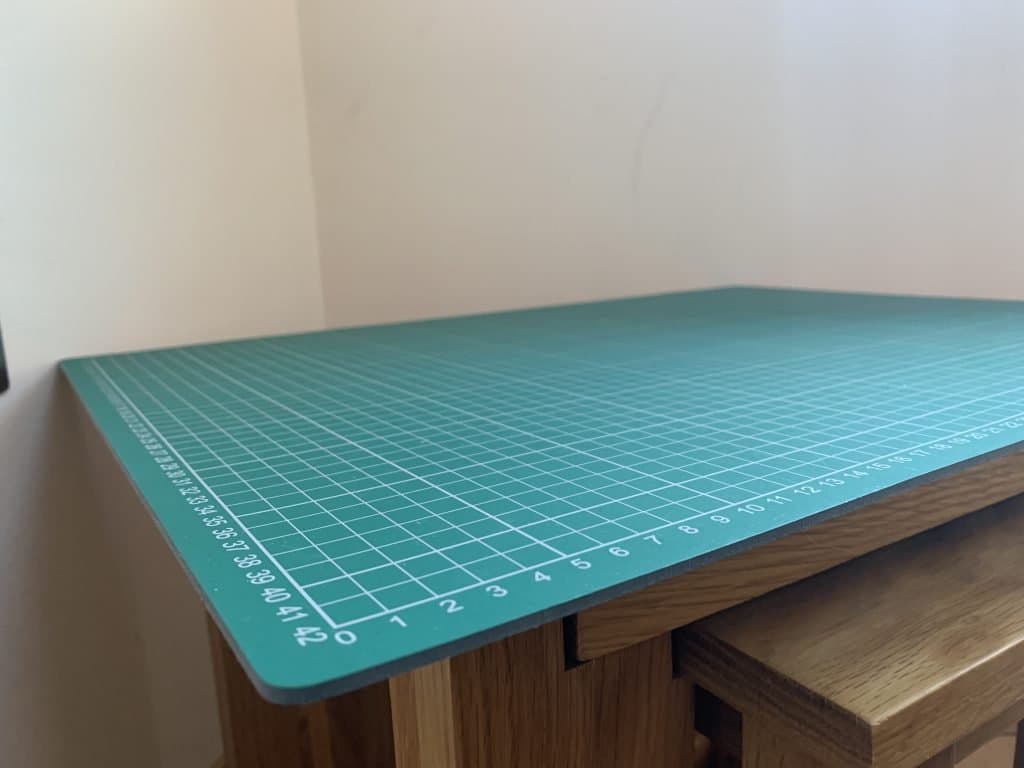
How To Flatten a Cutting Mat
There are several ways in which you can fix a warped cutting mat depending on how warped the cutting mat is, and the materials you have available.
1. Naturally on a Flat Surface
If your cutting mat has just a small curve then you may find it flattens on its own naturally when left open on a flat surface for a few hours, or even overnight.
Leaving your cutting mat to flatten naturally is the easiest method, and has the least amount of risk. However, it also only works in selected cases. As such if you find that leaving your cutting mat to flatten naturally doesn’t work, then you’ll want to begin exploring one of the other methods in this list.
2. Using Heavy Objects
If the first method didn’t work, or you don’t have the time to leave your warped cutting mat to flatten naturally, then you can speed up the process by using different heavy materials. These materials can include;
- A sewing machine
- Coverstitch machine
- Heavy books
- Unopened packs of paper
- Canned goods
- Bricks or wood
To fix a warped cutting mat using heavy objects, simply lay it out on a flat surface and then place the objects on top, ensuring the weights cover the entire mat. If you don’t want to damage your precious cutting mat then consider placing a thin blanket or piece of fabric over the cutting mat before adding the weights.
I recommend leaving your warped mat to flatten overnight using this process. Then, when you wake up the next morning, remove the weights and check to see if the mat has returned to a flat shape.
If your warped cutting mat has not returned to its original shape I recommend either repeating the process again, if you saw promising results the first time, or trying a different method instead.
3. Reverse Rolling
Another way to flatten a warped cutting mat is by reverse rolling. This process sees you roll the mat tightly in the opposite direction of the warp, securing it with rubber bands while also ensuring the mat roll stays tight.
You’ll want to leave your cutting mat in this position overnight. Then, the next morning I recommend unrolling your cutting mat and storing it flat with some weight on top for several more hours.
4. Ironing
Another way to flatter a warped cutting mat is by ironing it. However, to avoid damaging your cutting mat you’ll want to make sure you undertake this method correctly.
To begin, place your cutting mat flat on an ironing board or iron proof surface. Then go ahead and take a damp cloth or towel and place it over your cutting mat. You’ll then want to take your iron and set it to low heat.
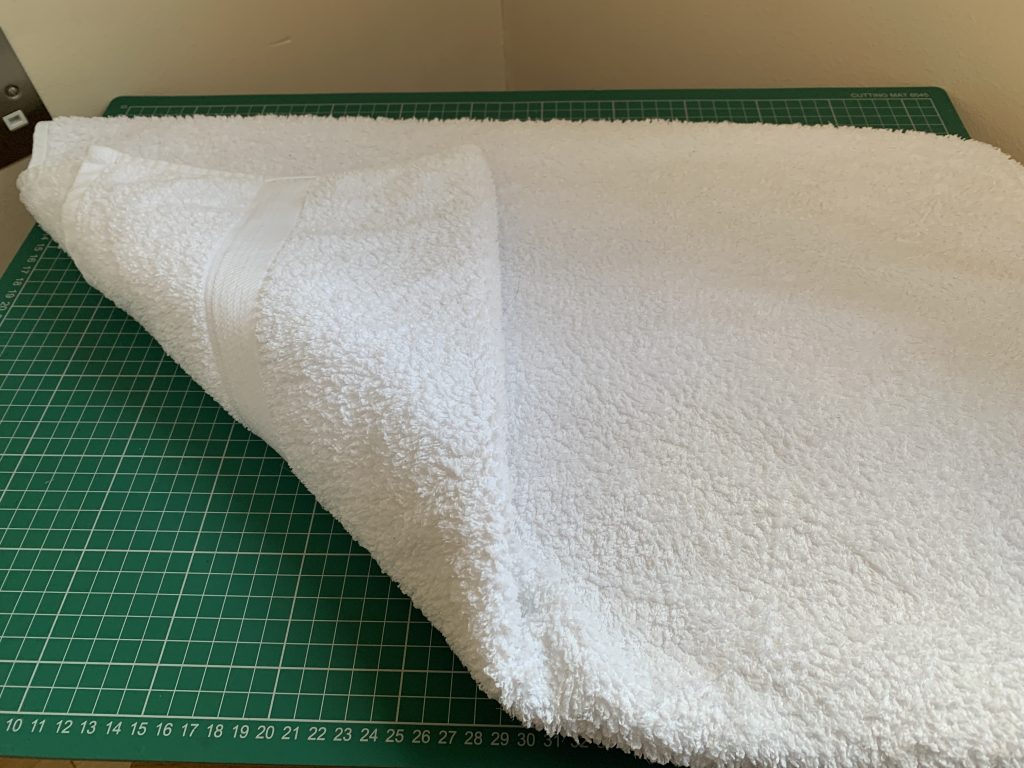
Then you’ll want to take your iron and press over the warped mat. The damp towel together with the iron will create steam which will inject heat into the curled cutting mat allowing the shape to move and reform.
You may need to repeat this process a couple of times to totally flatten your cutting mat. However, I recommend checking on the mat each time to ensure that you’re seeing progress and not causing any damage.
In some cases, you may find that the ironing works initially. However, it doesn’t totally flatten the cutting mat’s surface. If this occurs, I recommend going back to the second method of placing heavy items onto your cutting mat for several hours.
5. Hair Dryer
An alternative to ironing your cutting mat is using a hair dryer to apply heat to the warped area. To do this you’ll want to begin by cleaning your mat, ensuring it’s free from any debris.
Then you’ll want to go ahead and place the mat on a totally flat surface with the warped side facing up. Taking your hair dryer, you’ll then want to set it to either low or medium heat. Holding the hairdryer roughly 6″ to 12″ from the cutting mat, turn the hair dryer on and begin applying heat.
Be sure to move the hair dryer constantly in a back-and-forth motion, avoiding focusing on one area for too long. As the mat warms up and becomes more pliable, press down on the warped areas, or place a flat, heavy object on top of the curled area.
Continue applying heat for a few minutes at a time, allowing the mat to cool slightly in between, checking the flatness regularly.
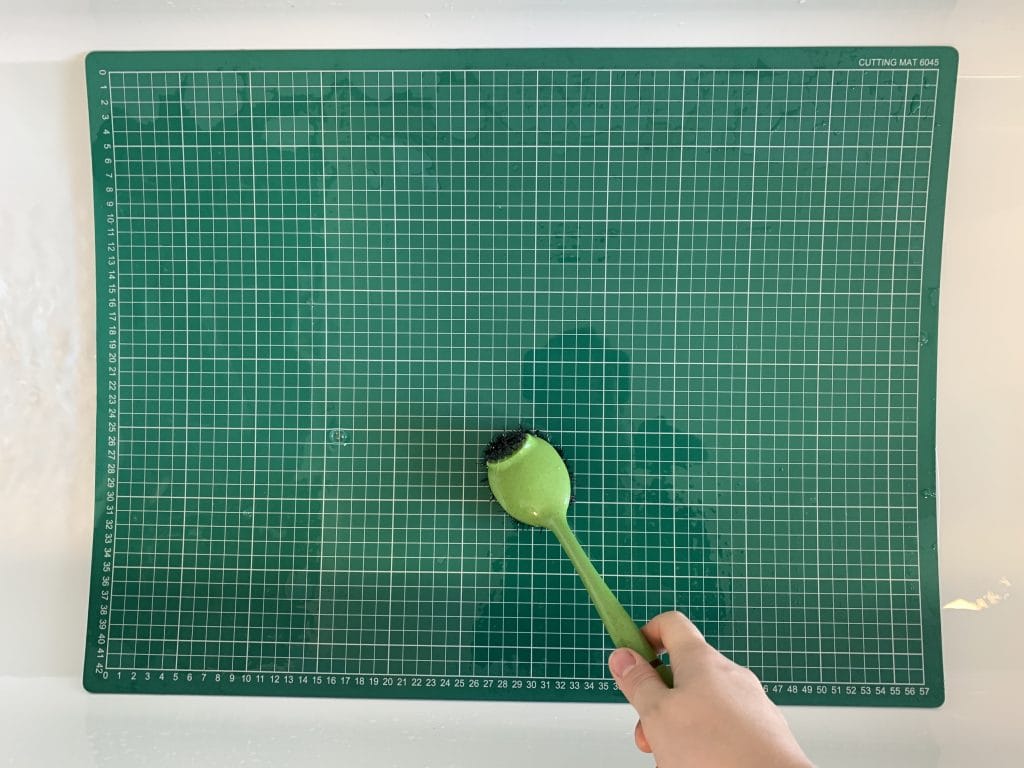
6. Washing
The last method in which you can attempt to flatten a warped cutting mat is by washing it. While many cutting mats are self-healing cutting mats, they still need a little TLC now and again and this can be a great time to do just that.
To begin restoring your self healing cutting mat, you’ll want to remove all the fibres and dust from your cutting mat using either a cloth or tape. Then you’ll want to go ahead and take either a large tub or your bathtub and fill it with warm water, vinegar and bath soap.
Completely submerge the mat in the water for about 20-30 minutes. You may have to place heavy objects on top to keep the cutting mat in place.
Once 20-30 minutes have passed, remove your cutting mat from the tub and gently wipe off any excess water. Then, take your cutting mat, lay it on a flat surface and allow it to air dry naturally.
Frequently Asked Questions
Have you still got questions about your cutting mat? Here are some of the most frequently asked questions people have.
Can I Iron on Top of a Cutting Mat
It is not recommended that you iron directly on top of your cutting mat since heat can damage cutting mats.
Instead, I recommend placing a protective layer such as a towel over your cutting mat before ironing on top of it. You’ll also want to use a low heat, keep the iron moving and regularly check on your cutting mat to prevent any overheating or damage.
Can You Bend a Cutting Mat
Yes, you can easily bend a cutting mat temporarily. However, frequent or severe bending may lead to permanent warping or damage. As such it’s recommended that you store the cutting mat flat to allow it to maintain its shape.
When Should You Replace Self Healing Cutting Mats?
Self healing cutting mats can last years if not decades depending on how they are stored and how frequently they are used. Signs that your cutting mat is ready to be replaced include;
- Cuts made on the mat are no longer closing or healing naturally, leaving visible groves that interfere with the cutting process.
- The mat is warped or distorted to a degree that it no longer lays flat, hampering your ability to make accurate cuts.
- The surface has become rough, pitted, or otherwise degraded, affecting the usability of the mat.
- The printed grid lines or measurements have worn off or are no longer visible, affecting the accuracy of your work.
If you’re looking to invest in a new cutting mat, I recommend reading my guides on the best cutting mats for dressmaking and the best cutting mats for quilting.