
How To Cut Binding For A Quilt
Some of the links below are affiliate links. As an Amazon Associate I earn from qualifying purchases. This means that, at zero cost to you, I will earn an affiliate commission if you click through the link and finalize a purchase.
Are you looking at how to cut binding for a quilt?
I thought binding the quilt would be the easiest part but in fact, for me, it was the hardest. It all came down to how the binding was cut and laid out for me. Once I got this technical part in place it was smooth binding from then out.
To create a strong binding you can create a double layer called double-fold binding.
During washing and general wear and tear your binding can become worn and the grains within the fabric can become loose.
A lengthwise grain is a straight grain runs down the fabric. If one of these grains within the fabric are caught or becomes loose this can cause damage down the entire side binding of the quilt.
A cross-grain binding is a better choice for a quilt as the grain isn’t as straight so there is less risk that a split in the grain would create a bigger split along the binding edge.
Tip: Store bought binding isn’t the right fabric or strength for homemade quilts.
It will disintegrate and fall apart easily when washed and used.
Crossgrain binding strips are easier to work with as they are more flexible and can move around corners. The grain works on an angle so that the risk of damage wouldn’t continue on the rest of the binding.
How Wide To Cut Quilt Binding?
The quilt binding needs to be wide enough to sew 1/4 inch seam with movement to pull over and cover the raw edge and fold under 1/4 inch again.
Your binding should be anything from 2 – 2 1/2 inches wide. Using a 1/4 inch seam along the way around the edge.
You can cut a wider binding if you wanted to add a larger width around the edge.
The required length of the quilt binding
How To Cut Binding For A Quilt
The best way to create a successful binding for a quilt you will want to cut the fabric on the bias.
To create a bias binding you can follow my easy steps here.
You can use the same fabric throughout your binding or piece together scraps.
Or you can follow the steps below…
Step One
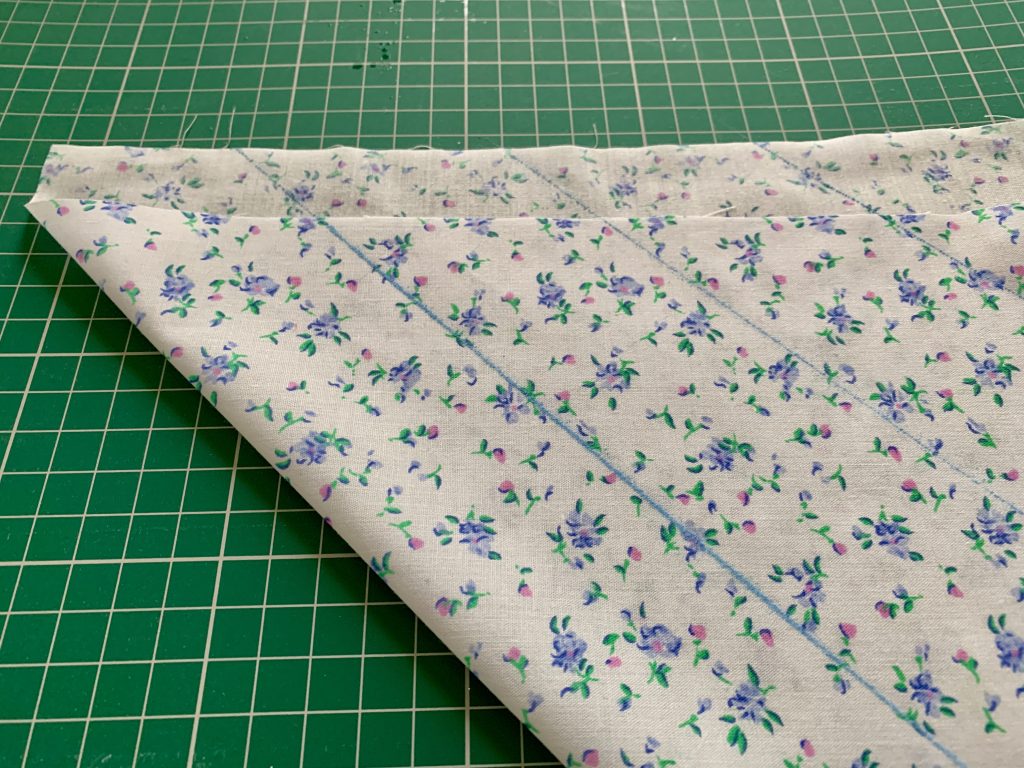
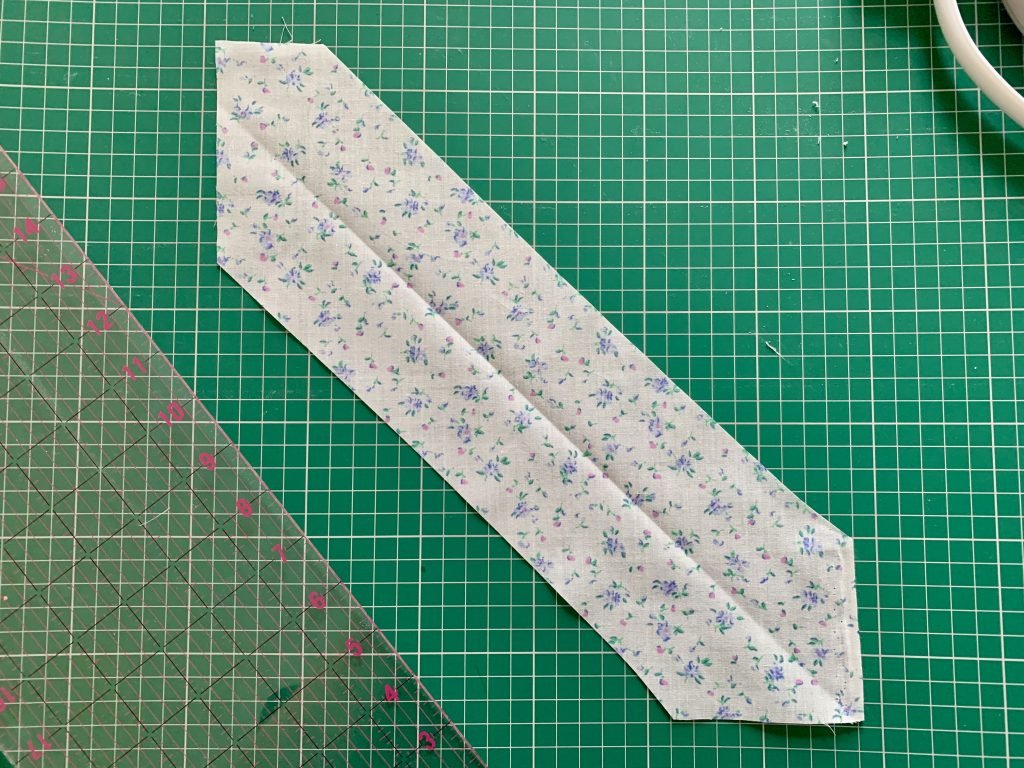
To start to lay your fabric on your surface, either side down as this doesn’t matter right now. Fold over the corner from one side over on a diagonal to create a triangle.

Your fabric doesn’t have to be extremely neat on both sides but if you trim down at least one edge you can use that as a guide for making bias binding.
Tip: To get an accurate clean cut use a rotary cutter and self healing mats.
Buy Here – Fiskars Rotary Cutter
Buy Here – Rotating Self Healing Cutting Mat
Step Two
Following the edge of the fabric on the diagonal, measure your desired length of the bias. I wanted to create a finished bias of 1 inch so I cut bias strips of 2 inch wide.
You can alter your width depending on how thick you want to make your own bias binding. I chose 2 inches on how to make bias binding guide to show you in more detail the steps.
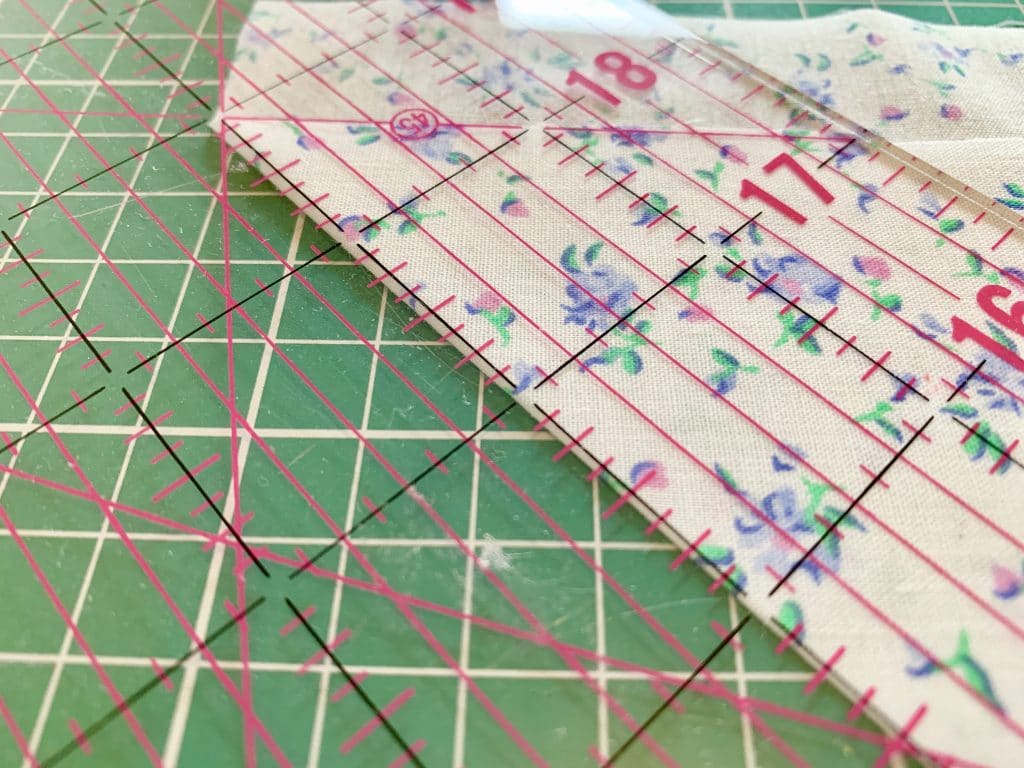
Measure along keeping your width at 2 inches, mark along with your chalk pen. Go over the lines joining up the lines with a ruler to create a solid line.
I found using a quilting ruler and lining up the edge of the fabric fold and using the 2-inch line on the ruler give you a really accurate and precise measurement. If you don’t have a quilting ruler measure along at intervals to create a line.
Step Three
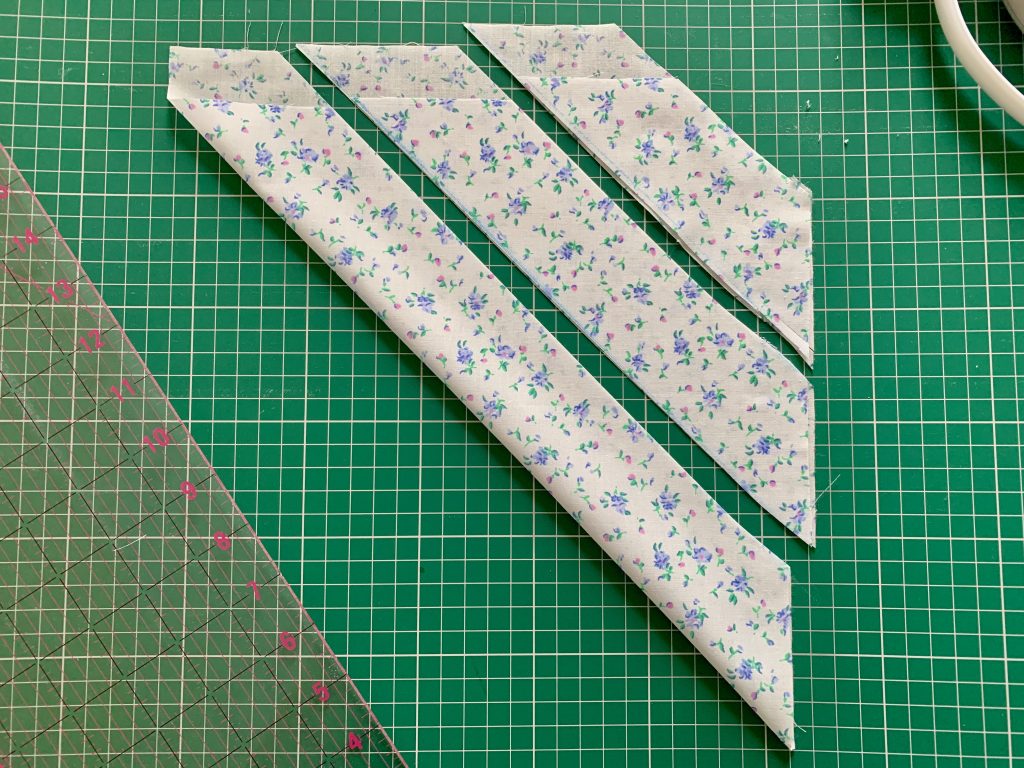
Cut along the line to create your strips of fabric. You will know that you have done this right as when you pull the fabric it will stretch and bounce back. You should end up with something very similar to the image below.
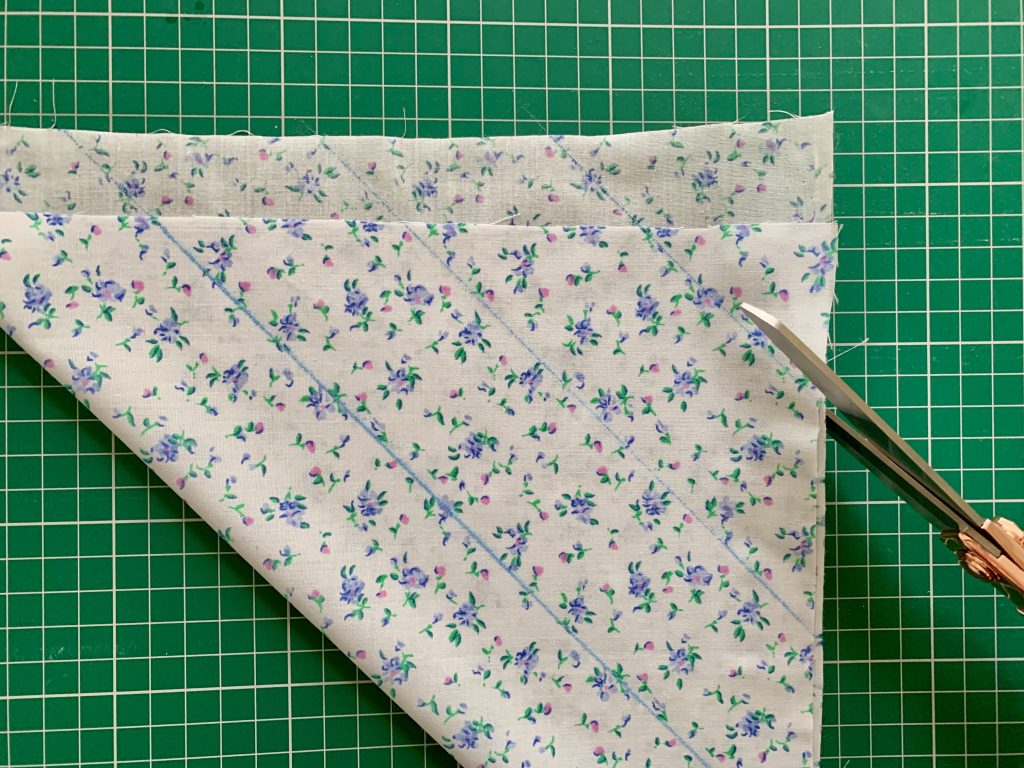
You can use scissors to cut the lines or you can use a rotary cutter with the quilting ruler to give you straight lines. The rotary cutter is also great for being easy to use creating fast and simple lines.
Step Four
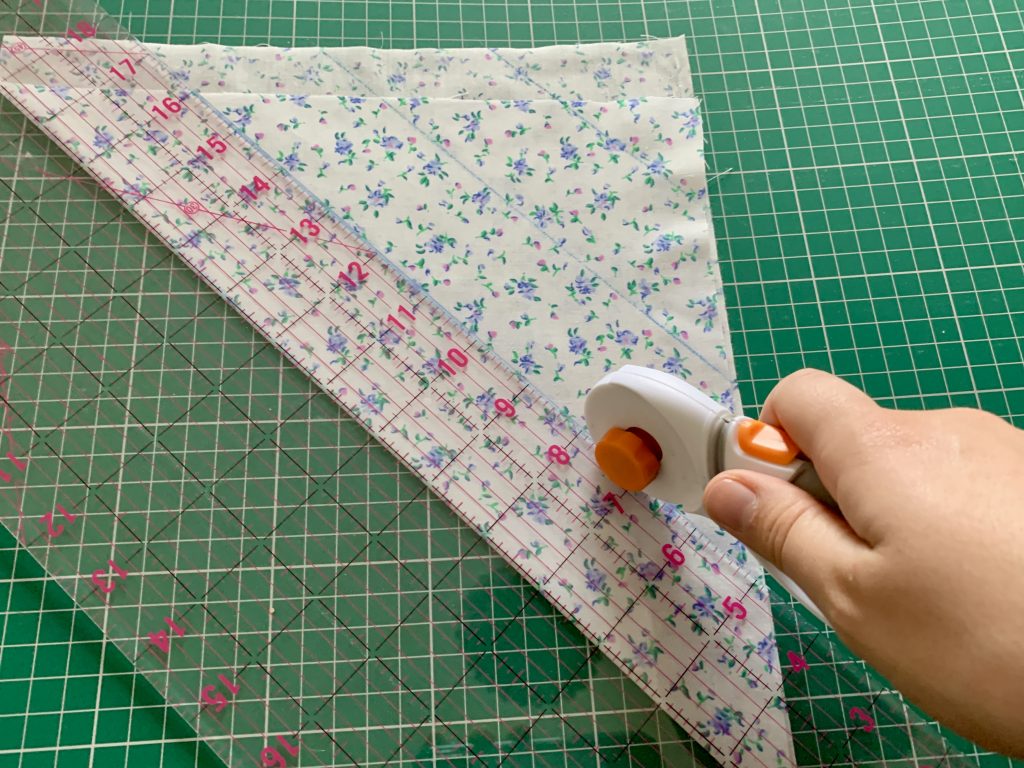
Now you have the individual strips you want to take the folded piece and cut it in half. You can do this the same way as you created the other strips using the chalk pen and scissors or with the rotary cutter and ruler.
Once you have all your strips, you need to join the strips together.
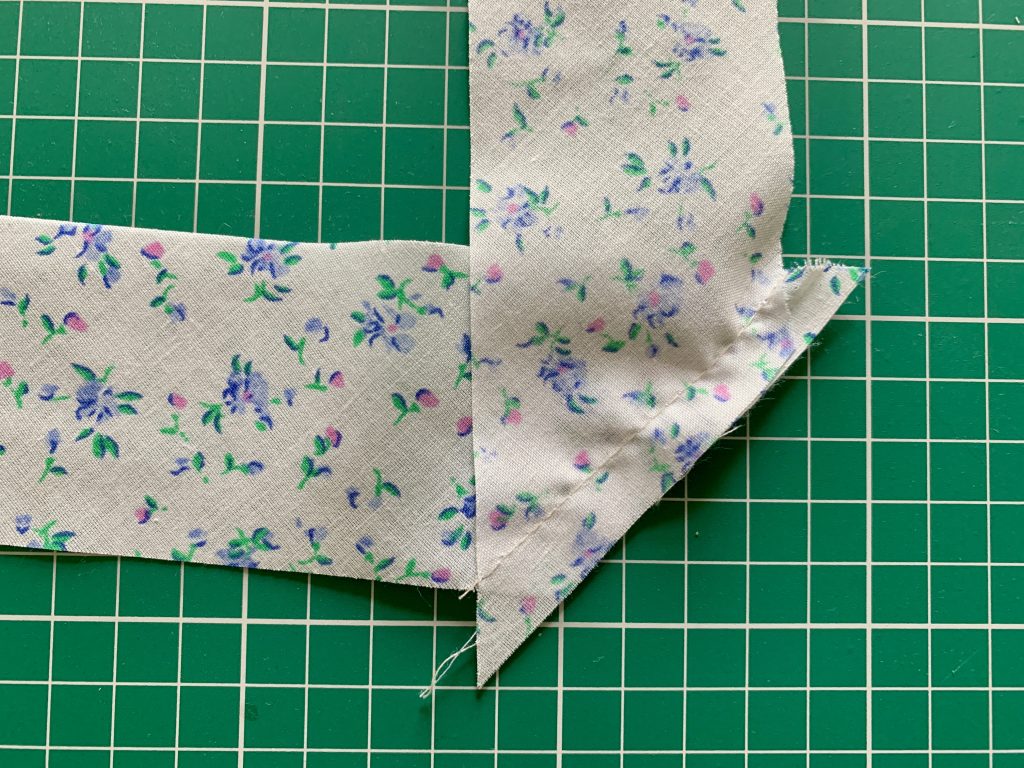
Lay your first piece down with the right side facing up. Lay your second piece over the top of the diagonal edge, when doing this make sure your fabric is right side down.
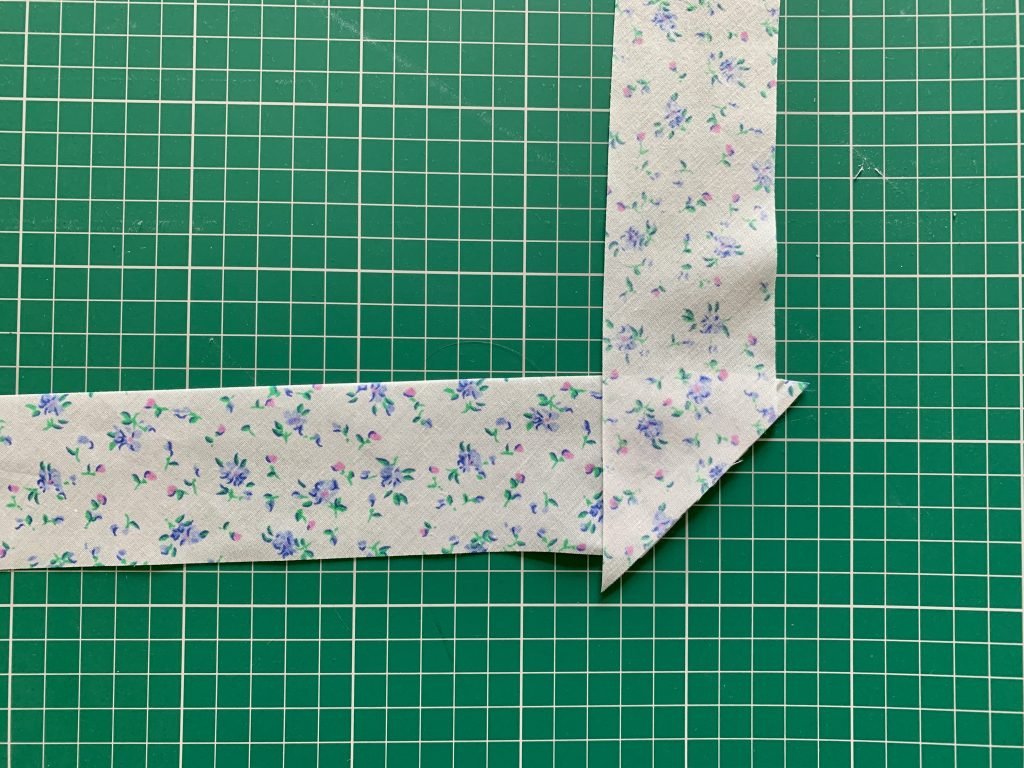
You want to create a right angle with the 2 pieces to look like an L-shape. You can pin this in place so you don’t loose the shape while you sew it into place.
Step Five
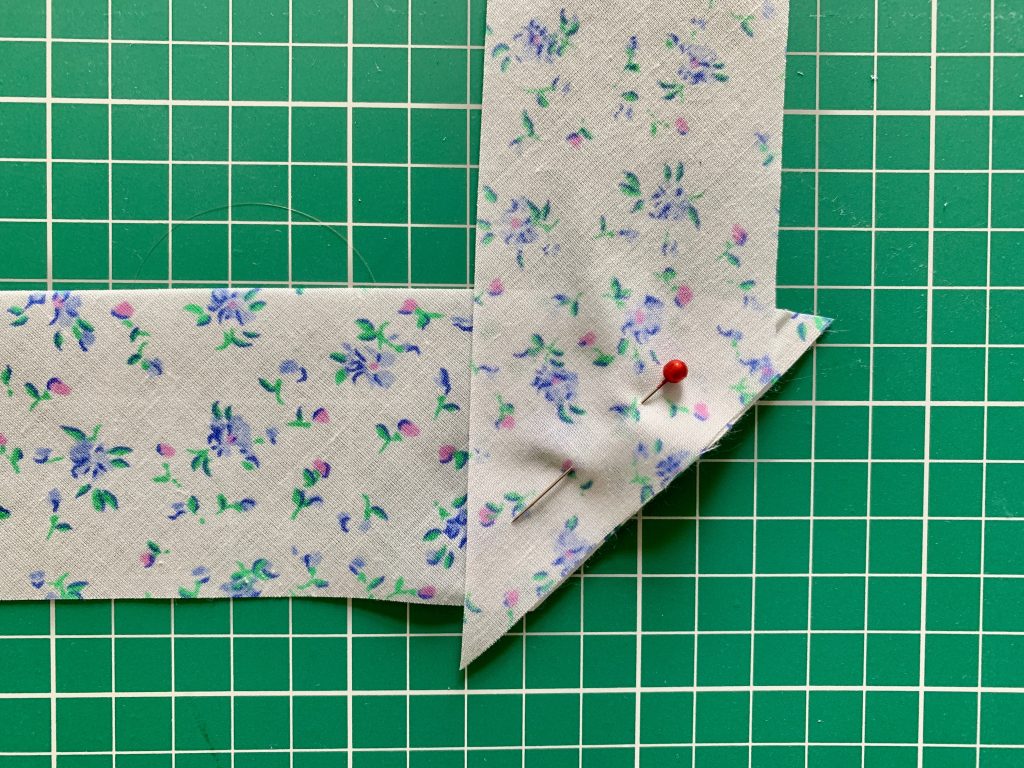
Once all your strips are connected and pinned together. To know that your strips are going to line up you can simply pull the top piece to create a line. If the line doesn’t continue to create a smooth strip you can adjust the position and re-pin into place.

This will get easier each time you place the corner together. If you pin on the line you are going to sew you will get an accurate line.
Step Six
Once all your strips are pinned into place, take to your sewing machine. Sew the strips together following the diagonal line of the pin and fabric edge.
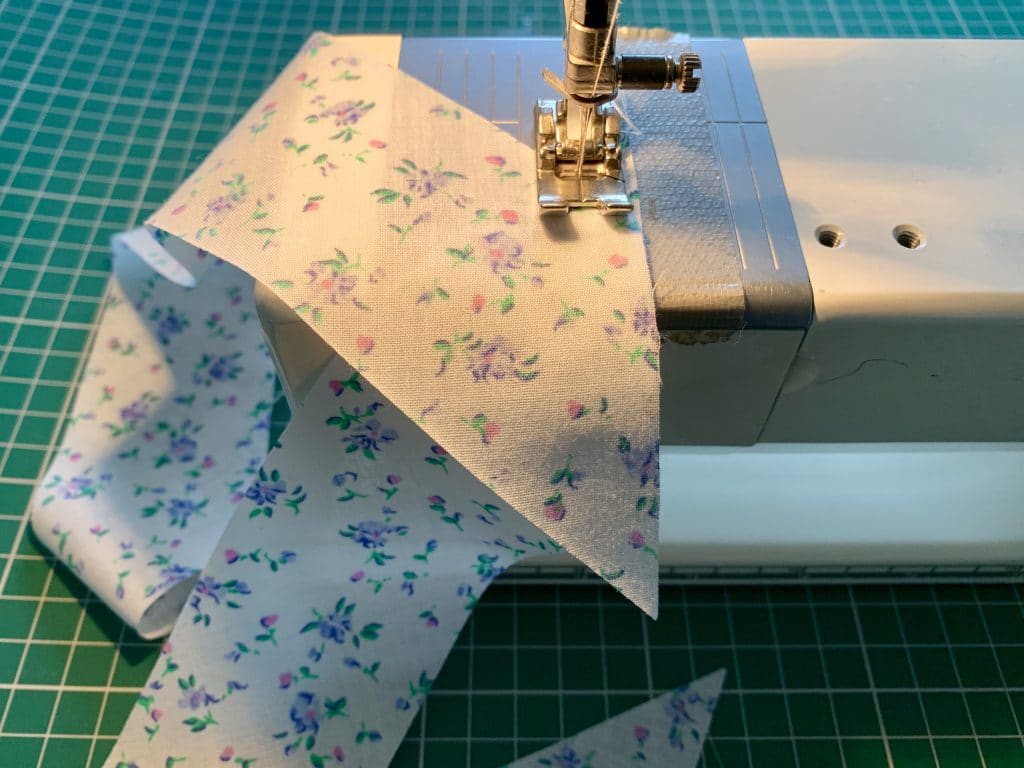
This is the finished seam, I would say to always use 1/4 inch seam as to give you plenty of fabric to work with. This will also keep the seam from fraying or coming apart.
Step Seven
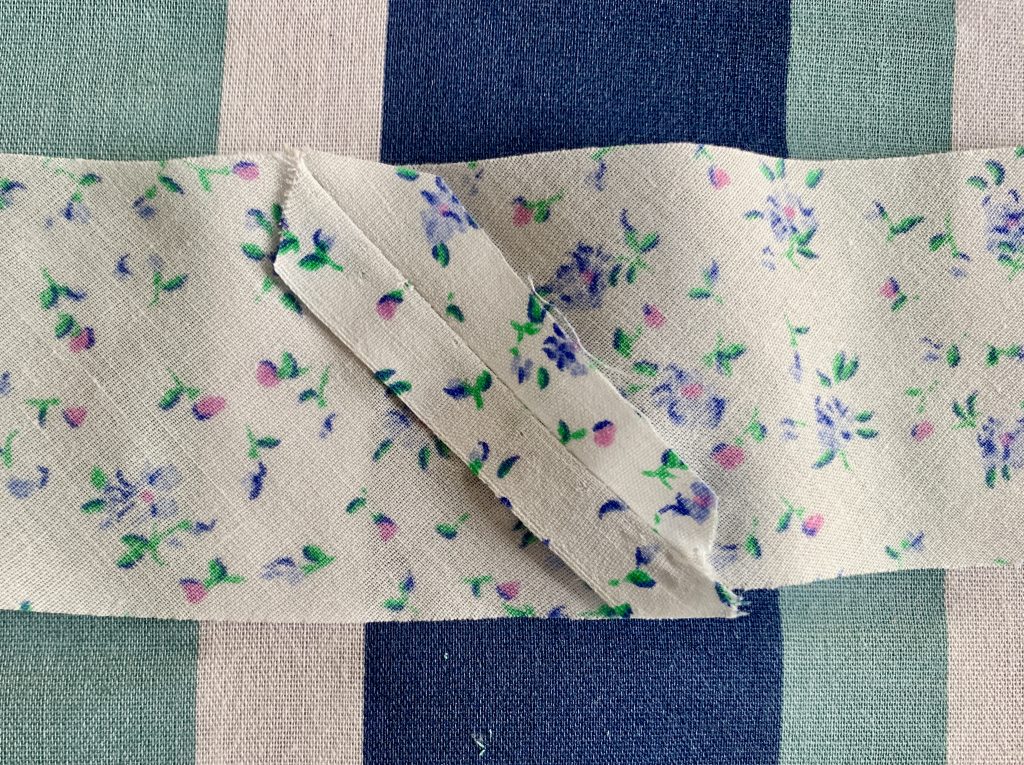
As the pieces are sewn together, take them to the ironing board. Press ope all the seams so that the bulk of the seam is spread out over the sides, this will help when using the bias mouse.

Another way to cut down the bulk on the seam is trimming the edges. In the image above you can see the overhand from the seam. Trim these down to create a continuous line on both sides.
Step Eight
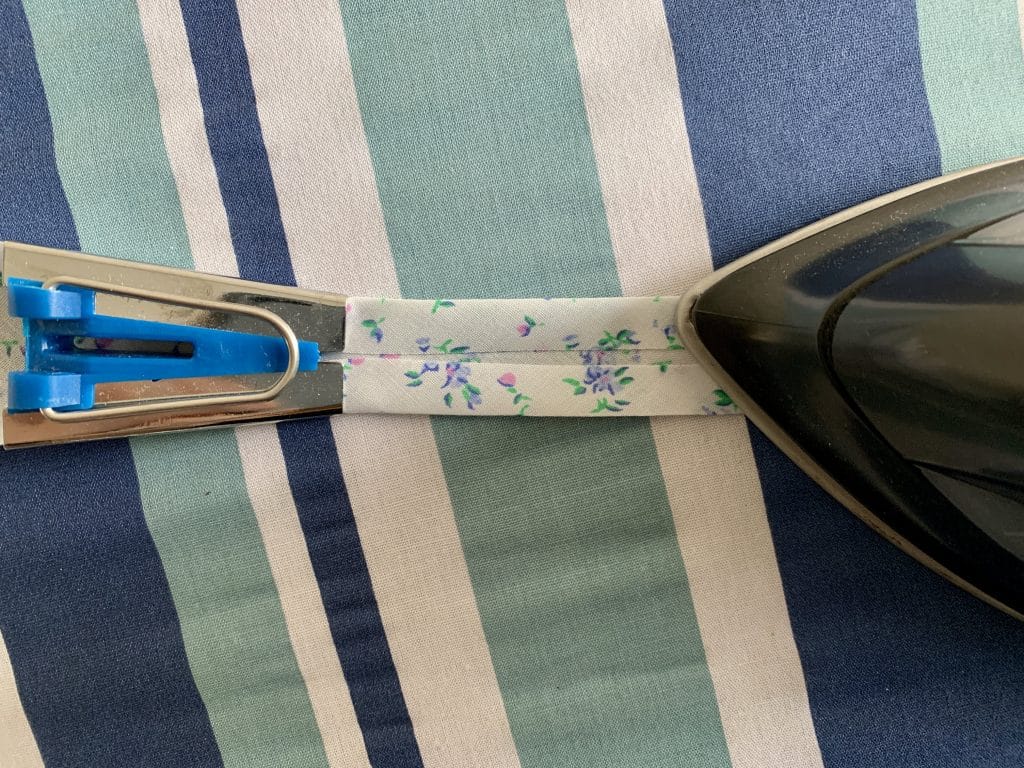
Thread one end of the bias binding into the bias mouse and pull through to create a short end. Keep pulling the fabric through the bias mouse to create the folds. If you get a little stuck try using some tweezers or an unpicker.
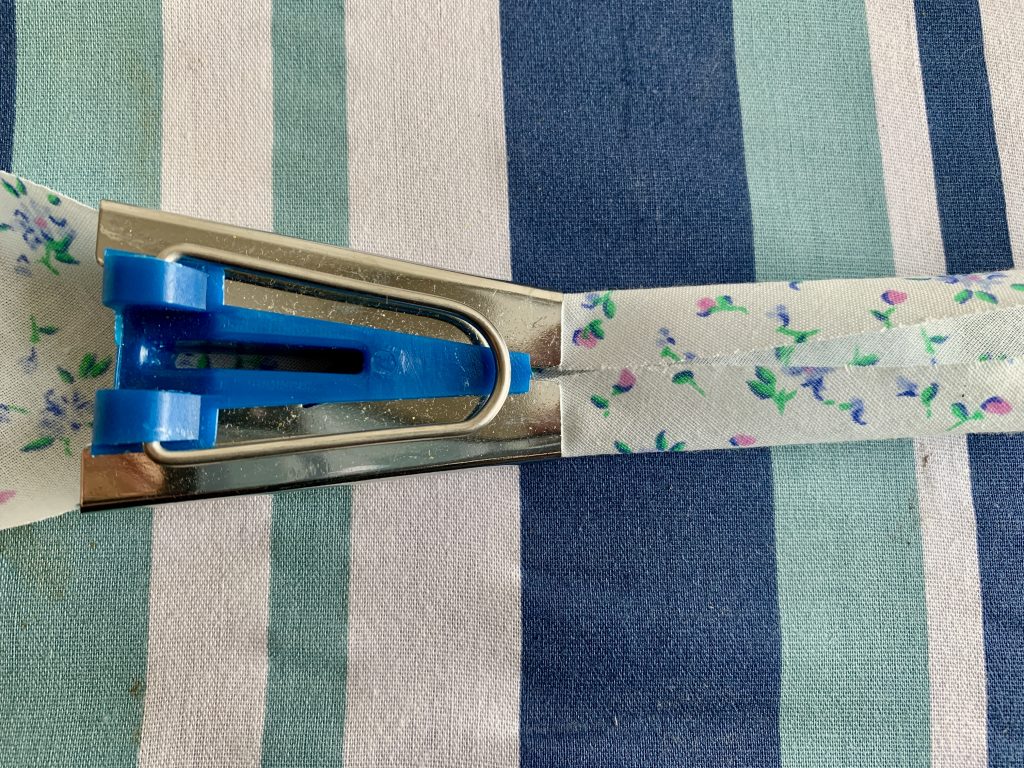
Once the fabric is in place, slowly pull the mouse backward. Press the iron on to the fabric to hold the fold into place. Keep pulling along and follow with your iron. Once you are at the end you are done and have created your bias binding.
I hope you have found this tutorial helpful and you feel more confident about how to cut binding for a quilt. If you have any handy tips please share them in the comments below.

