
How To Make A Lined Drawstring Bag
Some of the links below are affiliate links. As an Amazon Associate I earn from qualifying purchases. This means that, at zero cost to you, I will earn an affiliate commission if you click through the link and finalize a purchase.
Wondering how to make a drawstring bag with lining?
Drawstring bags are so fun to make and so easy and it feels so good to have the finished product. They are versatile and you can make them so personal for children, adults and even for games.
I love making them for the kids to hold little figures in, to create a portable sewing kit or just to store items in around the home.
Tools & Equipment
- Scissors & or Rotary Cutter
- Thread
- Fabric for lining
- Fabric for exterior
- String or ribbon
- Safety Pin
- Pins or Sewing Clips
How To Make A Drawstring Bag With Lining
You can make the drawstring bag in any size that suits it needs. Whether it is a pyjama bag, for figures or for holding a little sewing kit. They can be highly versatile and so practical which makes them all the more fun to make.
I made mine 7 inches by 8 inches which are a good size for medium objects such as little toys or a sewing kit. There are a couple of ways you can change the tutorial to suit your needs and sewing skills if need be.
Step One
The easiest part of how to make a drawstring bag with lining is cutting the fabric. I like to use a quilting ruler and rotary cutter to make sure my lines are straight and square.
If you don’t have these tools look at marking out your lines with a chalk pen before cutting. Alternatively, you can create a template from paper to cut around.
Cut your pieces to your preferred size. I chose to make 7 inches by 8 inches squares which resulted in a 6 by 7 drawstring bag.
Cut two pieces in your outer material and cut two pieces in your lining.
Step Two
Pin or clip the pieces together. Place both pieces of lining together right sides facing inwards. Do the same for the outer fabric pieces.

Sew down the longest side with a 1/4 inch seam. Don’t forget to backstitch at the start and end of your seams.
Step Three
Take your pieces to the ironing board and iron the seam open. Make sure that the seam allowance separates and is flat.
This will help keep the drawstring bag from getting too bulky and messy. It will also stop the ribbon/string from getting caught later on in the tutorial.
Step Four
Turn the lining piece right sides out and place it in the outer piece. You are placing the right sides together so keep the outer piece with the seams outwards.

Line up your seams to match on each side, clip into place to hold the layers together.
Stitch around one end with a 1/4 inch seam. This will become the top of your bag once it is turned through.
I have a whole host of useful, fun and creative items for the home, yourself and others, you can follow that are both simple and easy so if you are looking for more fun things to make check out my projects & tutorials.
Step Five
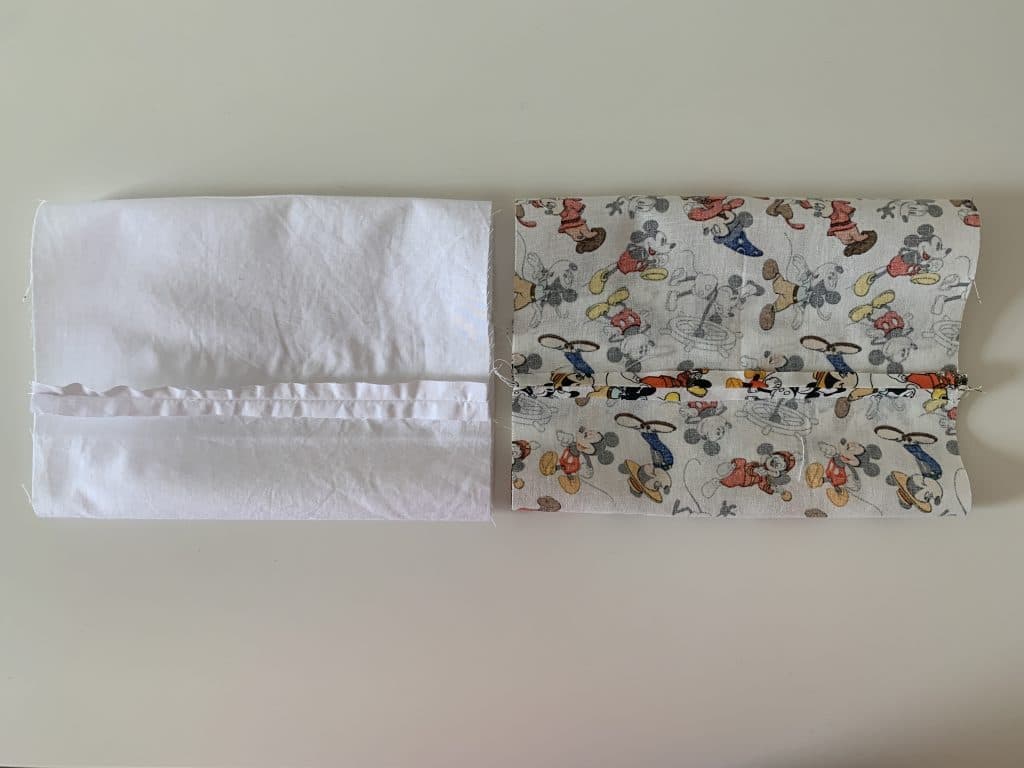
Pull the lining from out of the outer fabric so that you have a continuous tube.
Iron the seam open again to keep the seams from creating bulk in the drawstring bag.

Then pull the outer fabric over the lining. Make sure it is the right side on the outside and the right side on the inside of the lining.
You should have one neat end that is open and the opposite end should look like the image above.
Step Six
To create a neat edge on the base of the drawstring bag, iron a 1/4 inch fold toward the wrong side of the fabric.

Do this on both the lining and the outer fabric. This will create a neat edge on both fabrics.
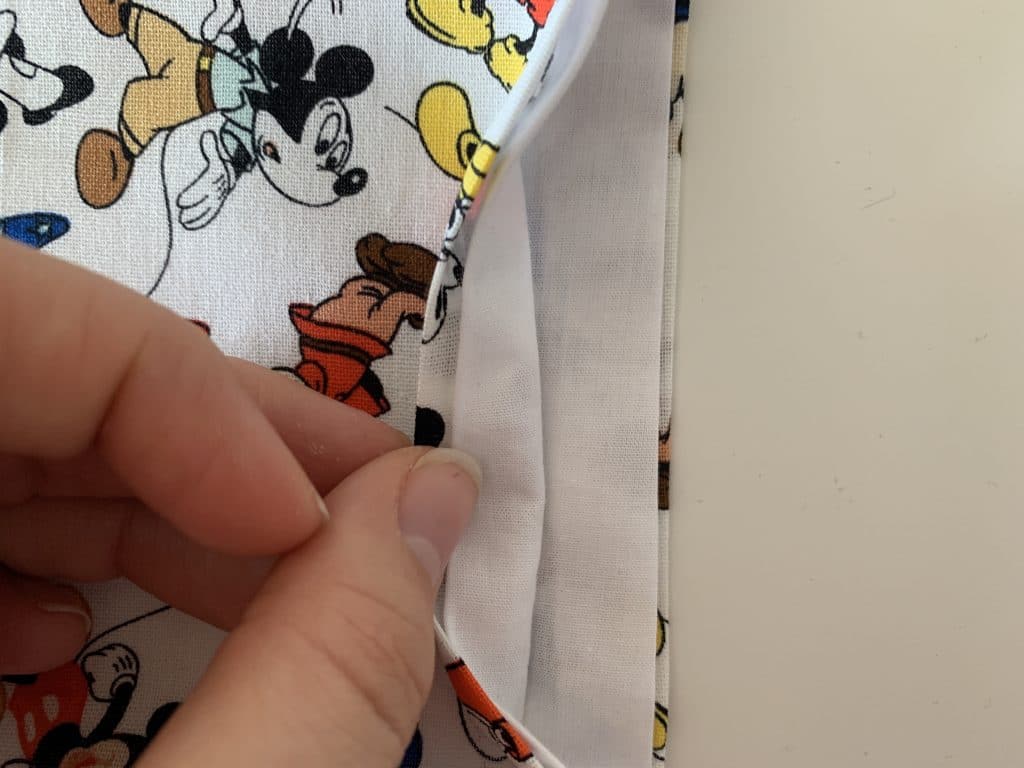
Pin or clip into place and sew together. Sew together all 4 layers as this will make a neat edge on the outside and inside.
Step Seven
It is time to sew in the channels for the ribbon to run through.
Sew 1/4 to 1/2 inch down from the edge on the top of the bag.
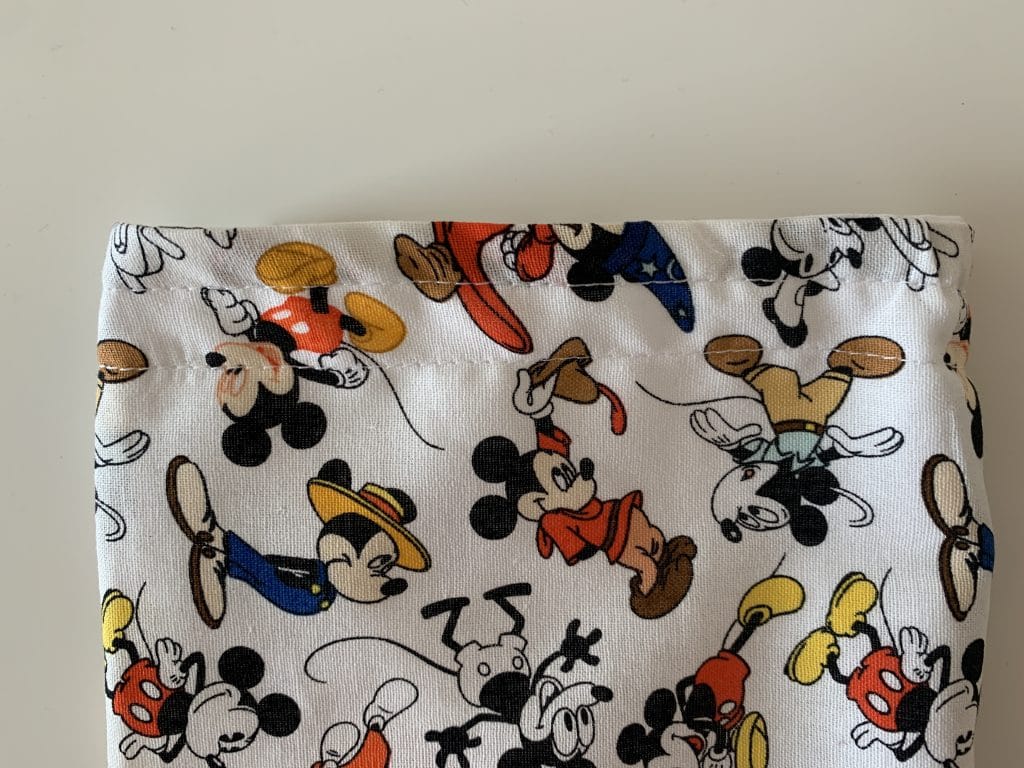
Sew all the way around the bag. Don’t forget to backstitch the start and end.
Before sewing your next line make sure you measure the width of your ribbon/string.
Tip: Use a light chalk or pins to create a guide to follow to make sure you make the channel wide enough for your ribbon.
Step Eight
Take an unpicker and take out the stitches on the side seams that fall between your channel lines.
Be careful not to unpick any other seams or unpick more than you need.
This is where you are going to insert your ribbon/string.
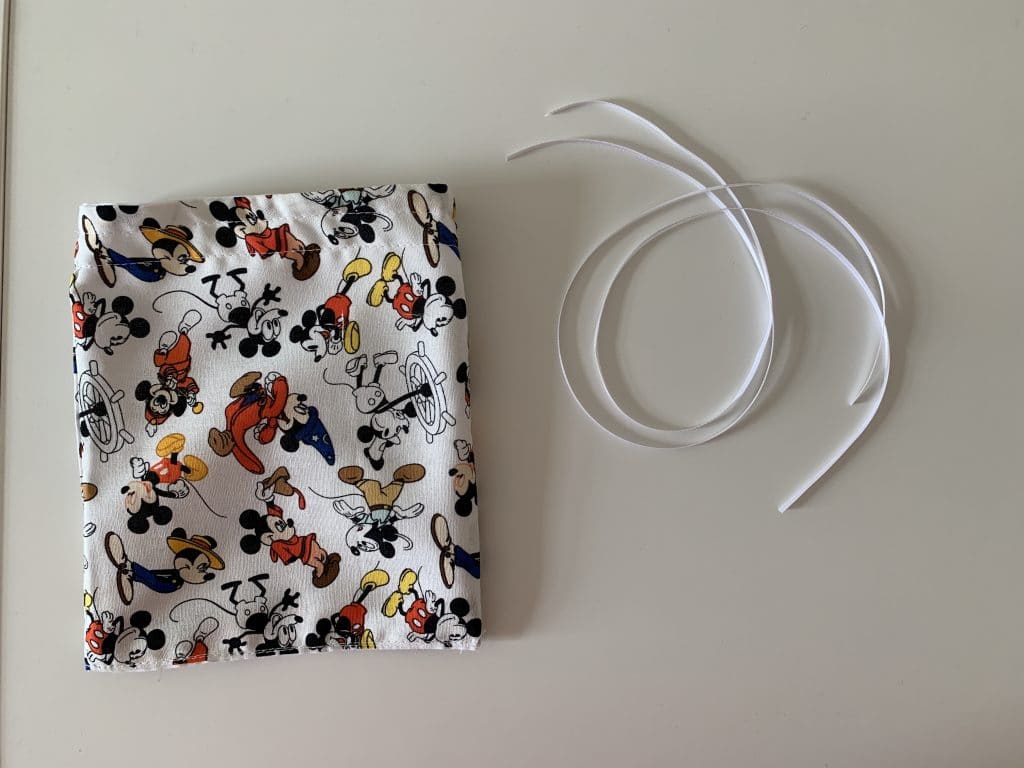
Create 2 lengths of ribbon just slightly longer than the circumference of your bag.
Using a safety pin, thread it through one end and start pushing it through the gap you just created.
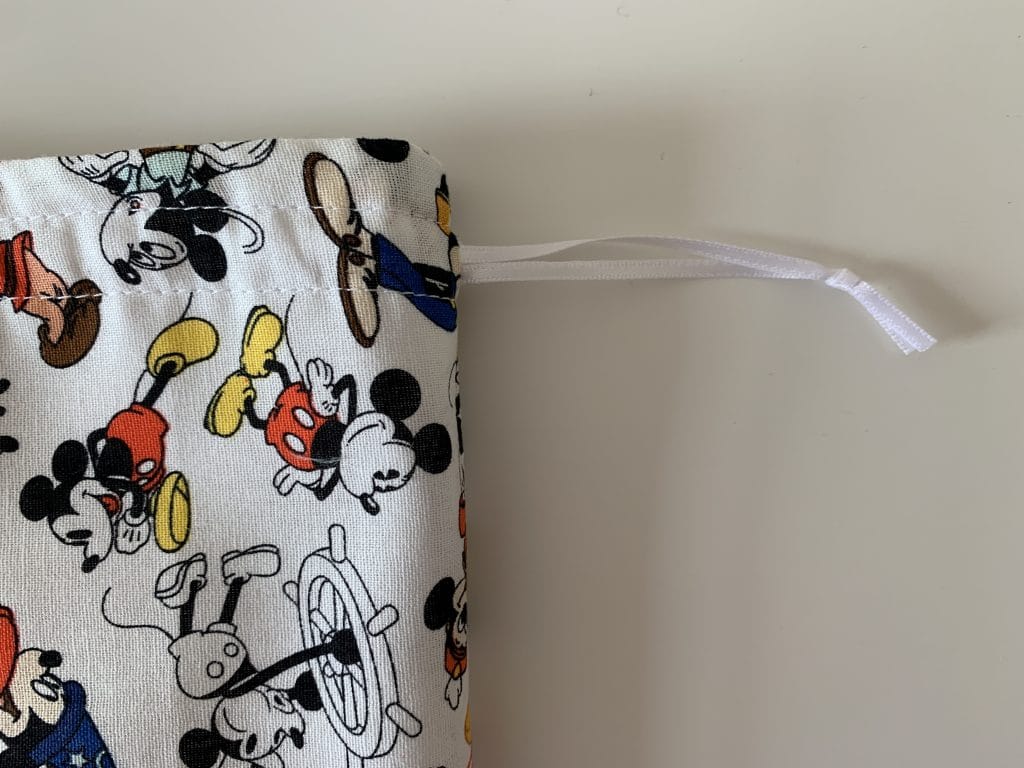
Push the pin along through the channel and back to where you started. Repeat on the other side so you have a set of ribbon out of each side of the bag.
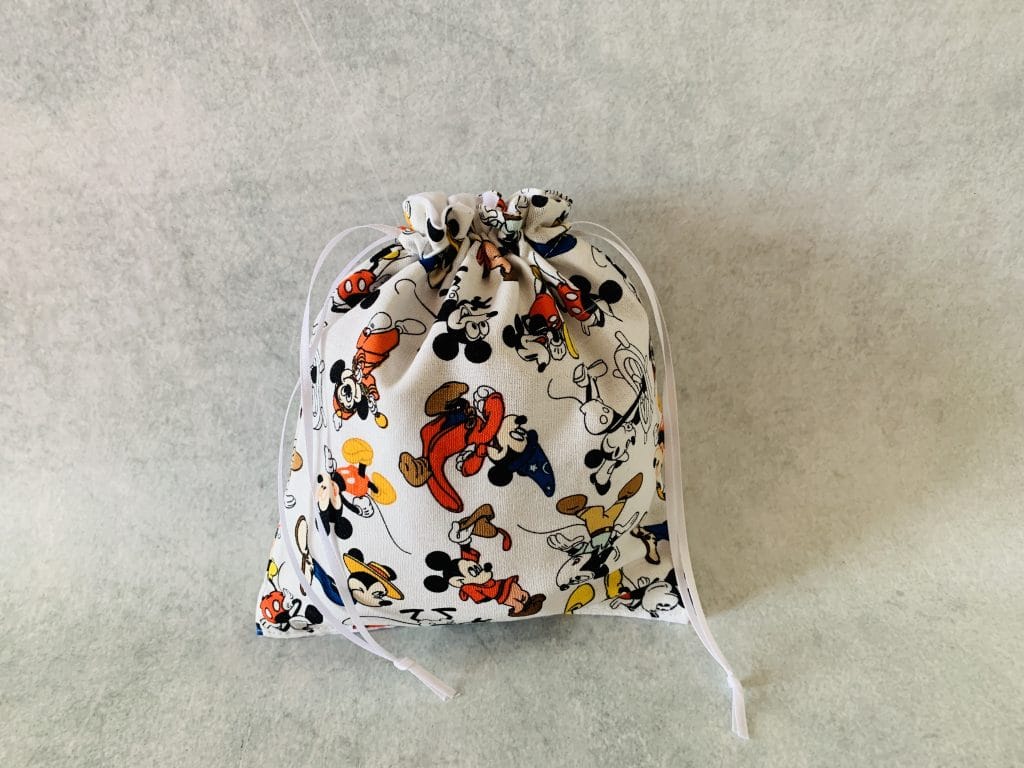
Tie knots or finish the edges on the sewing machine to stop the ribbon from getting lost in the channel.
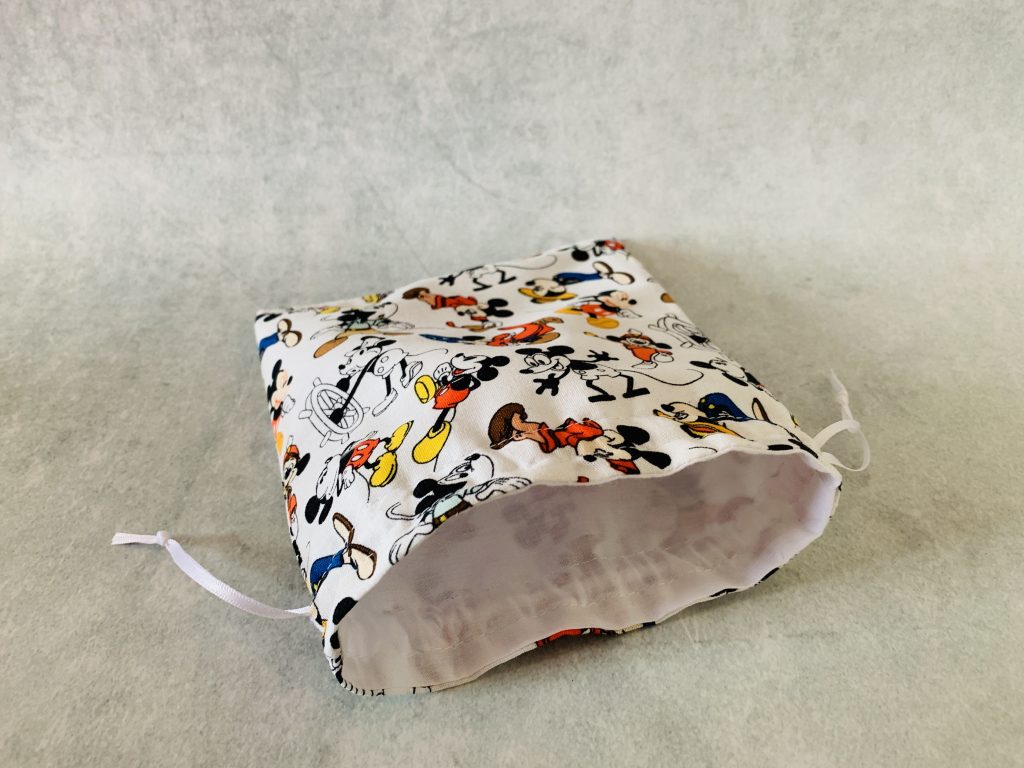
Then you have finished making a drawstring bag with lining!
Thank you for checking out my tutorial on how to make a drawstring bag with lining. I hope you have found this tutorial helpful and that you enjoyed making your own drawstring bag.

