
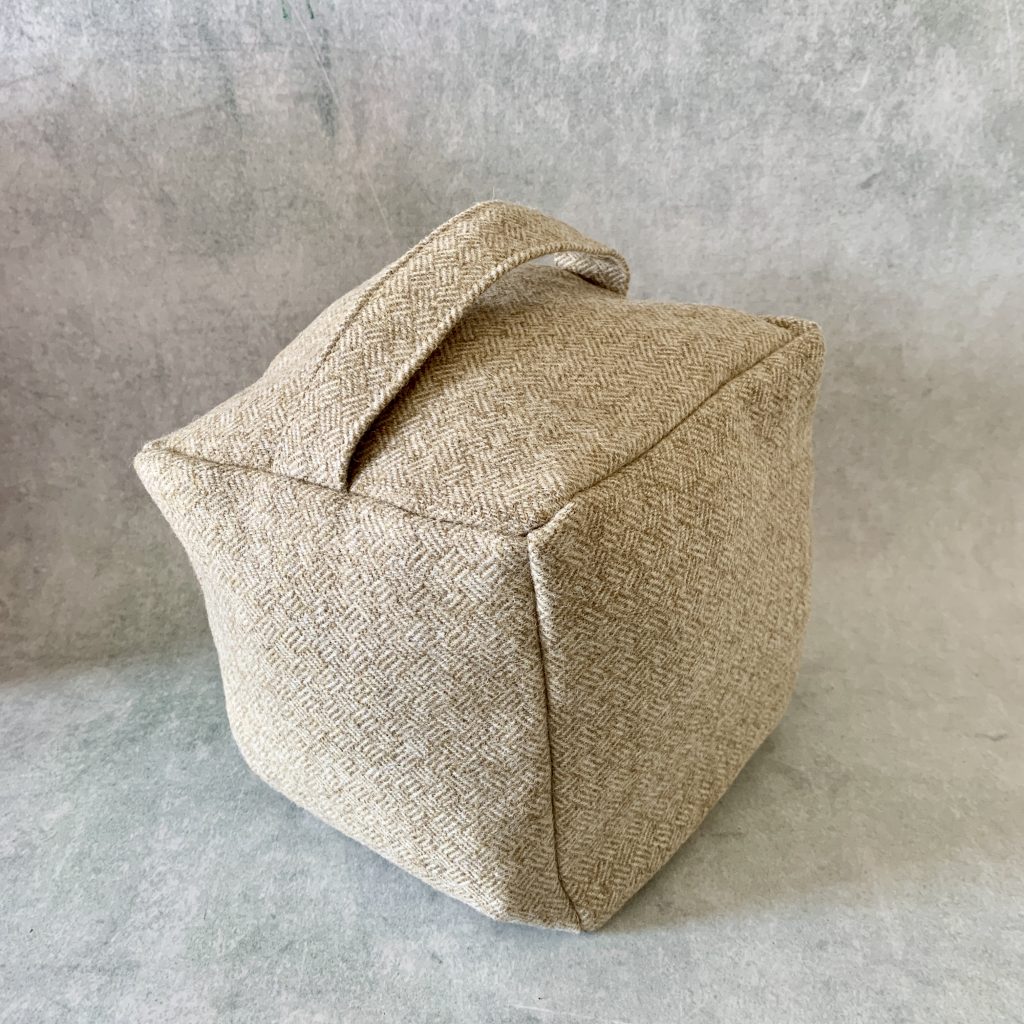
How To Make A Fabric Cube Doorstop
Some of the links below are affiliate links. As an Amazon Associate I earn from qualifying purchases. This means that, at zero cost to you, I will earn an affiliate commission if you click through the link and finalize a purchase.
I love making practical items, especially for my home and the bonus is they can be made to match any room. Doorstops are so simple and easy to make and perfect if you are new to sewing and want a fun project to try out to practice.
This handy tutorial is easy to follow and perfect for anyone looking to build up their skills and eventually turn this simple doorstop into something much more creative and fun in later days.
You can use this base to create a house doorstop, circular doorstop or even a cute little animal.
Here is how to make a fabric cube doorstop.
Tools & Equipment
- Scissors
- Fabric 1/4 meter – Perfect fabrics are cotton and upholstery fabrics.
- Thread
- Sewing Machine
- Iron & Ironing Board
- Weights and stuffing to fill – you can fill your doorstop with a number of materials I would suggest pebbles, rice or polyester stuffing.
How To Make A Fabric Cube Doorstop
When you are looking at how to make a fabric cube doorstop it can be a little confusing as you are creating a shape.
If you don’t feel completely confident in your first attempt using a piece of scrap fabric to create a mock before using your nice fabric.
Here are the measurements to work from;
Top & Bottom piece – 8 by 8 inches
4X Side Pieces – 8 by 8 inches
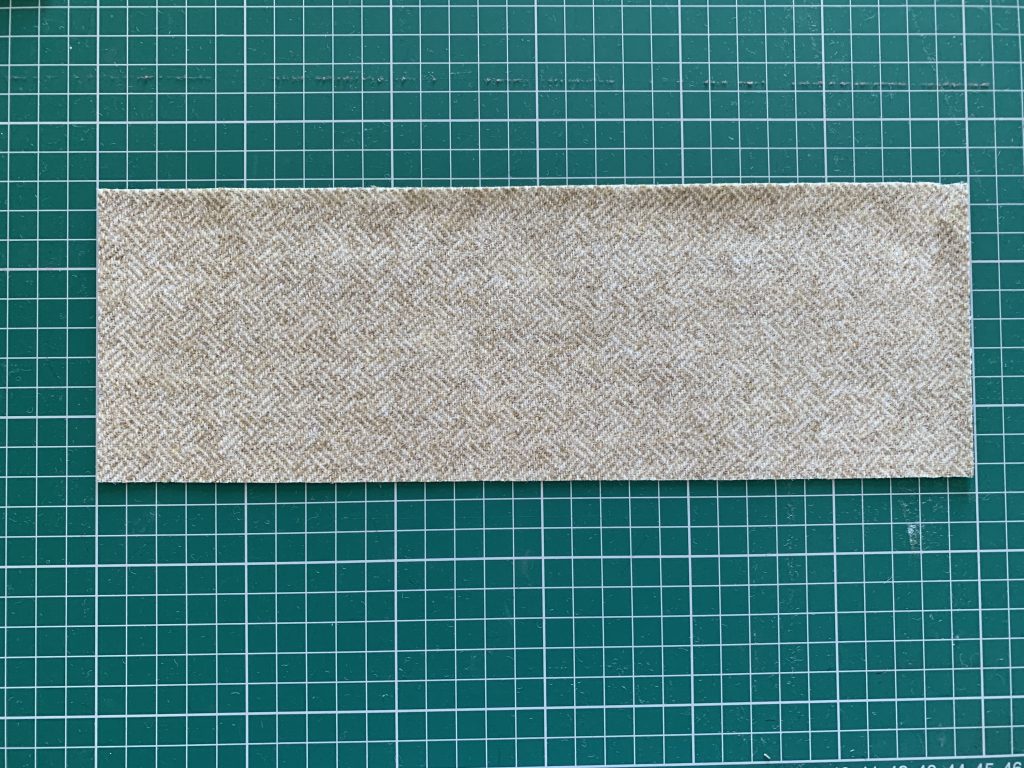
Handle Piece – 3 by 10 inches
Step One
Create the pieces by cutting 6 – 8 by 8 squares. These will form the sides, top, and bottom of your fabric cube doorstop.
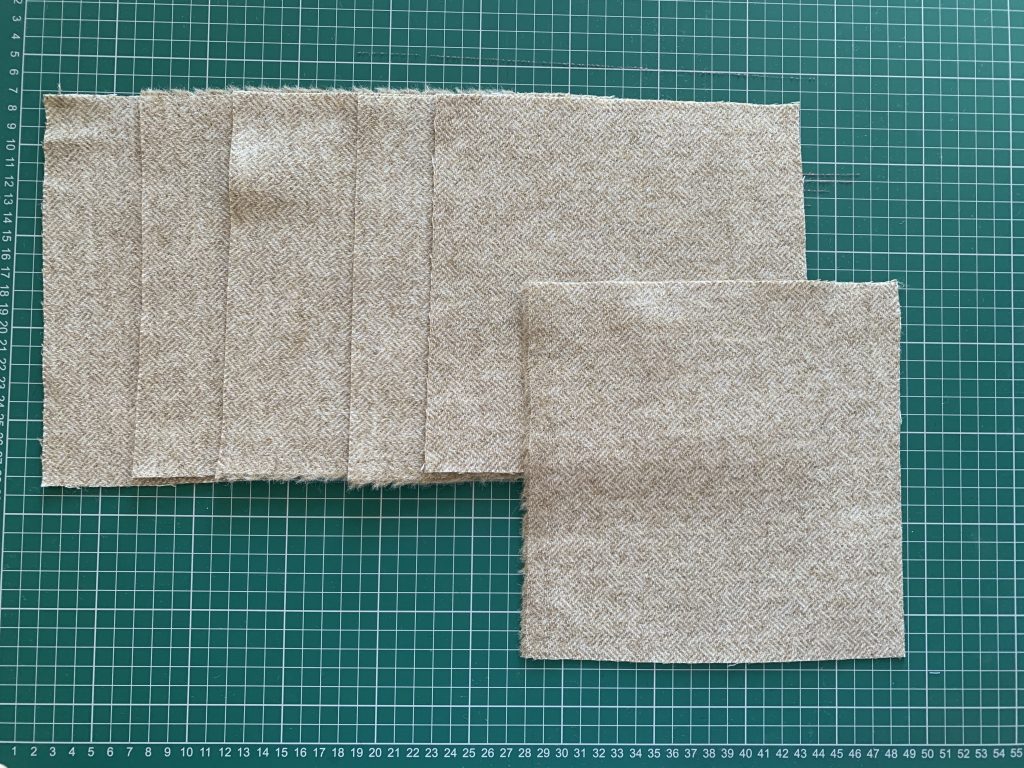
Use a quilting ruler to create your squares to create neat and accurate squares.
Cut another strip of 3 inches by 10 inches to make your handle on the top.
Step Two
Piece together and pin into place, it is a good idea to create the structure as a whole before sewing piece by piece together. That way you can see it come together before
Clip/pin the pieces together so you can see the structure before you sew it together.
Take a picture then take it apart, to do one step at a time.
Step Three
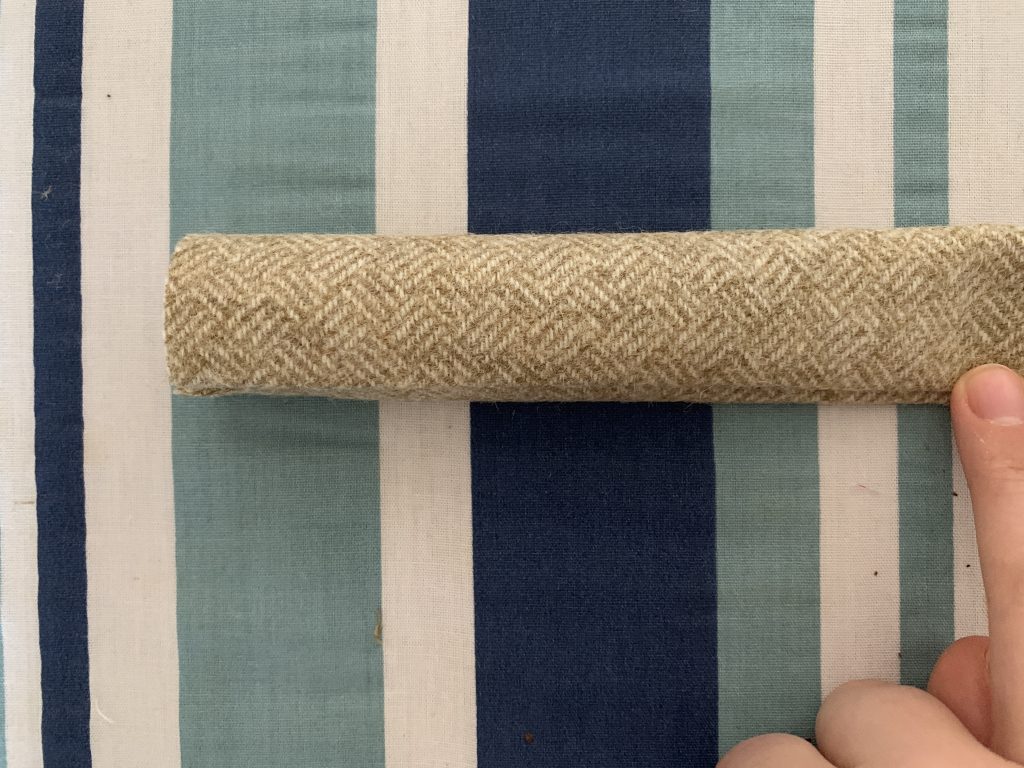
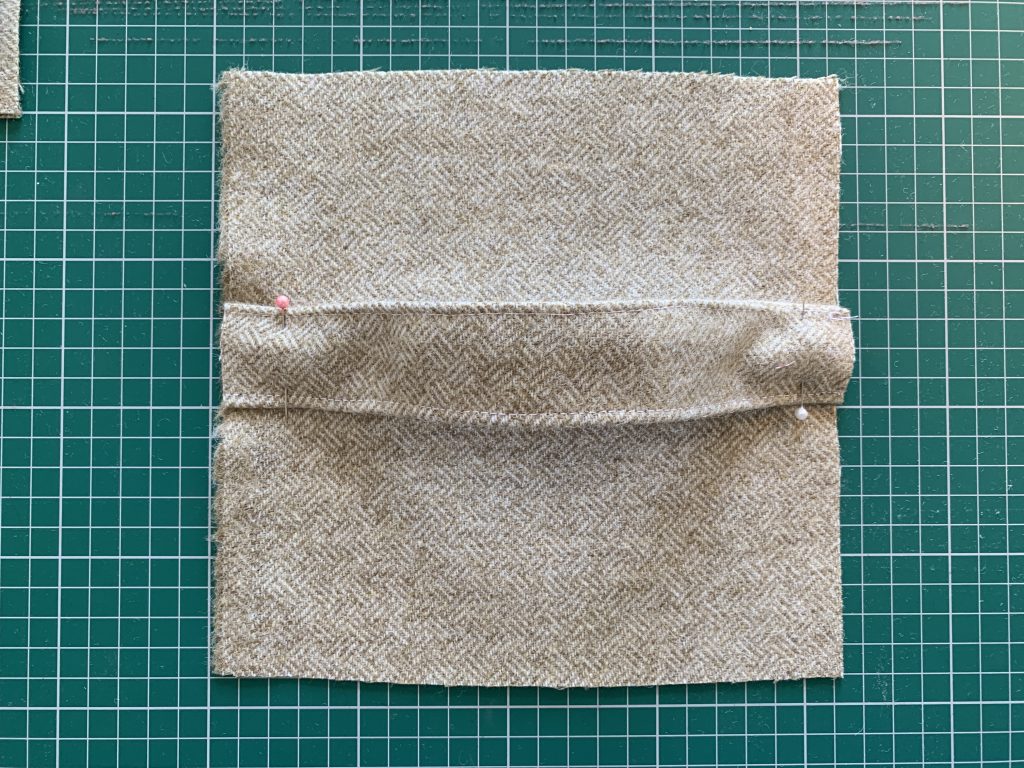
Create the handle, you will want this to be sturdy and strong. I folded my strip in 1/4 inch in each side and then folded it in half.
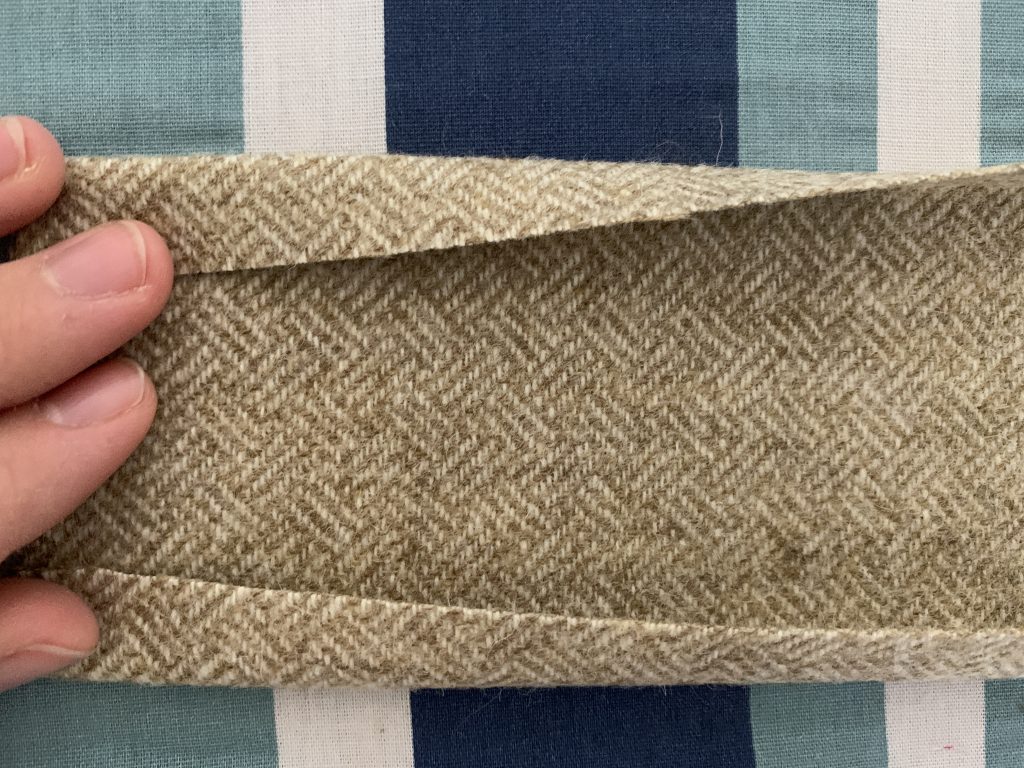
To make it really easy to hold together press the folds with your iron.
Pin or clip together ready to sew.
To make the handle sturdy, strong and long-lasting, sew both edges of the handle. That way the weight is evenly distributed from each side.

Step Four
Attach the ends to the edges of one of the squares. Do this by lining the straight edges up to one another.
To make a handle stand out a little create a little bump before pinning into place.
This will make the handle easy to hold and grab for moving.

Pin into place ready to sew on. You can either sew them into place before sewing the rest or you can sew them in with the rest of the cube doorstop.
Step Five
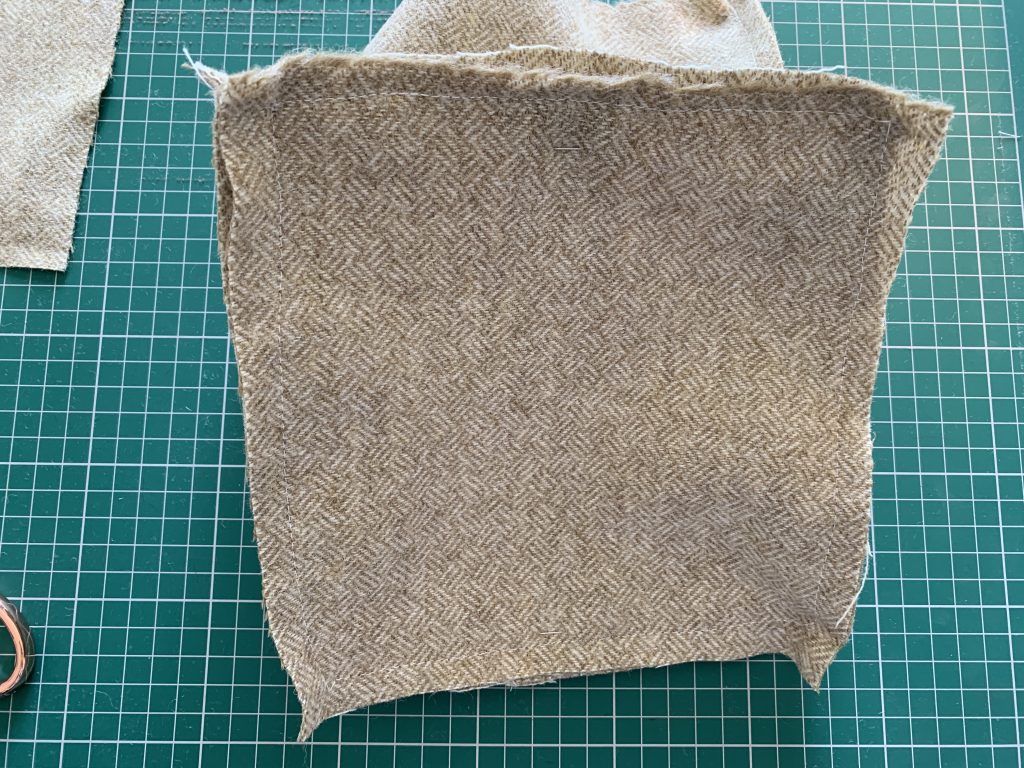
Pin together 4 squares to create a row, sew into place with a 1/4 inch seam.
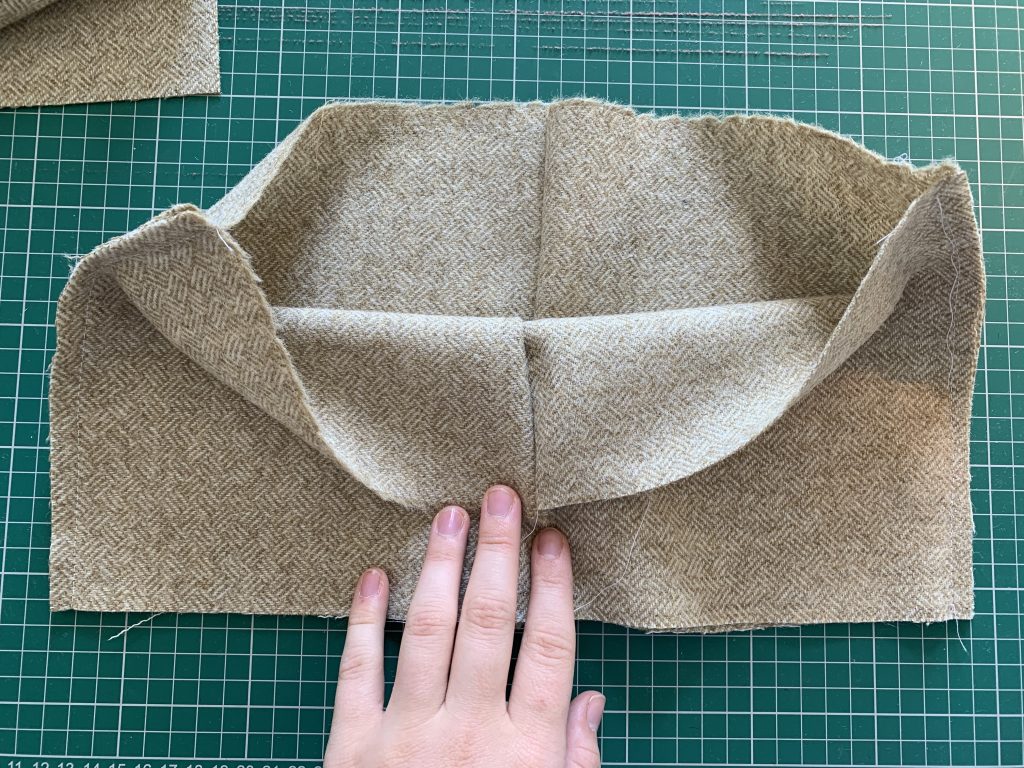
Then take the two open edges and pin together, sew again with a 1/4 inch seam. This will create the side pieces of your cube doorstop.
You should then end up with something that looks like the image below;
Remember to backstitch at the start and end of every seam. This will help the structure stay together and create strong seams.
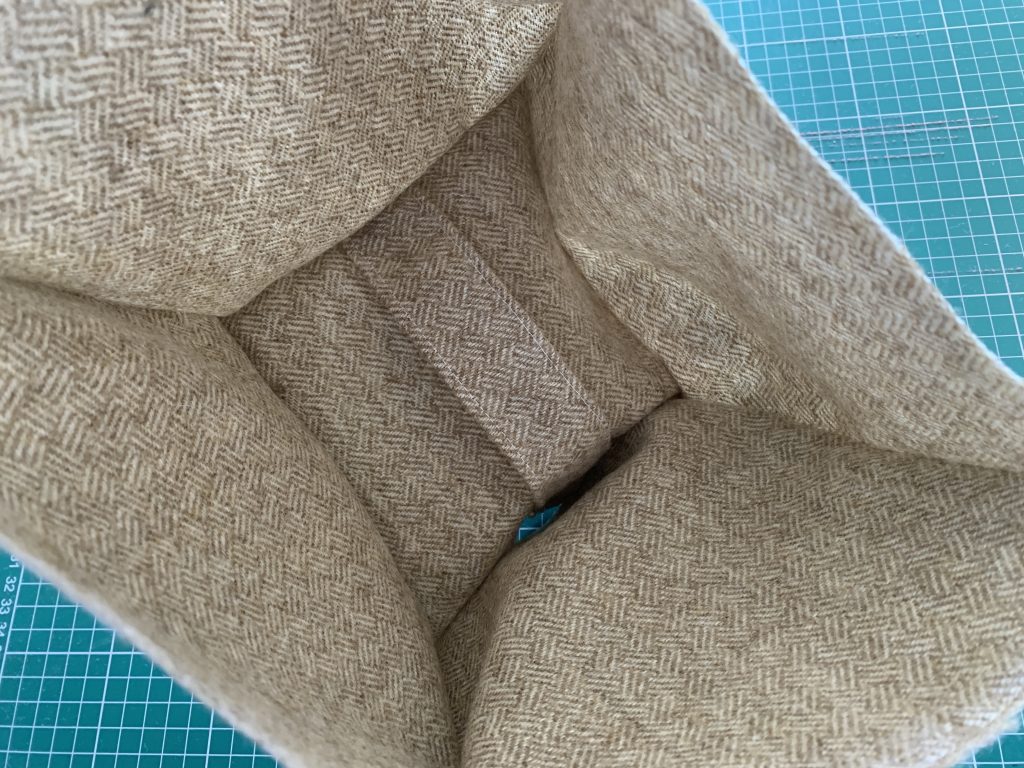
Step Six
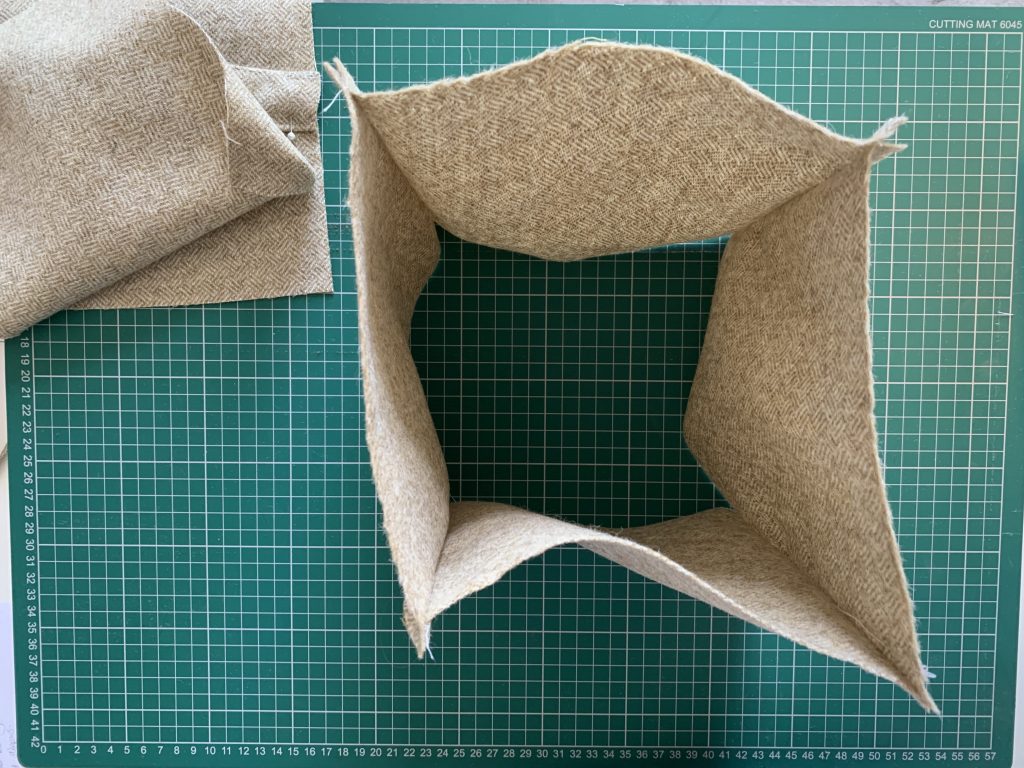
Keeping the structure of the fabric cube doorstop with the wrong side facing outwards.
Pin the base piece in place, it won’t fit exactly as some of the seam allowance has been used but it will fit in once you start sewing.
Pin or clip into place and line up the edges together. That way you can make sure it is neat and even. Sew with a 1/4 inch seam to ensure all the seams are even.
Step Seven
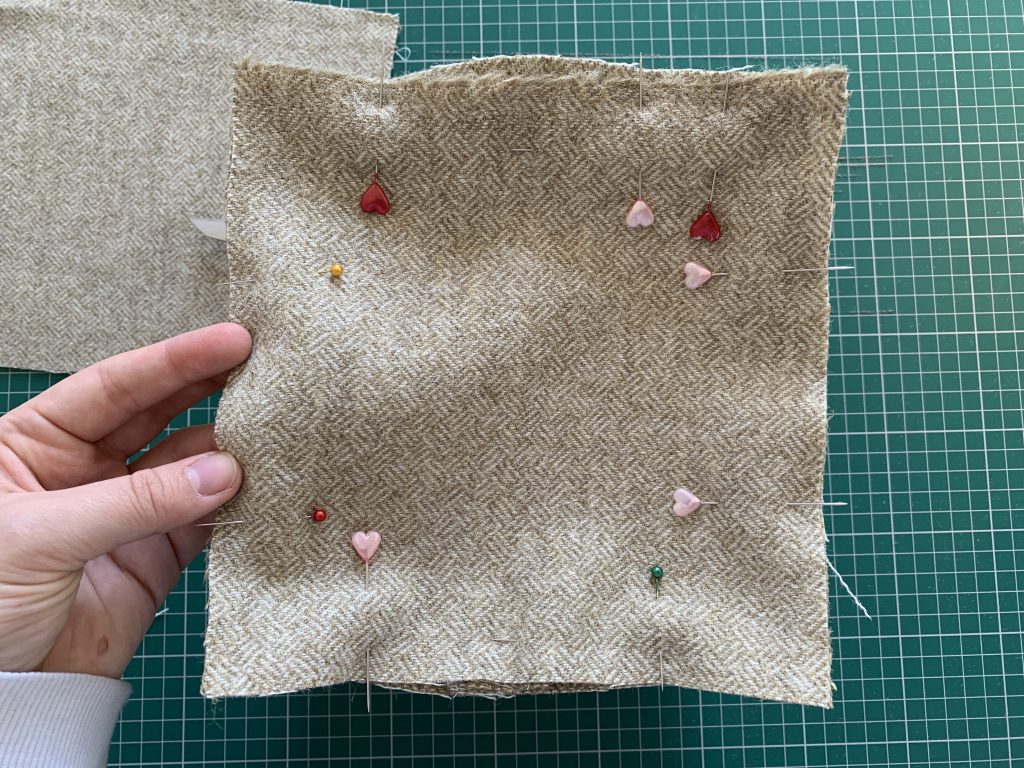
With the fabric doorstop still with the seams on the outside pin the top piece handle on the inside. So that all the right sides of the fabric cube doorstop are on the inside.
Pin into place and sew with a 1/4 inch seam on 3 sides.
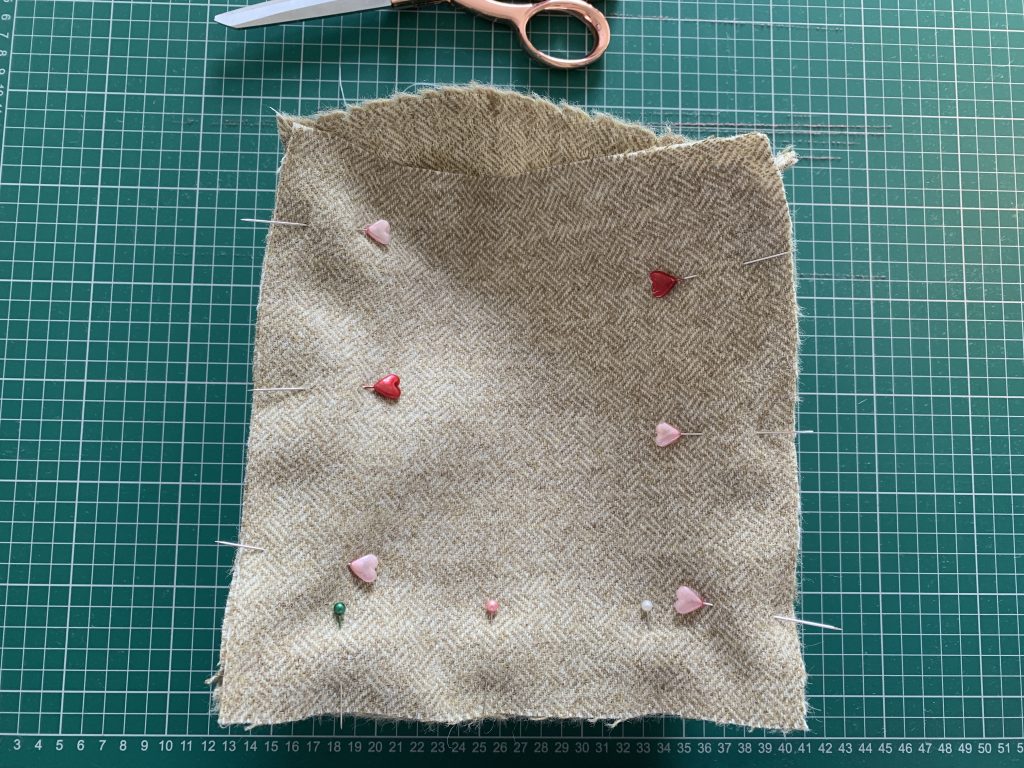
Leave one side open so you can turn the fabric cube doorstop the right way around.
Step Eight
Once you have sewn your 4 edges together you will want to cut the corners. This will allow the fabric to sit better and take away some of the bulk within the corner.
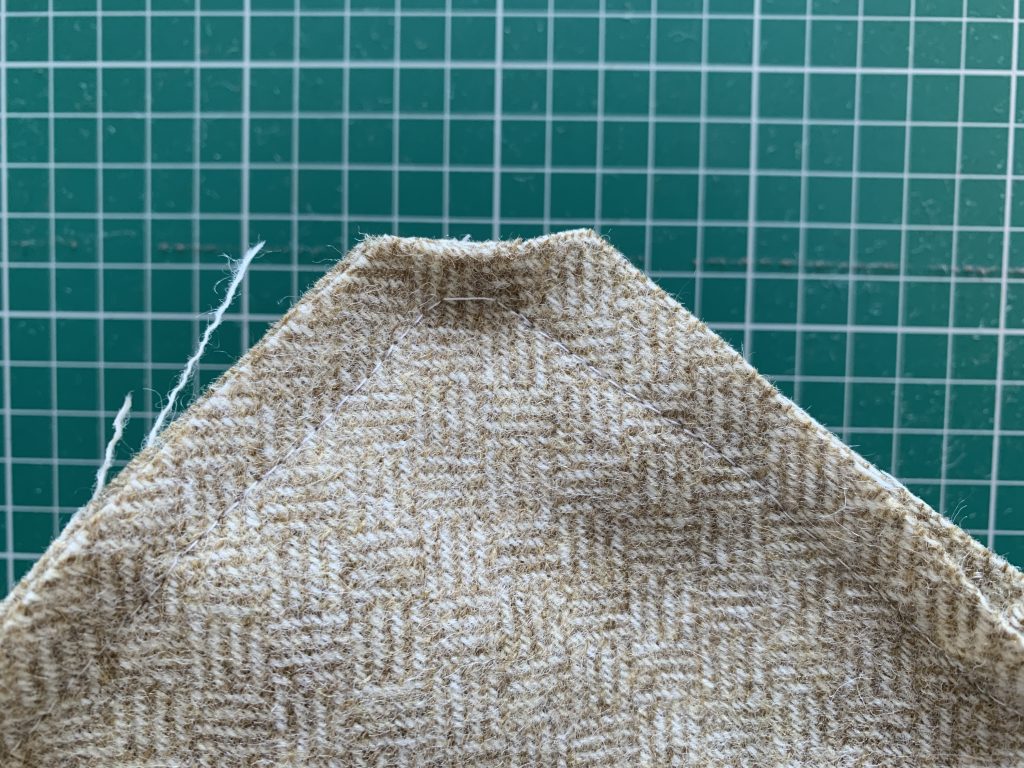
You can do this simply by placing your scissors diagonally across the corner and cutting.
Be careful not to cut too low or into the main fabric as this will cause a hole.
Step Nine
Turn the fabric door stop the right way out. You can press the seams while it is an empty shell.

You then want to place your doorstop filling at the base to give it the weight. Then pad out with stuffing.

Once stuffed and you are happy with the same turn in the raw edges and pin together.
You can either sew this together by machine or sew by hand. I would advise sewing by hand so the seam blends in with the others.
To make sure your seam stays in place and is strong use doubled thread and a wax treatment. This will make the thread stronger and longer-lasting.
Then you are done! You can then go on a use your fabric cube doorstop as it was intended. You can make these up in a number of sizes too to fit any space and room.
That is everything on how to make a fabric cube doorstop. If you have made one before and have any tips I would love to know. Alternatively, if you have made a different style of doorstop I would love to know more about it.

