How To Make A Padded Baby Play Mat
Some of the links below are affiliate links. As an Amazon Associate I earn from qualifying purchases. This means that, at zero cost to you, I will earn an affiliate commission if you click through the link and finalize a purchase.
Are you looking at how to make a padded baby play mat?
There are so many different styles and designs and all of them are super cute. If like me you see these things and actually want to make your own instead of buying one then this tutorial is easy to follow and fun.
I love making things from home as you can pick and choose the colours you want, tailor it to your needs and add a little personality to it.
I stuck to a pretty plain design as I wanted to create a little mat thats perfect for putting on the floor or the grass for when my nephew is ready to have a lay down and roll around.
Do I Need To Meet Any Guidelines To Make A Padded Baby Play Mat?
The simple answer is no. But only if you are making one for yourself and your own family.
If you are looking to make these to sell you will need to read up on local regulations – this will be different in different countries and even different from state to state.
There will be certain regulations you must meet in terms of fire proofing, choking hazards etc.

If you are simply making a padded baby play mat for yourself and your children you will know what is best for them and can adjust your design accordingly.
If you are looking to make and sell please check guidelines with authorities and your chosen selling platform.
Tools & Equipment
- Scissors
- Pins or clips
- Wadding/Batting
- Fabric roughly 2 meters long
- Binding for the edging – optional
- Thread
- Bias Binding – optional – you can bag the circle out instead.
- Bias Mouse – optional you can do this by hand too.
How To Make A Padded Baby Play Mat
For this tutorial I wanted to create a standard circle mat as I didn’t want it to be over fussy or too intricate as it is meant for a young baby.
I wanted the sole purpose of this mat to be able to be used anywhere in the house and provide a soft comforting feeling to the baby when playing.
Step One
Always start by washing your fabric – this will help it shrink to the natural size and will remove any remaining dyes or chemicals.
Once washed and dry iron the fabric to make it nice and smooth and easy to use.
Step Two
Fold your fabric in half longways, this way you can create a half circle on the top side and cut through both layers to create an even circle.

Once you have folded your fabric in half, using a tape measure, measure from the top of the fabric down 40 inches.
Mark with a pin on both ends so you know where to start and stop when you are cutting.
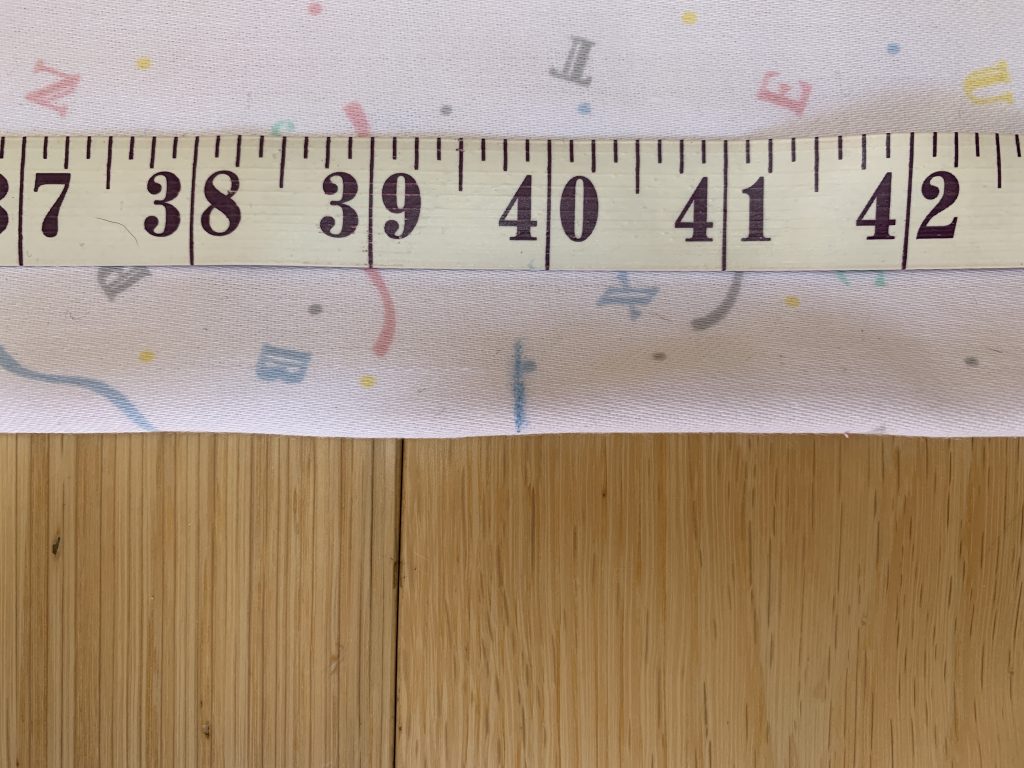
Using the tape measure again find your centre point between those 2 pins. This will be at 20 inches. Measure outwards 20 inches and mark with a fabric marking tool.
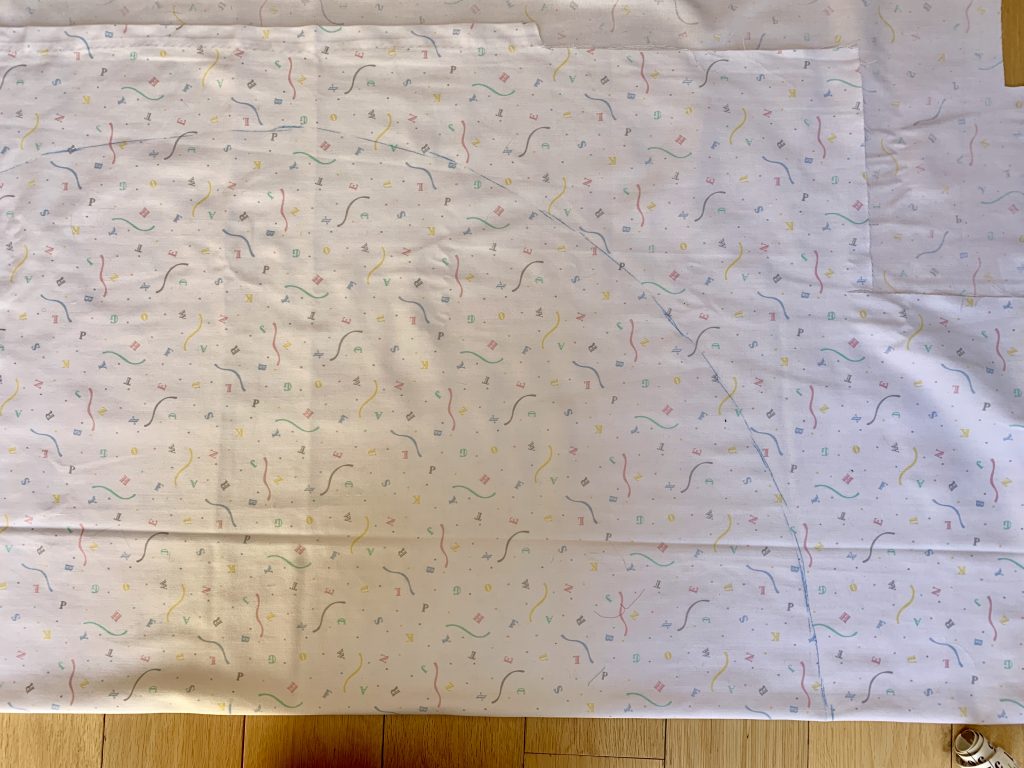
Move around in a half circle motion measuring 40 inches until you have draw a half circle on your fabric. Make sure the curved side of your fabric is pinned together.
Step Three
Cut out the circle you just made following the marked lines.
Lay this circle on top of your fabric again to cut another circle. You can use contrasting for the front and back if you prefer.

Cut the same circle into your wadding/batting layer ready to put in the middle.
If like me you are using what you have at home you might need to thin down your wadding or create a second or third layer.
Step Four
To create the layers of the padded baby play mat place one of your fabric pieces down first – make sure the right side of the fabric is facing down.
The place on the wadding layer(s), make sure these are fully in line with the fabric layer.

Then place on the top layer which is the second fabric layer – make sure this has the right side facing upwards.
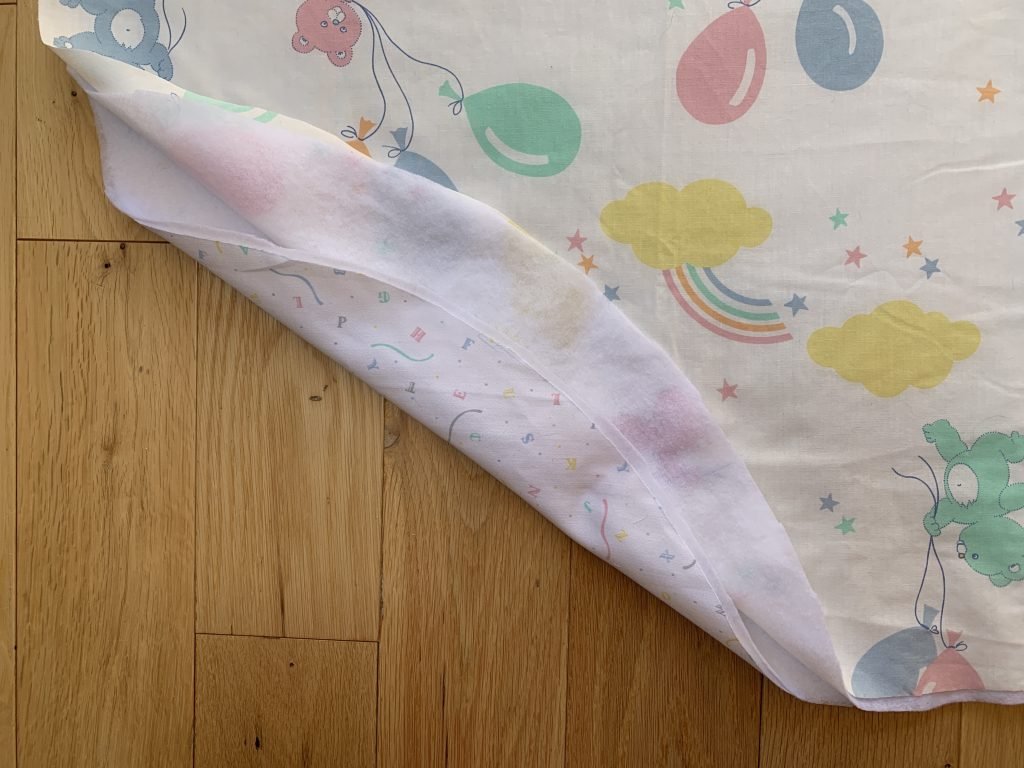
Use pins or safety pins to hold the pieces together in the centre and in small circle around the centre. Smooth out the layer and press to make sure you are pinned the pieces flat.

Pin around the edges to make sure all 3 layers are pinned in place as you will need them to be in line and accurate when you sew them together.
OR
If you wish to bag out your circle and not use bias binding around the edge you can lay the pieces together in this order.
Place the two fabric pieces together, making sure the right sides are facing each other. Then place the wadding on top, so you have the wadding layer on one side and a fabric piece on the other side.
Pin around the edge to hold all 3 layers together. Proceed to step five.
Step Five
Whichever method you are following from above you will need to sew the 3 layers together.
Using a medium stitch length on a straight stitch setting, sew 1/2 inch seam around the edge.

Tip: Remove your pins as you go, if you catch one you can break your needle or bend both your needle and pin – resulting in changing both.
Also if you break your needle, fractions of it can fly out into your face or fall into your sewing machine causing more damage.
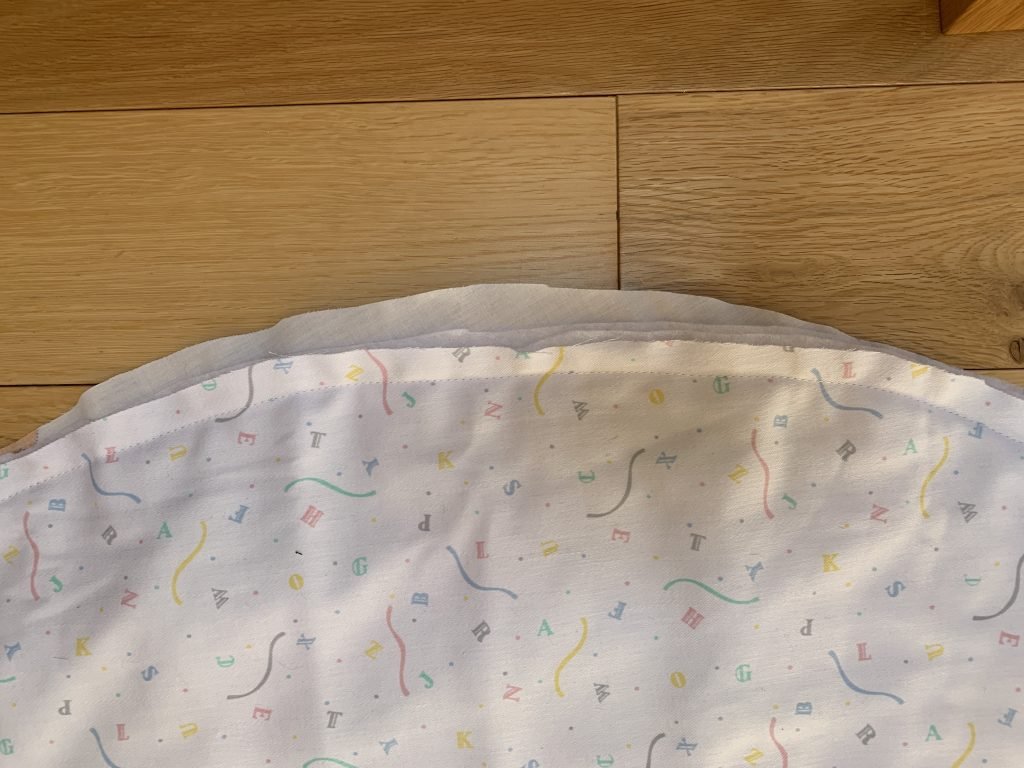
If you are following the second option and not using bias binding you will need to leave a gap of 5 – 6 inches to enable you to pull the padded play mat right sides out.
Once you have finished sewing – clip into the seam edges to eliviate the pull on the fabric and turn through. Press the seam to make it nice and flat. You can top stitch the seam in place if you wish.
Step Six
Once you have sewn the exterior circle and layers together make sure you cut off any excess threads that may get caught or look messy.
Cut down your seam allowance to 1/4 inch, this will help give you a better and even finish with your bias binding.
If you are following the non bias binding method you can miss this step.
Step Seven
In this step you want to make your bias binding.
If you are using premade or store-bought that is fine you can move onto the next step.
If like me you are making your own or using homemade follow my easy tutorial on how to make bias binding so you can move to the next step.
Step Eight
Start attaching your bias binding around the edge. There are a couple of ways in which you can attach your bias binding.

If you want to learn more about how to sew on bias binding I have a full breakdown of the methods so hopefully, you can find one that suits your skillset and style.
For this method, we are going to go with the way quilters often use which is to use half folded binding. Though if you prefer to use another method you can do.
Start by folding your bias binding in half and pressing in place with the right dies outwards. Lay your binding to line up at the raw edge of your fabric and pin in place. Make sure to pin all layers.
It should look something like this below.
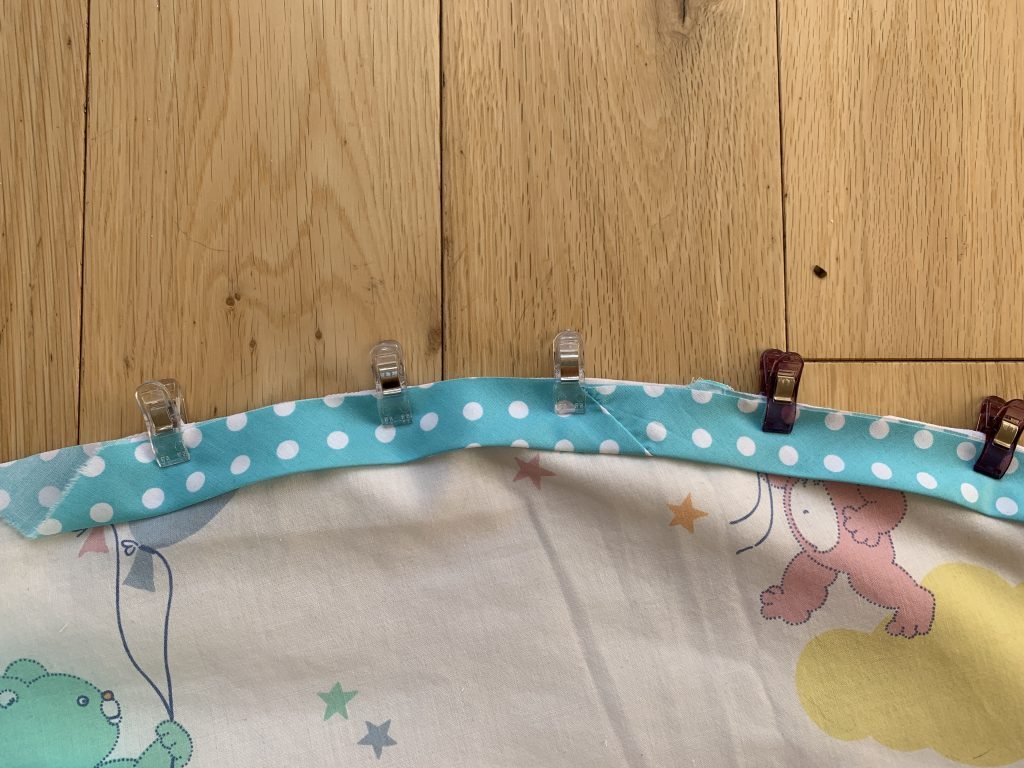
Pin that into place, make sure you fold back the beginning to create a neat edge. Keep following that method all around the circle, it may be a little harder as you are workign with curves but the bias binding will curve with it.
Pin at regular intervals to make sure everything is in line. Make sure the end of the bias binding overlaps the neat fold you create earlier so no raw edges are on show.
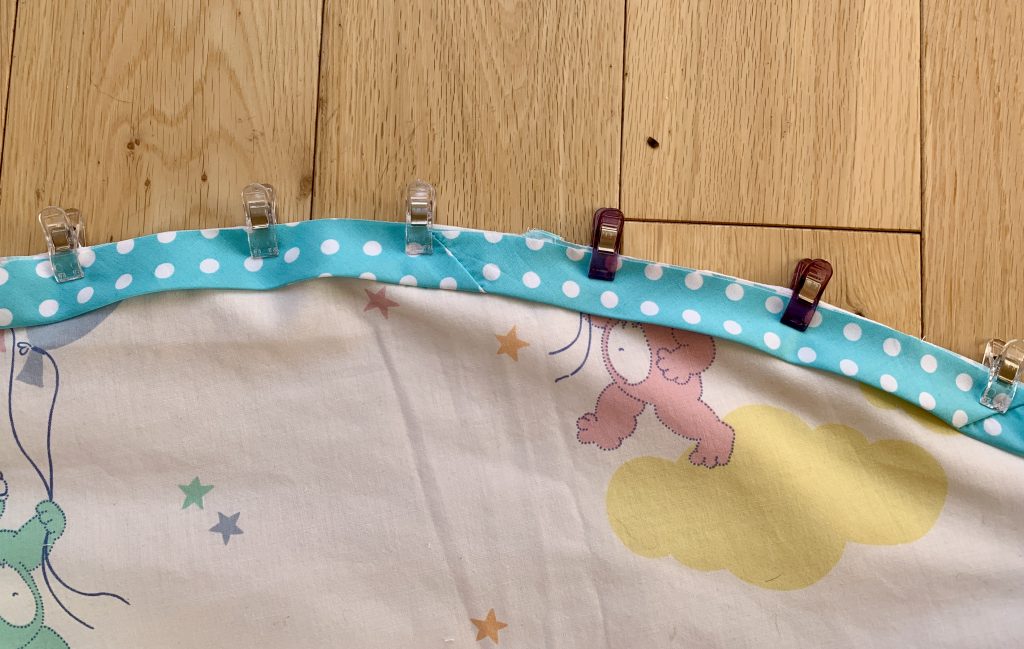
Tip: When you are looking at placing on your bias binding, line the fold line up to your previous sewn line, that will give you a good indication of where to lay your binding.
That way when you sew the binding in place you can hide that stitch line.
Sew the binding in place following it around the full circle.
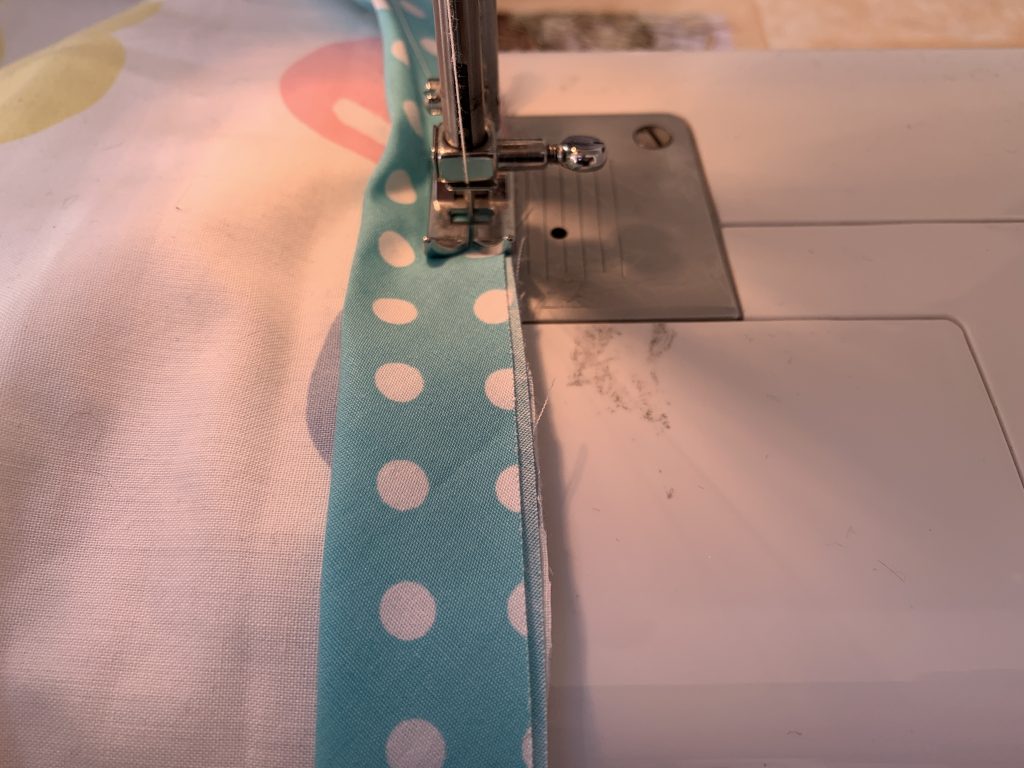
Tip: To create an even sew line, stitch in the ditch of the fold.
Step Nine
Once you have sewn a full way around your bias binding you want to carefully pull back the remaining bias binding over the raw edge and to the other side.
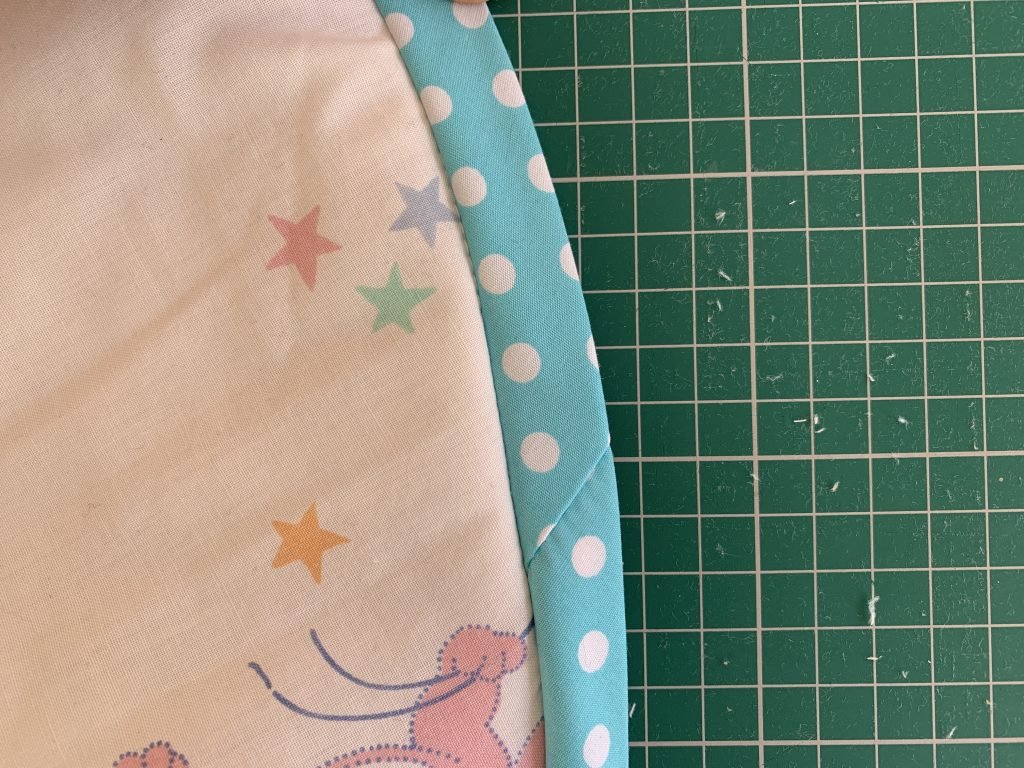
You should be able to follow the natural fold on the other side and pin in place the binding. This will create a neat edge and look the same on both sides.
Repeat this process all the way around the circle until you are back at teh beginning.
Step Ten
Sew the bias into place, you can do this using a striaght stitch on your sewing machine, topstitching the bias binding in place.
Or you can sew the open edge in place by hand. I prefer to do it by hand as it looks nicer and I can make sure it is neat and tidy.
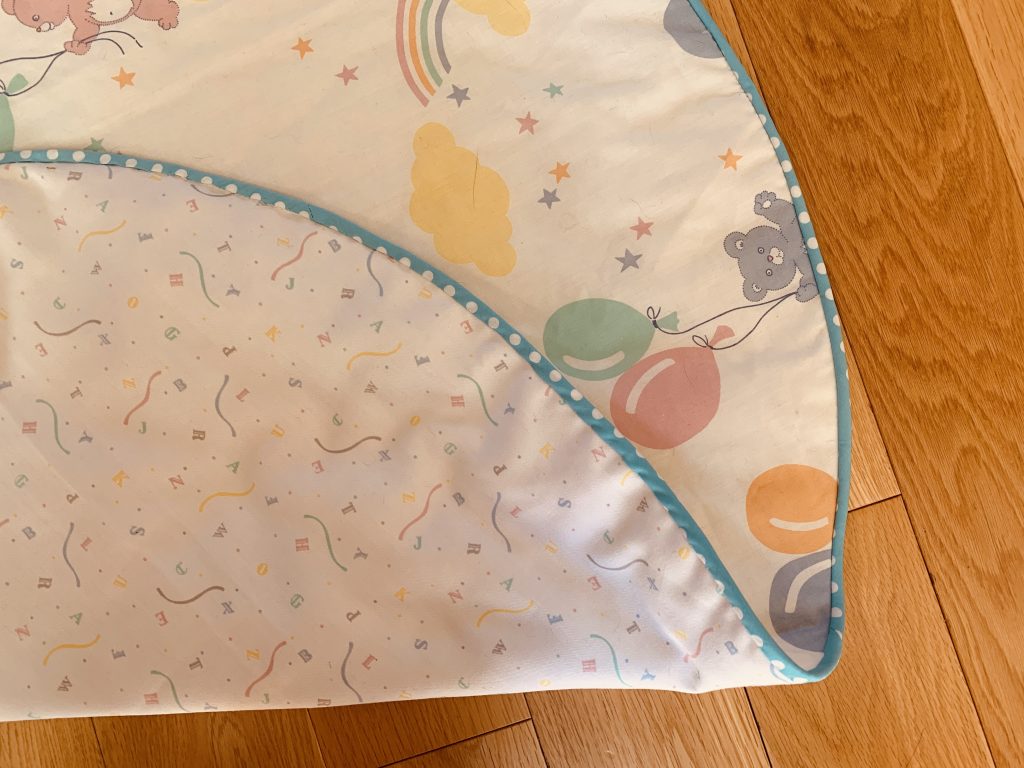
If you are sewing by hand make sure you choose the right style needle for the fabric and use matching colour thread. If you have clear thread you can use that instead.
If you want to make your thread stronger look at using a wax wheel to give your thread a coating before sewing.
Slip stitch/ blind stitch the bias binding in place keeping an even interval between each stitch.
Step Eleven
To finish your padded baby play mat create small quilted pockets in the centre and around the edges. See image below.

To create these use a needle and thread, make sure your thread is doubled up.
Place the needle from the bottom up to the top through the layers. Push the needle back down just a tiny bit away from the original hole and pull down. This will pull the layers together and create a quilted effect.
Tie off and repeat at intervals around the circle.
Once you have finished, make sure all threads and pins are out before using and remove any parts that could be harmful to an infant.
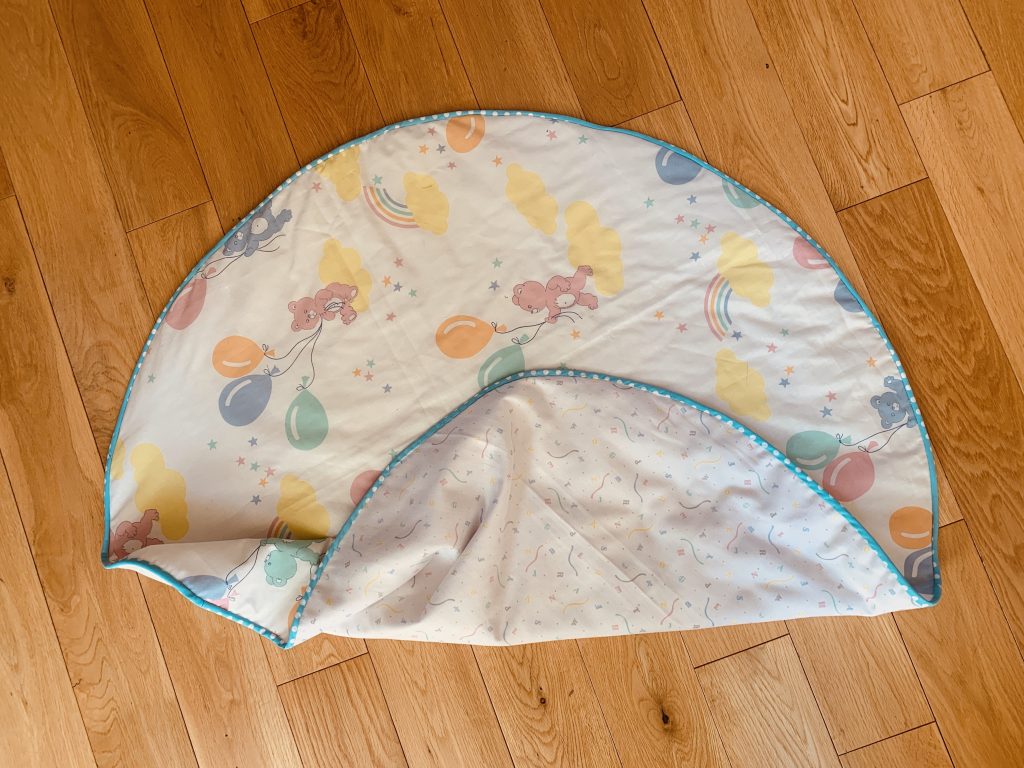
Now you are finished! Enjoy playing with your bundle on joy on their new padded play mat.
I hope you have enjoyed this tutorial on how to make a padded baby play mat and would love to know what fabric you used and how you found this tutorial.
