
How To Make A Padded Notice Board
Some of the links below are affiliate links. As an Amazon Associate I earn from qualifying purchases. This means that, at zero cost to you, I will earn an affiliate commission if you click through the link and finalize a purchase.
Are you looking at how to make a padded notice board?
We love planning meals and documenting what we have to do each day so having a communal notice board for dates, tasks and more are so helpful.
This tutorial on how to make a padded notice board can be used for many different things from meal planning, children’s chores or daily tasks in the office.
Tools & Equipment
- Fabric
- Wadding
- Cardboard or wood
- Glue Gun
- Paper ( Printer if you have one)
- Laminator and Laminator sheet (optional)
- Sewing Clips (use what you have if not)
- Ruler
- Pen
How To Make A Padded Notice Board
You can use a variety of fabrics for this project and recycle some of the cardboard laying around the house.
Step One
Measure 16 x 24 inches onto your cardboard or wood. Cardboard is easier to work with and much lighter.
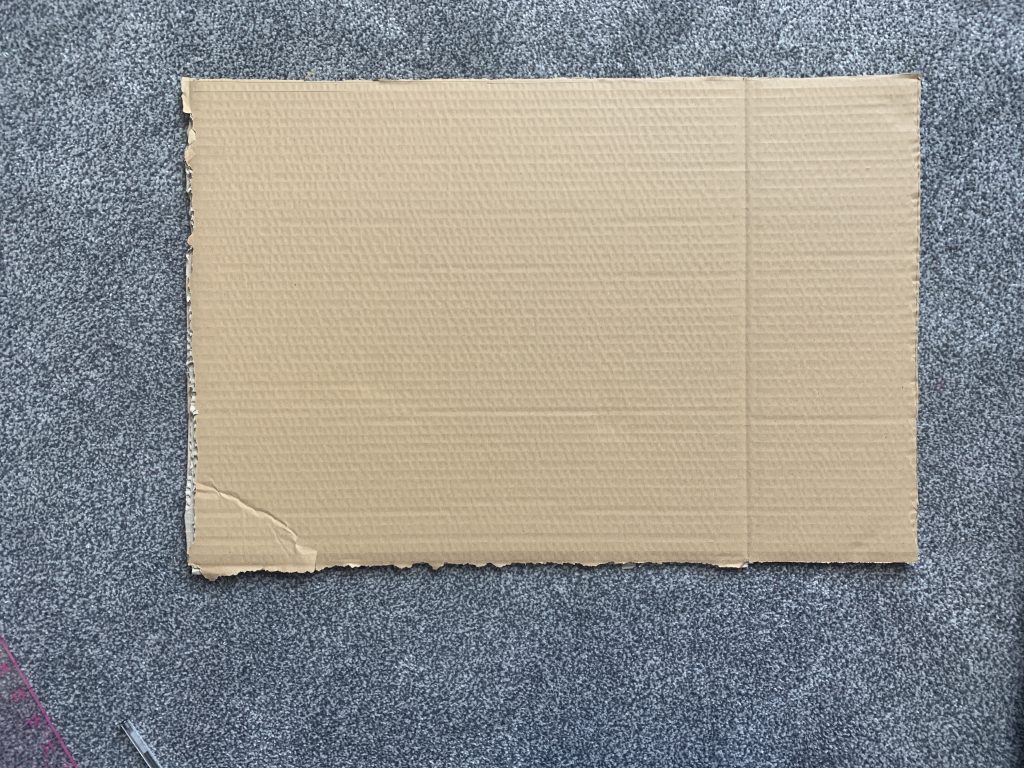
Cut your rectangle out, don’t worry too much about the edges being too neat as these will get covered.
Step Two
Cut a layer of wadding, my wadding was a little thin so I cut two layers.
Using your glue gun glue the wadding into place. This will stop it moving while you attach the fabric layer.
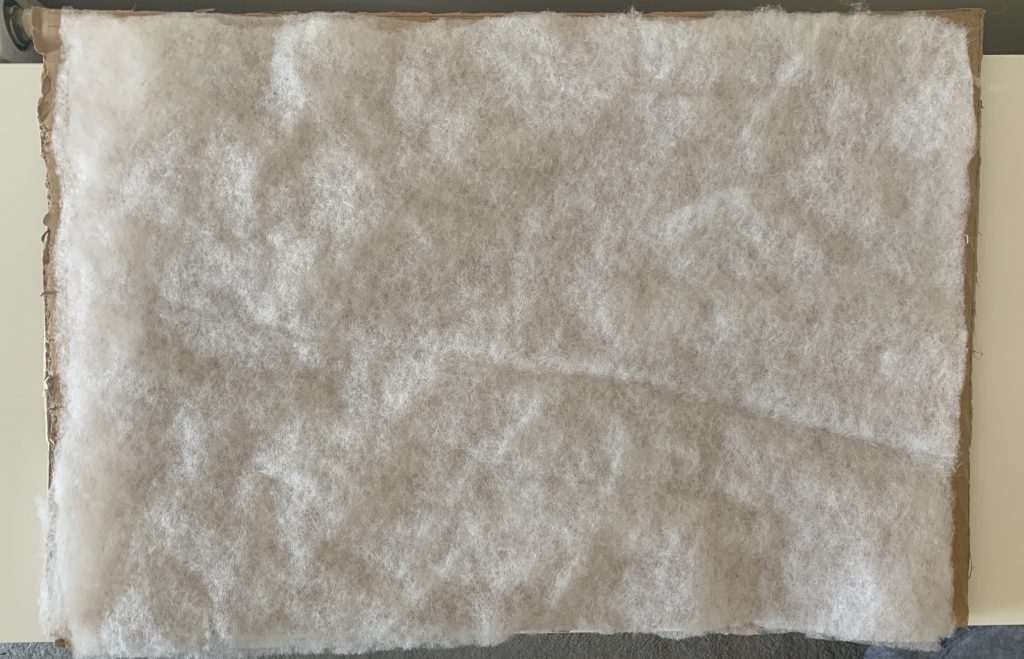
Cut down the edges so the wadding doesn’t overhang as this will cause the edges to be puffy and untidy.
Step Three
Cut your fabric layer out, making sure you add at least 2 inches on all sides. This will give you enough to work with when gluing onto the back.
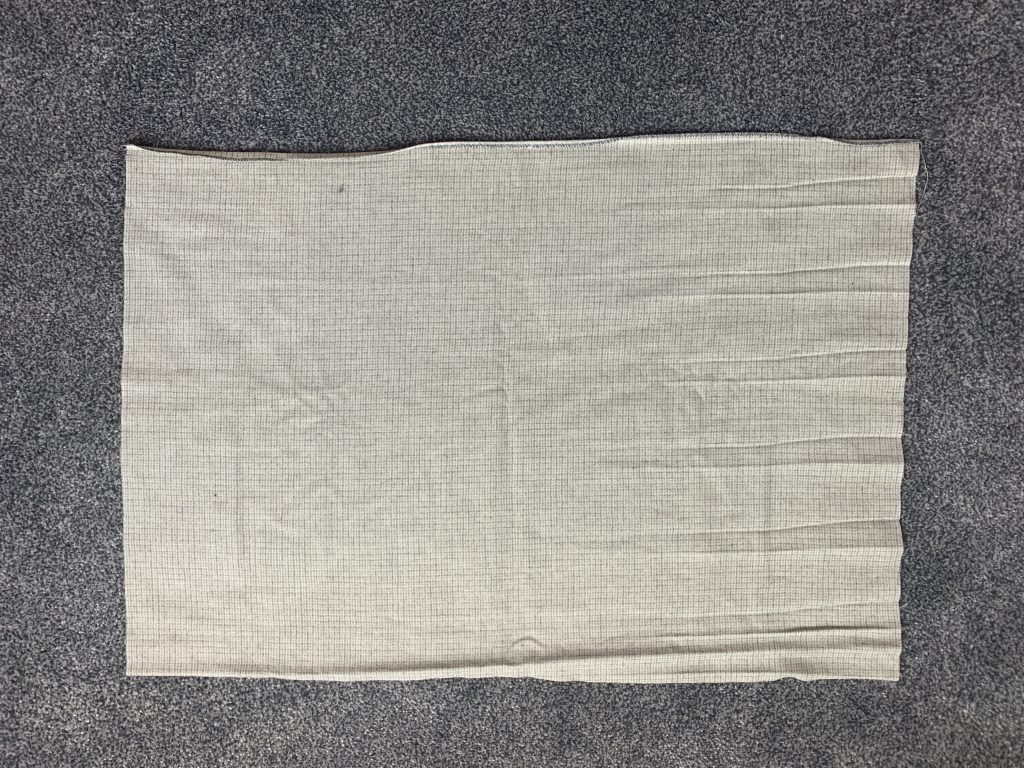
Tip: Make sure you iron your fabric before gluing down onto the board. That way it will look neat and professional.
Once you are happy with your wadding layer you want to place the fabric over the top and pull onto the back.
Make sure you have made the fabric central so you have plenty of excess on all sides.
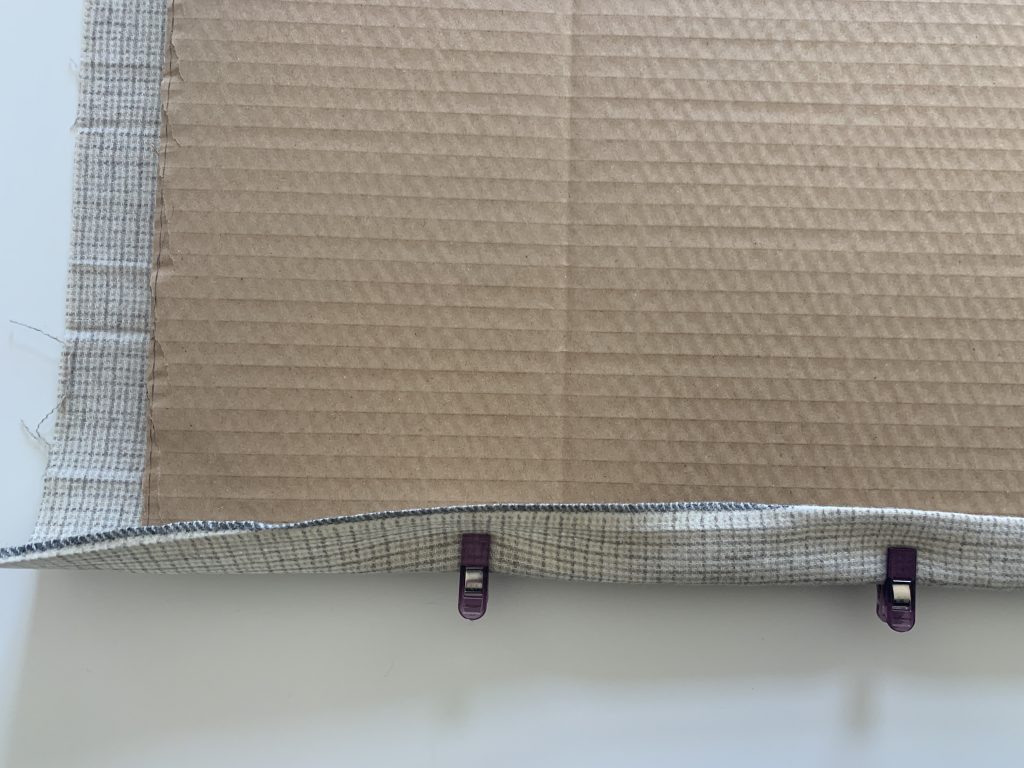
Starting with the longest sides first, pull over and clip at the top. Make sure the fabric is fairly tight as it won’t look nice or work well if it is loose.
Glue into place as much as you can down each side.
You can add extra glue to hold the rest of the excess fabric later on.
Step Four
Moving onto the 2 shorter ends you will want to repeat the process.
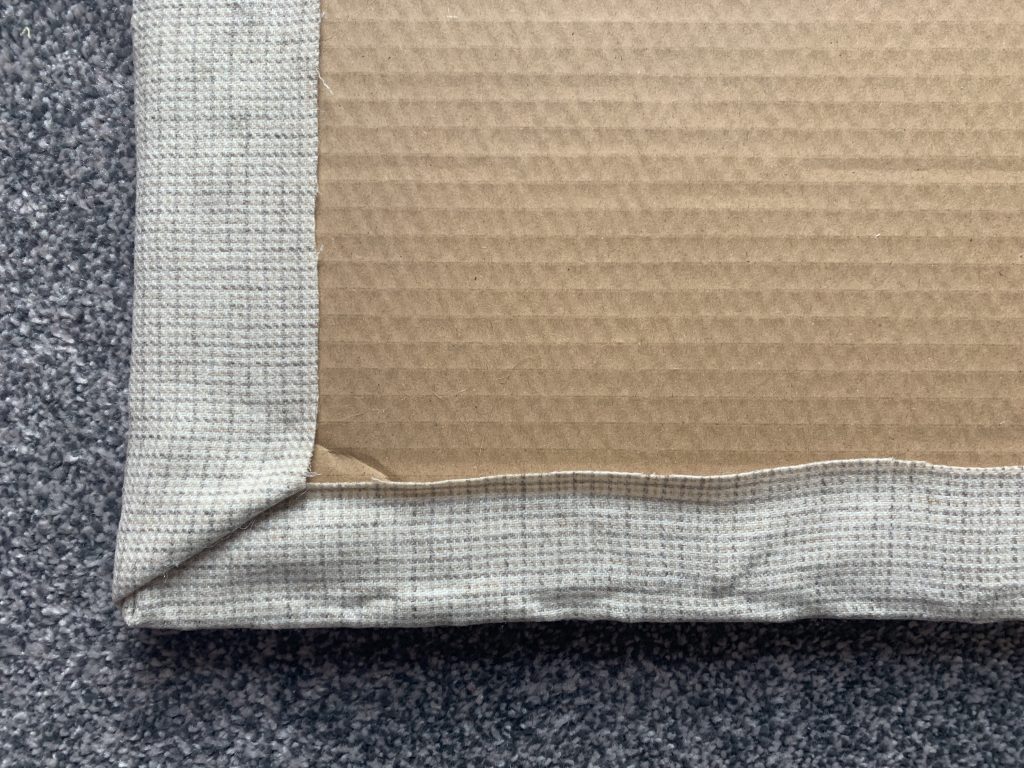
To make the corners neat create a triangle by folding the corner diagonally.
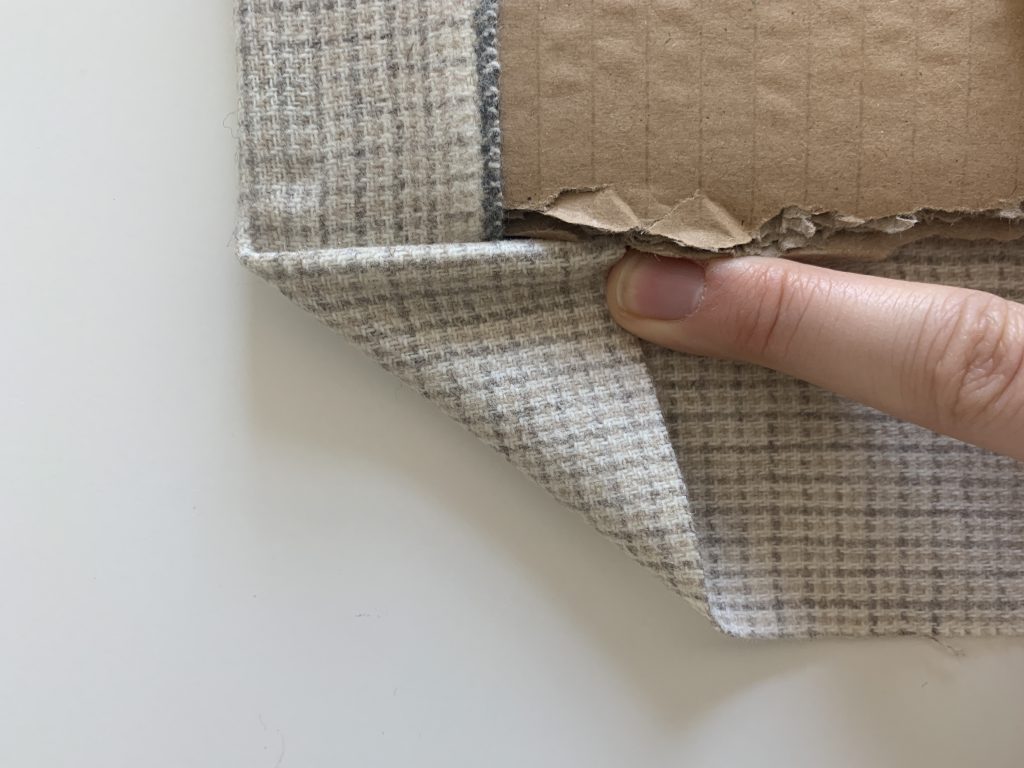
Then fold over onto the back.
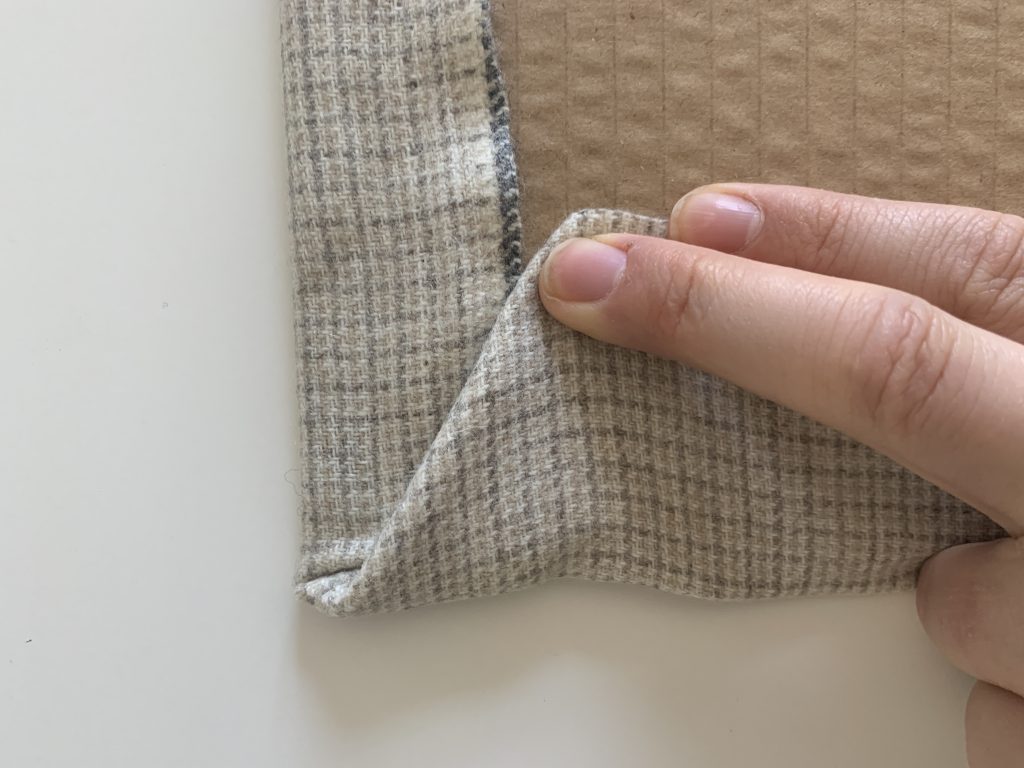
Tip: Use a clip or tape to hold it into place while you glue it.
Glue in place and it should look something like the image below.
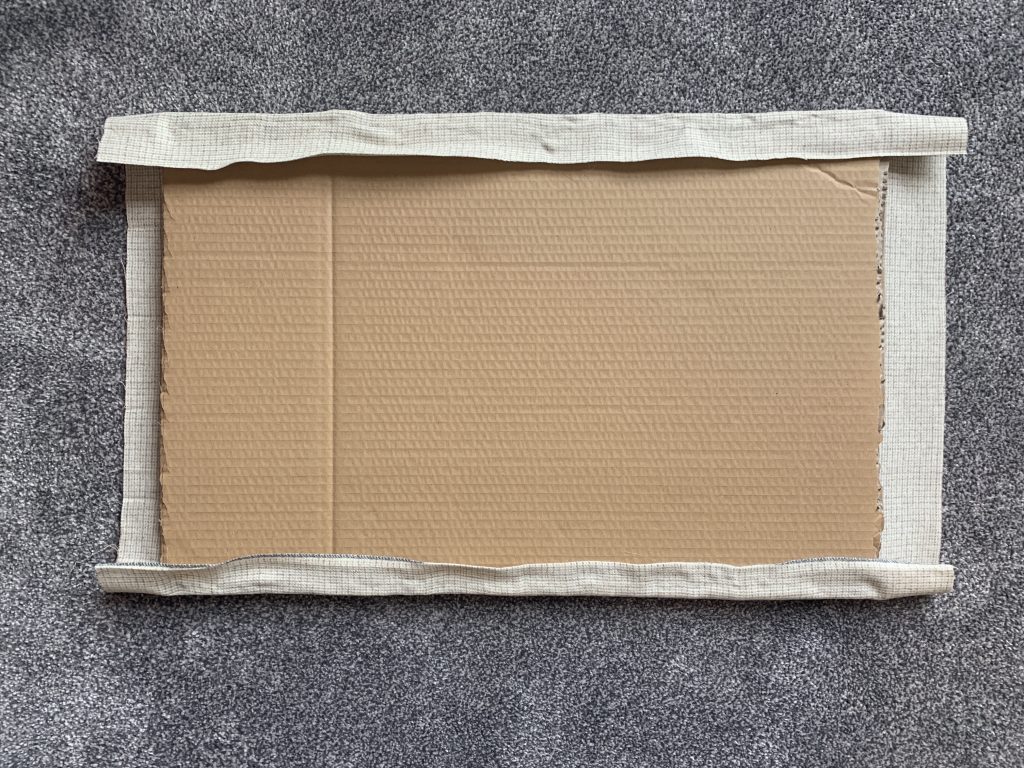
Use sewing clips to hold the rest of the side down in place.
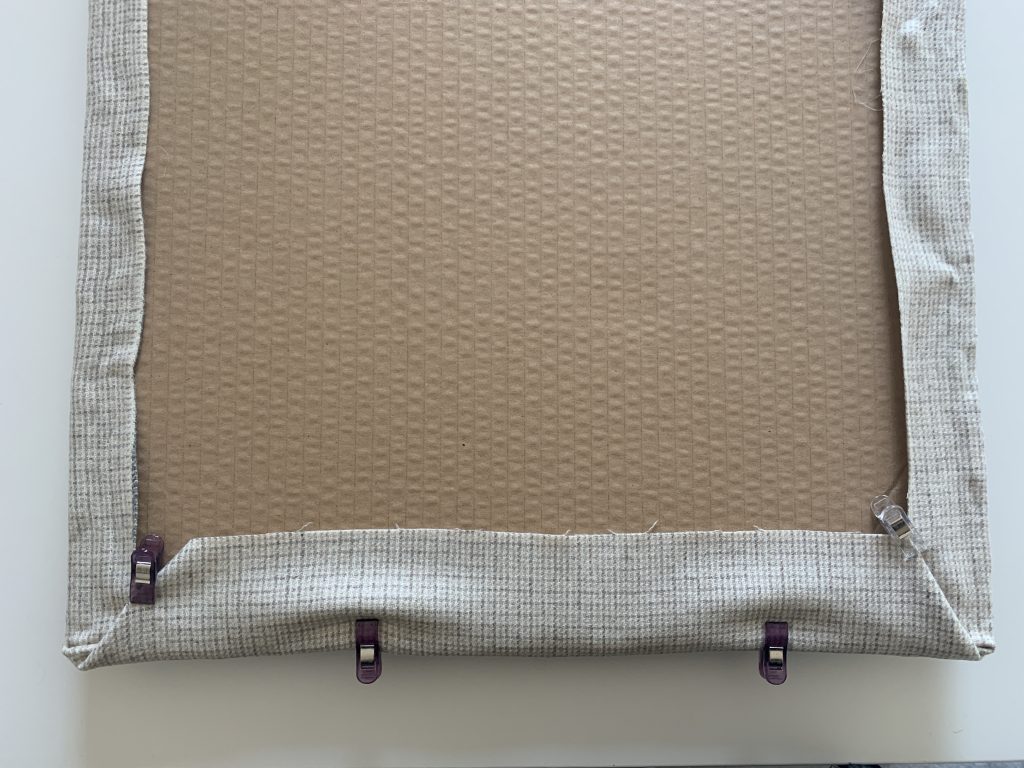
Glue the rest of the edges down with sufficient glue.
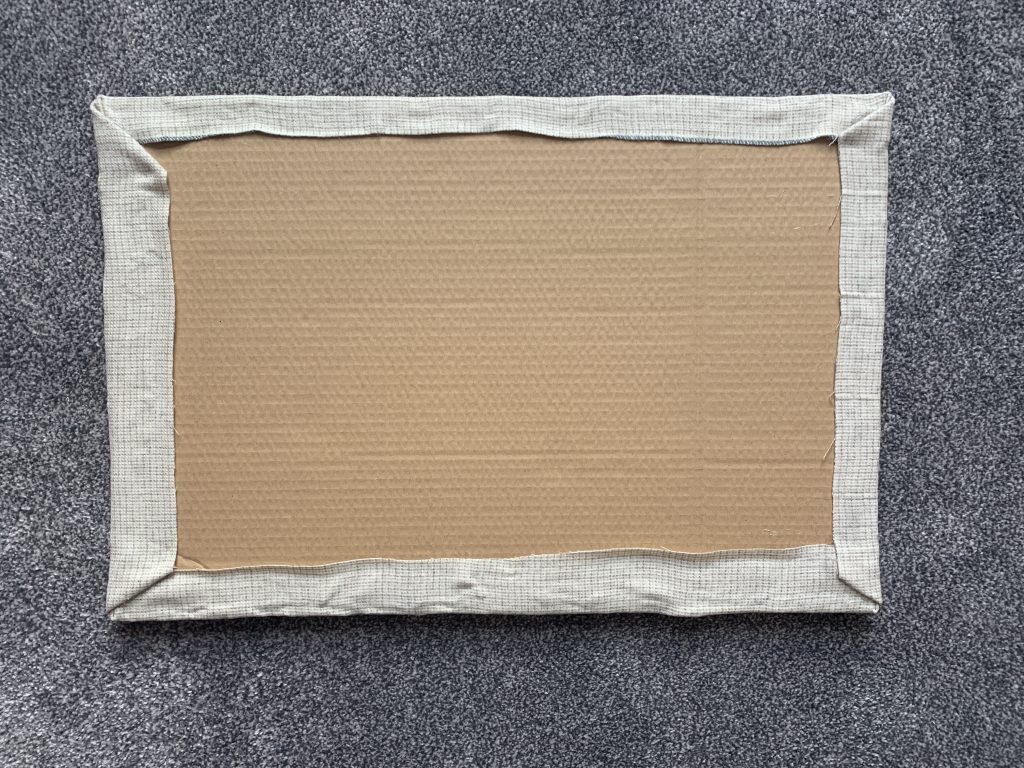
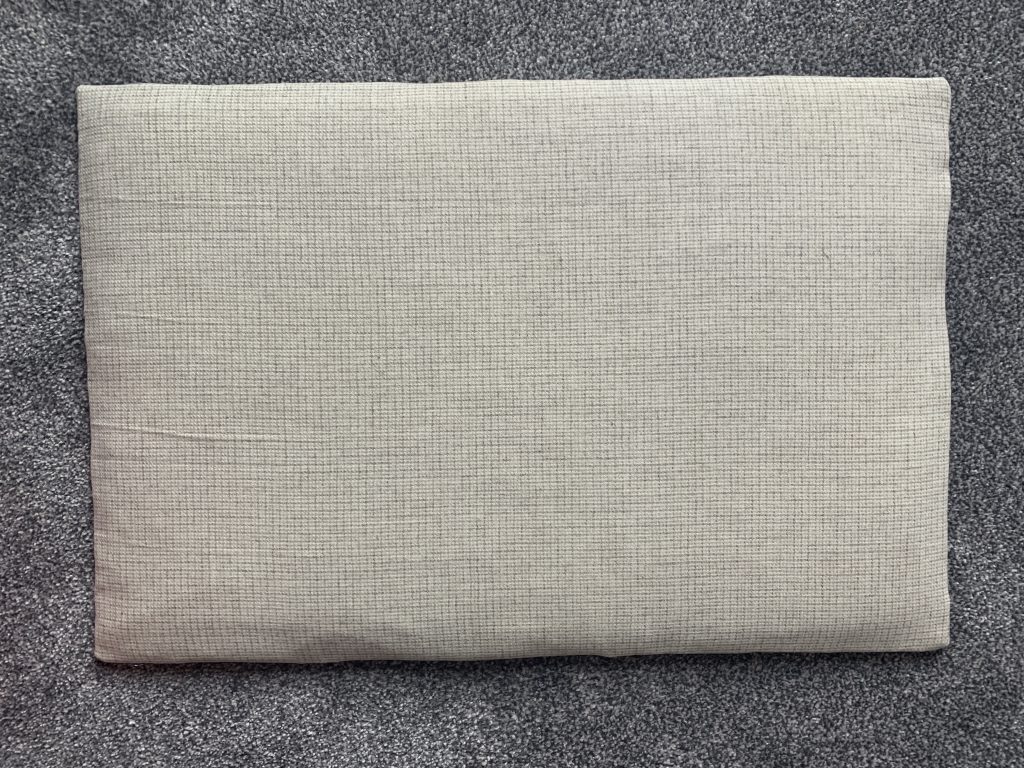
The front then will look lovely, smooth and neat.
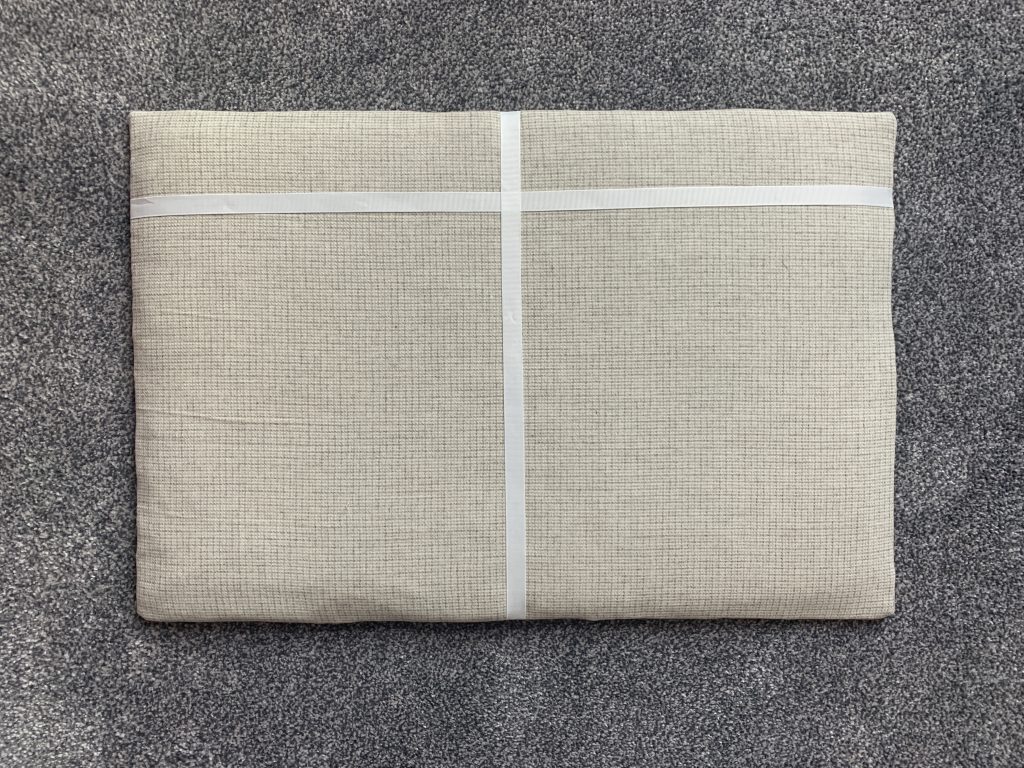
You can always use the same fabric or another fabric to glue onto the back to create a neat backing.
Step Five
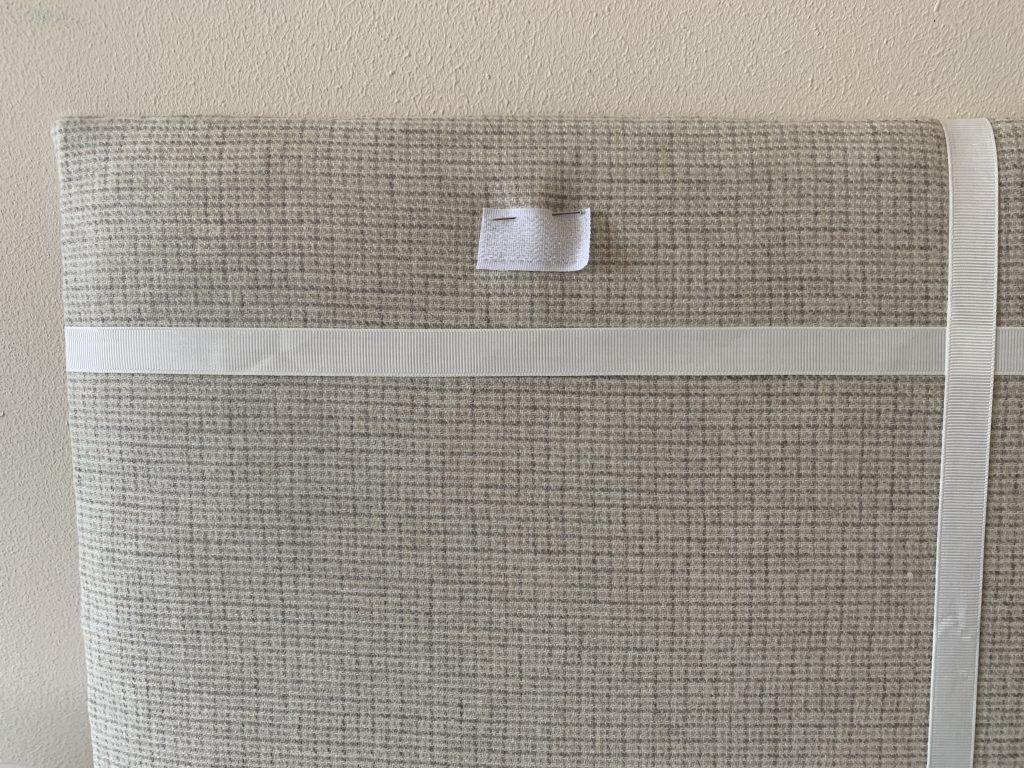
You can add on ribbon or elastic to the board.
This is really helpful if you want to create sections, lines or decoration.
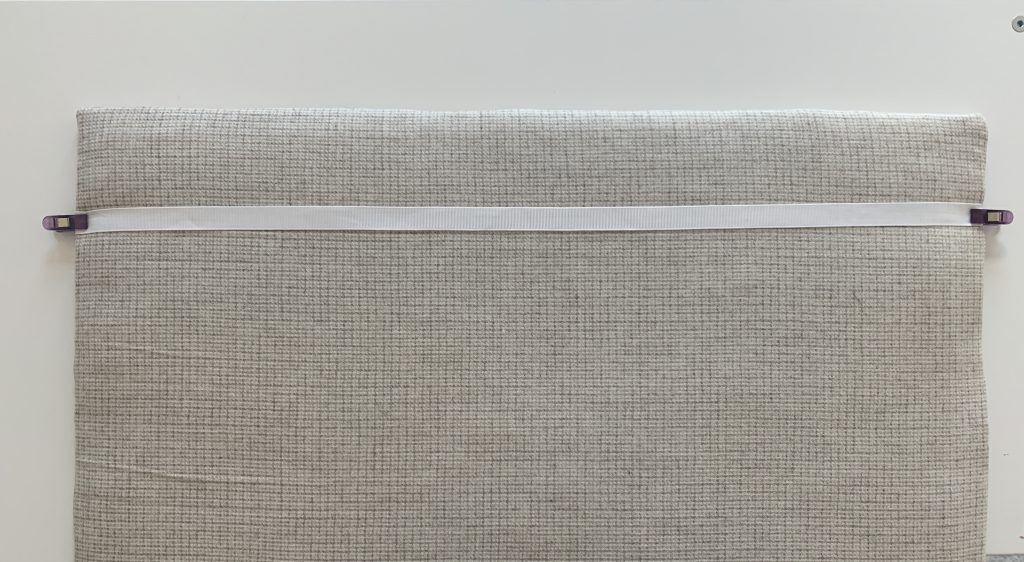
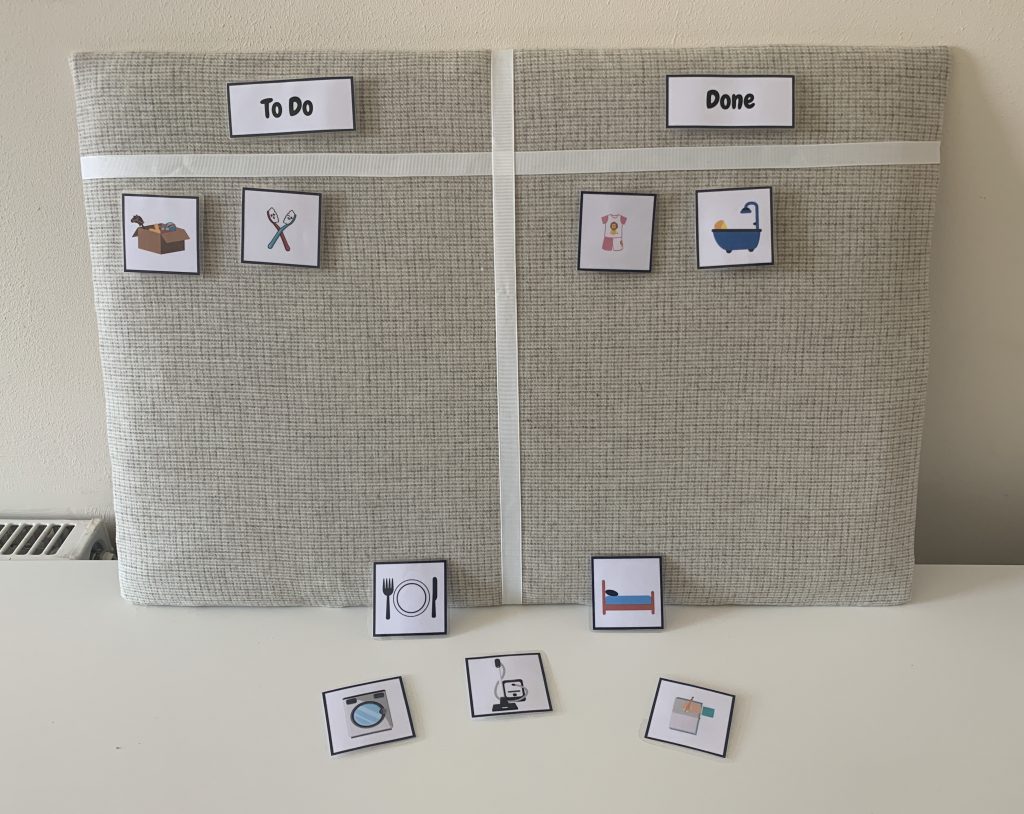
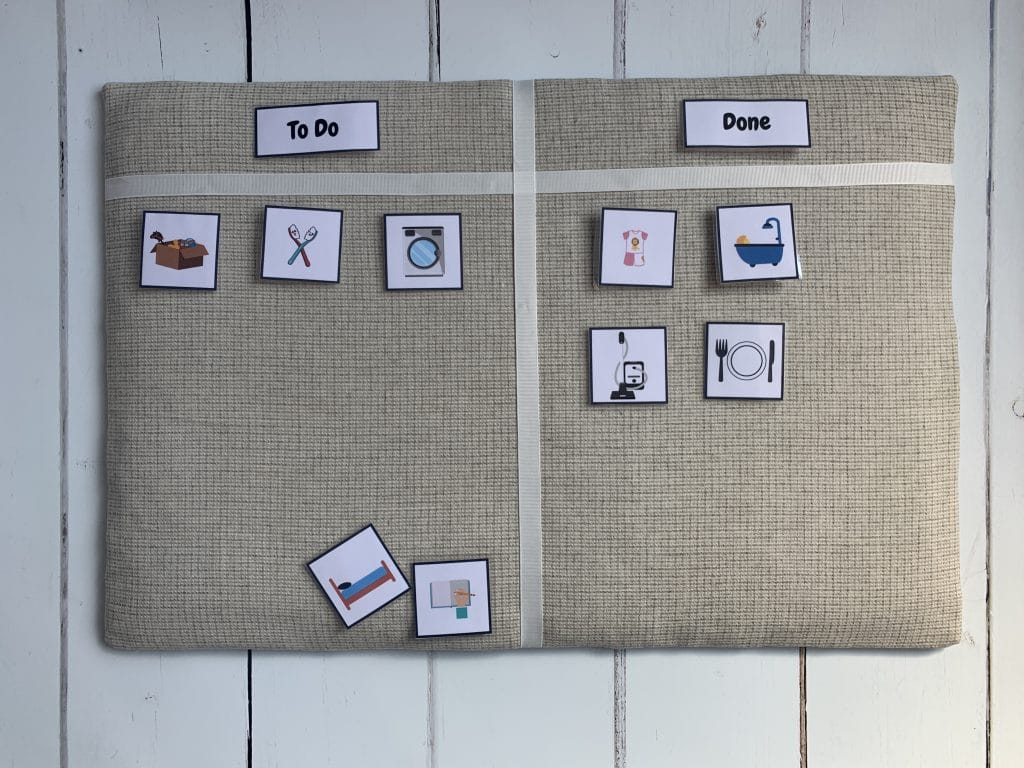
I chose to add on ribbon to create 2 columns – To Do and Done column.
I used the glue gun to fix the ribbon in place.
Many people create diagonal lines to hold cards, letters and appointment cards.
Making The Chore Tokens
I decided to create the tokens for the board from printing off a couple of symbols. Though this isn’t essential on how to make a padded notice board I included it to give you an idea of what you can do with yours.
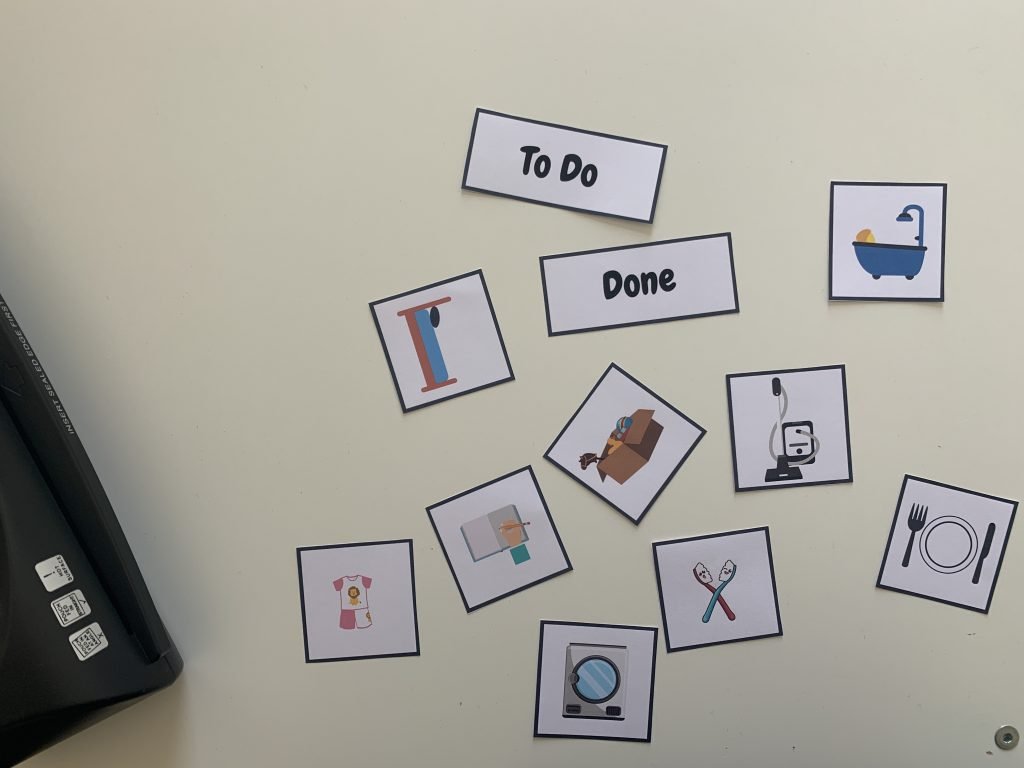
I then laminated the individual tokens and cut them out.
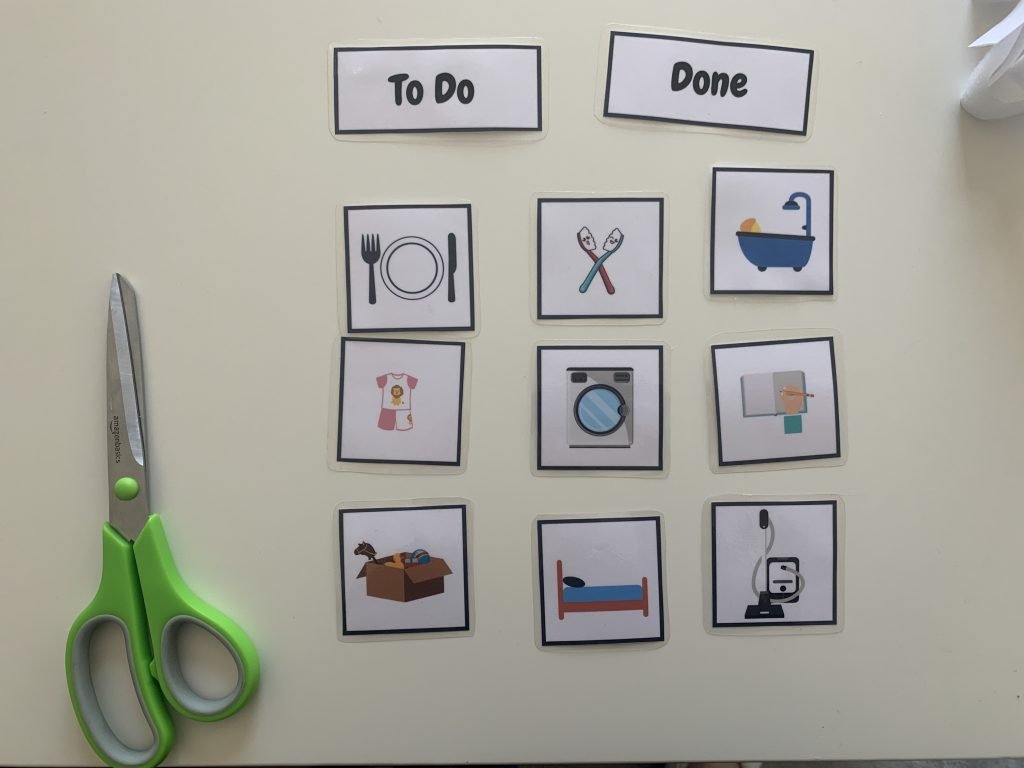
Using velcro I glued one half onto the token and the other half onto the board.

Tip: I pinned the velcro backing onto the board to make sure I was happy with the placement before gluing.
I wanted the tokens to be movable to note what chores were done.
Add a ribbon or hook to the back to place on the wall when you are done.
That is how to make a padded notice board! I hope you have enjoyed this tutorial and it has been helpful. You change out the use for the board by simply changing the velcro tokens.

