
How To Make A Pin Cushion With A Scissor Pocket – Quick & Easy
Some of the links below are affiliate links. As an Amazon Associate I earn from qualifying purchases. This means that, at zero cost to you, I will earn an affiliate commission if you click through the link and finalize a purchase.
Pin cushions come in a variety of shapes, sizes and styles so it can often be hard to know which style you want to use or make for yourself. Recently I have been enjoying a lot of hand-sewing projects and often found I needed my small scissors to hand with my pins.
This led me to find a solution, a pin cushion with a pocket, while I used this pocket for my little scissors you can use this pocket for any number of things you need to store from needle packets, small twines of thread, a pencil or even your glasses!
I am going to show you a quick and easy method on how to make a pin cushion with a handy dandy pocket on one side. You can use this method to make any size and shape you want for your pin cushion as the skills and tools used are easy to transfer to any shape and size.
Before we get started we will need to look at what tools we will need…
Tools & Equipment
- Fabric – I am using cotton though you can use any of these recommended fabrics for your pin cushion.
- Fabric Scissors Or Rotary Cutter
- Chalk Pencil
- Tape Measure
- Sewing Machine – Though if you wish to do this by hand you can follow the same process.
- Thread
- Pins or Sewing Clips – I have an entire post reviewing the top sewing clips on the market here.
- Cutting Mat
- Iron & Ironing Mat
- Stuffing – Here is a handy guide for picking the best stuffing for a pin cushion.
Method
Step One
Before cutting any of your fabric or making plans for your layout make sure all your fabrics have been pressed and are ready to be cut.

Many fabrics shrink under heat and so it is best to do that before you cut your fabrics to stop this from happening mid-project.
Step Two
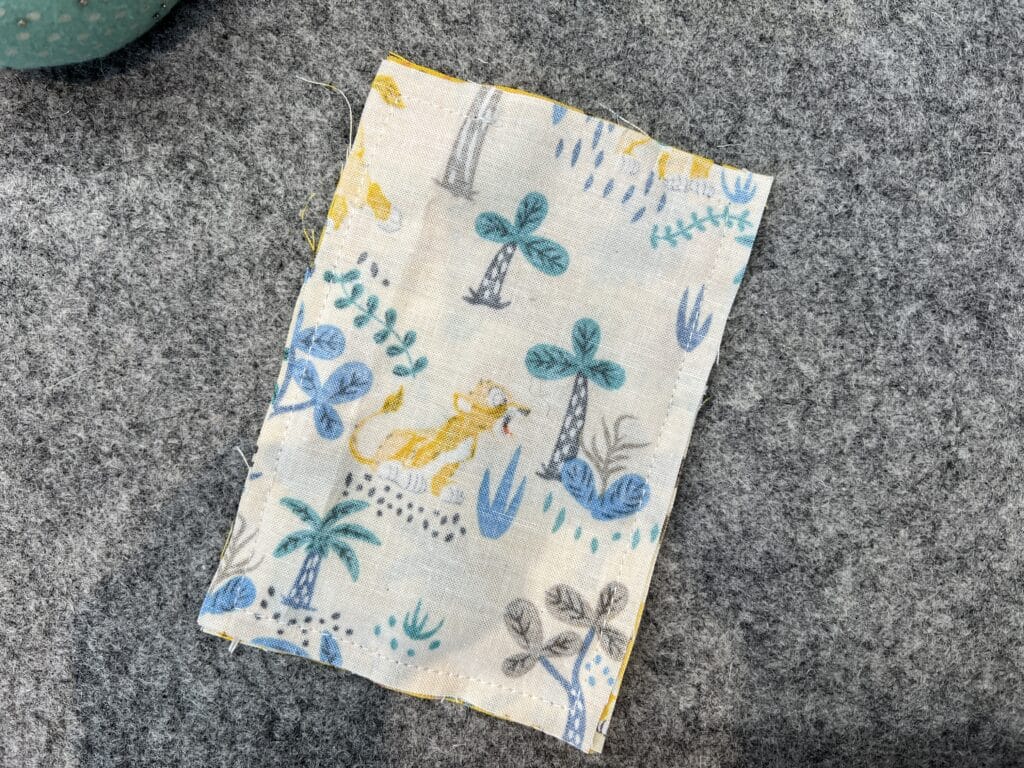
Measure and cut 2 rectangles of 3.5 inches by 5 inches. If you are using patterned fabric with a directional print measure 3.5 inches across and 5 inches down.
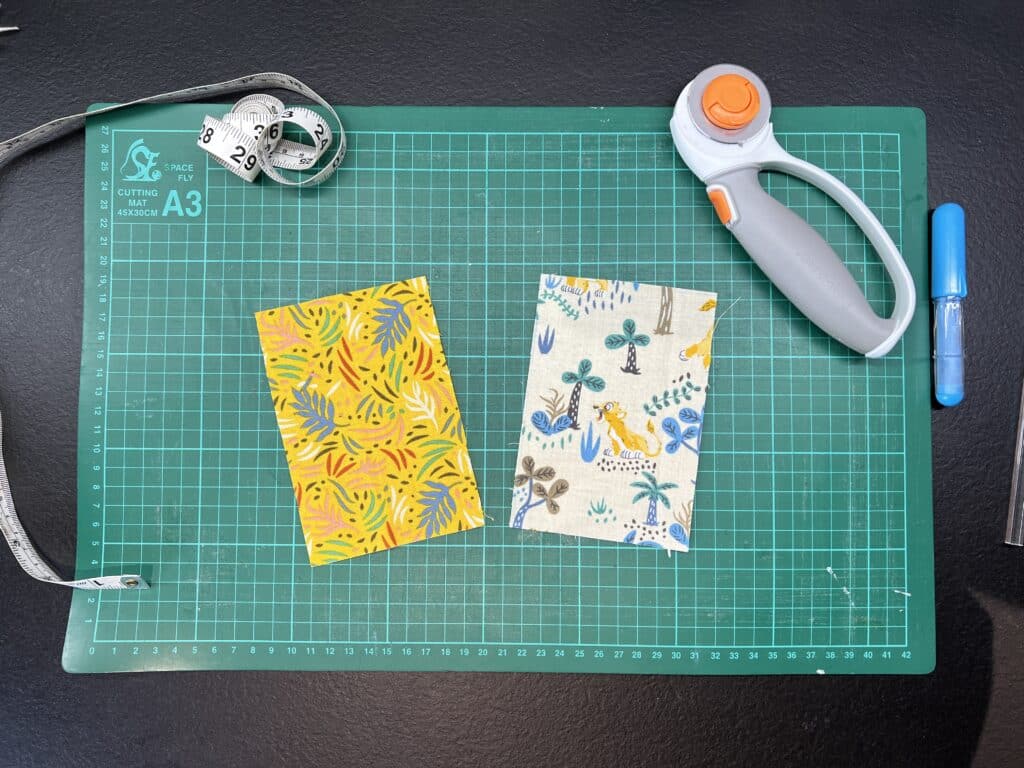
I used 2 different fabrics to make my front and back look different, mainly to keep the tutorial clear and easy to follow.
Step Three
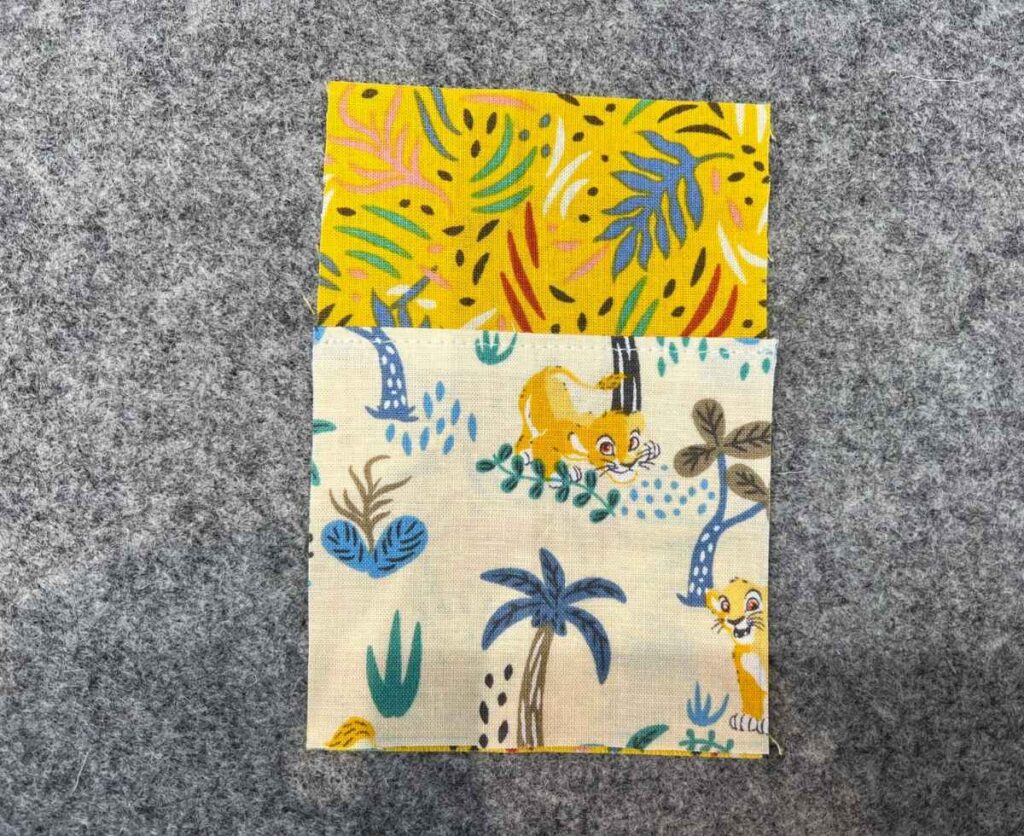
Measure and cut the pocket piece, this is going to be smaller than the other pieces in length but still has the same width.
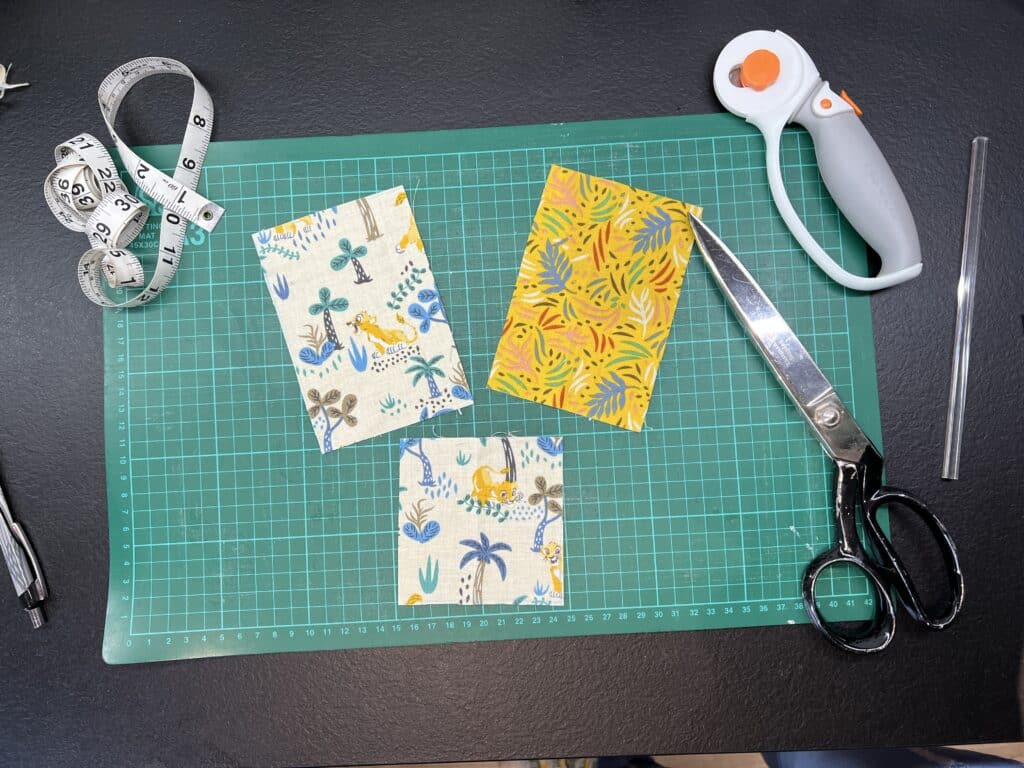
Cut this piece 3.5 inches across and 3.5 inches down, don’t worry if this looks too high on your first pieces as you will need to fold over to create a neat edge which will take up 0.5 inches.
Step Four
Taking your pocket piece, fold over 1/4 inch towards the wrong side of the fabric, using the iron press this in place.
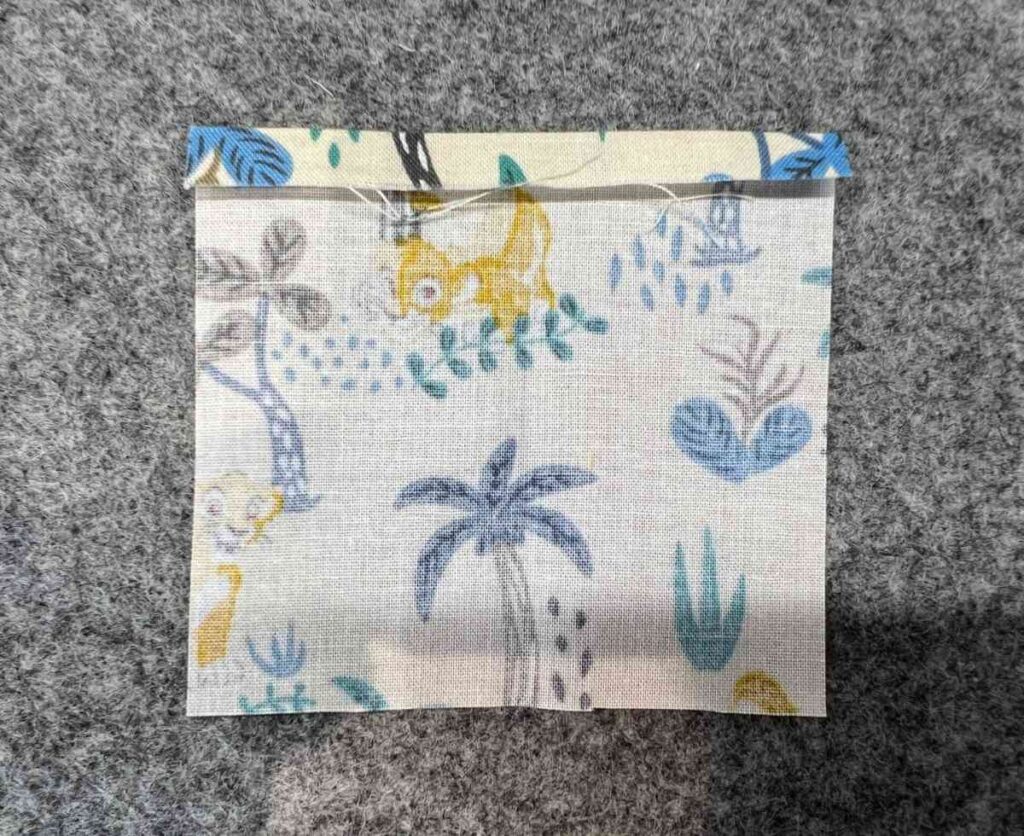

When it has been pressed in place clip or pin it in place if you need to and sew along using a straight stitch to hold it in place. This will create a neat edge on the top of your pocket so your fabric looks nice and tidy and it will stop any fraying.
Make sure to trim off any loose threads before moving onto the next step.
Step Five
Layer up your pocket on the main backing piece, your pocket should line up with 3 of the 4 sides of your main fabric – see the image below.

Pin these in place, making sure the pins aren’t near the edges as they are purposely just to hold the layers together for now.
Next place the backing pin cushion piece of fabric on top facing down. So that the right side of the fabric is facing down towards the other right sides of the fabrics.
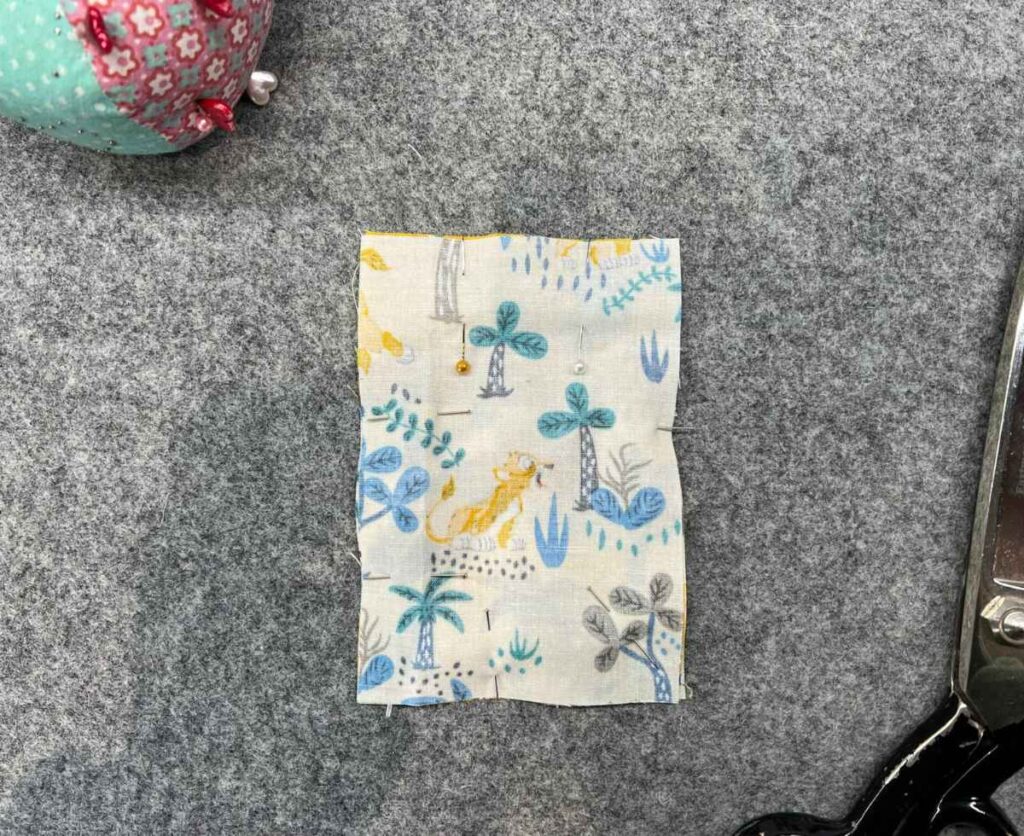
Pin or clip these in place, I used a couple of pins mainly on the corners to make sure they layers were held together and that the pocket piece hadn’t moved in the process.
When pinning leave a 1 inch gap on one of the 4 sides to turn the pin cushion through once sewn together.

I like to leave 2 different pins that are noticeable at these points to remind me not to sew within that space.
Step Six
Sew around the edges with a 1/4 inch seam allowance, you can round your corners or keep them sharp as I did.
Once you have sewn around the edges, make sure you left 1 inch open to turn through, and remove all the pins ready for the next step.
Step Seven
Once you have sewn around the edges you will need to cut the corners of the fabric to get rid of the bulk before turning through.
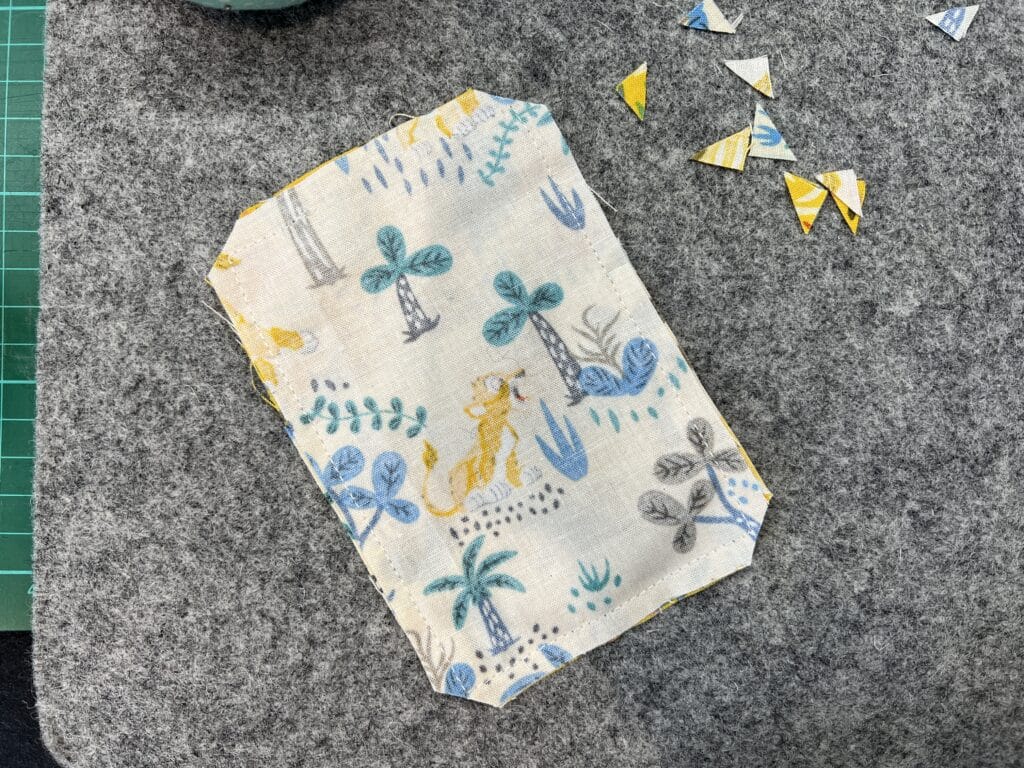
To do this simply cut diagonally across the corners to remove the corner bulk. Do this for all 4 corners.
Once you have cut the corners turn through to the right side and make sure to use something point to create crisp sharp corners.
Once you have turned it through, roll the seams between your fingers to push them to the very edge. This can help create a nice crisp shape to your pin cushion. Press with your iron before stuffing with your choice of filling.
Step Eight
Stuff your pin cushion using the open hole with your chosen filling. I chose a wool blend teddy bear stuffing as I wanted something lightweight and easy to care for.
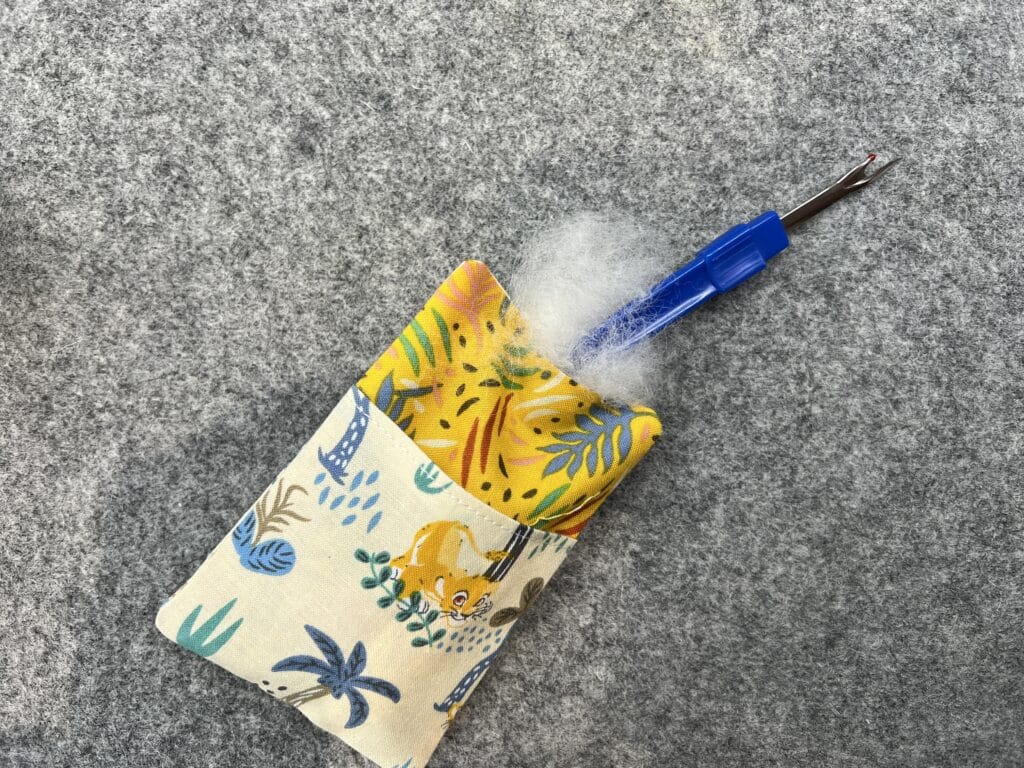
Make sure to take small portions of stuffing at one time so as to not create one oddball in the middle of the pin cushion that is hard to move around.
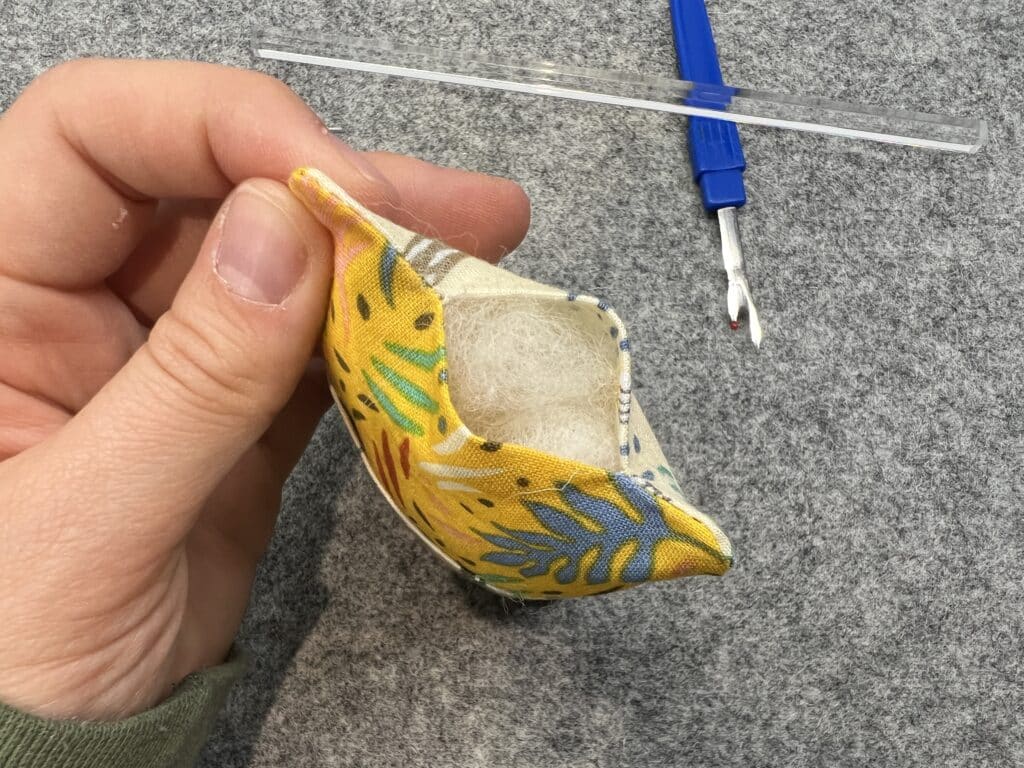
Use a thin long tool or pencil to help push the stuffing into every part of the pin cushion.
Step Nine – The Final Step!
Once your pin cushion is stuffed and you are happy with it, you can sew it up. Use a needle and thread to slip-stitch the opening shut.

Alternatively, sew around the entire edges of your pin cushion using your sewing machine to sew the opening shut. This can be decorative and also can help create an extra structure and long lasting feel to your pin cushion.

