How To Make A Sewing Needle Case
Some of the links below are affiliate links. As an Amazon Associate I earn from qualifying purchases. This means that, at zero cost to you, I will earn an affiliate commission if you click through the link and finalize a purchase.
Are you looking at how to make a sewing needle case?
There are plenty of needle cases you can buy from small craft stores to online and there are some lovely designs in places such as Cath Kidston. But what I really love is being given something homemade, it shows love and care.
I also am aiming to give more homemade gifts this year and in the future so I am testing out different projects for everyone to enjoy and make to give to friends and families (not just for Christmas either).
If you have a friend or family member that likes to sew this would make a great gift to give. I have a couple of friends who also like sewing and an Auntie who loves to knit, sew and crochet so these are definitely useful gifts to make in my household.
What Is A Needle Case?
A needle case is a small book with pages that hold your pins and needles – usually hand sewing needles.
The book can be made from different fabrics on the outer shell and the pages are usually formed by felt or wool pages.
They are usually no bigger than the palm of your hand so they are easy to pack away in a bag or into a sewing box.
Tools & Equipment
- Scissors
- Fabric
- Interfacing
- Sewing Machine – optional, you can make these by hand if you prefer
- Felt
- Thread
- Ribbon or String
- Button
How To Make A Sewing Needle Case
Needle cases are incredibly useful and easy to make as you can use felt for all the pages or add in a fabric case. You can add detail or leave it really simple. They can be what you make them.
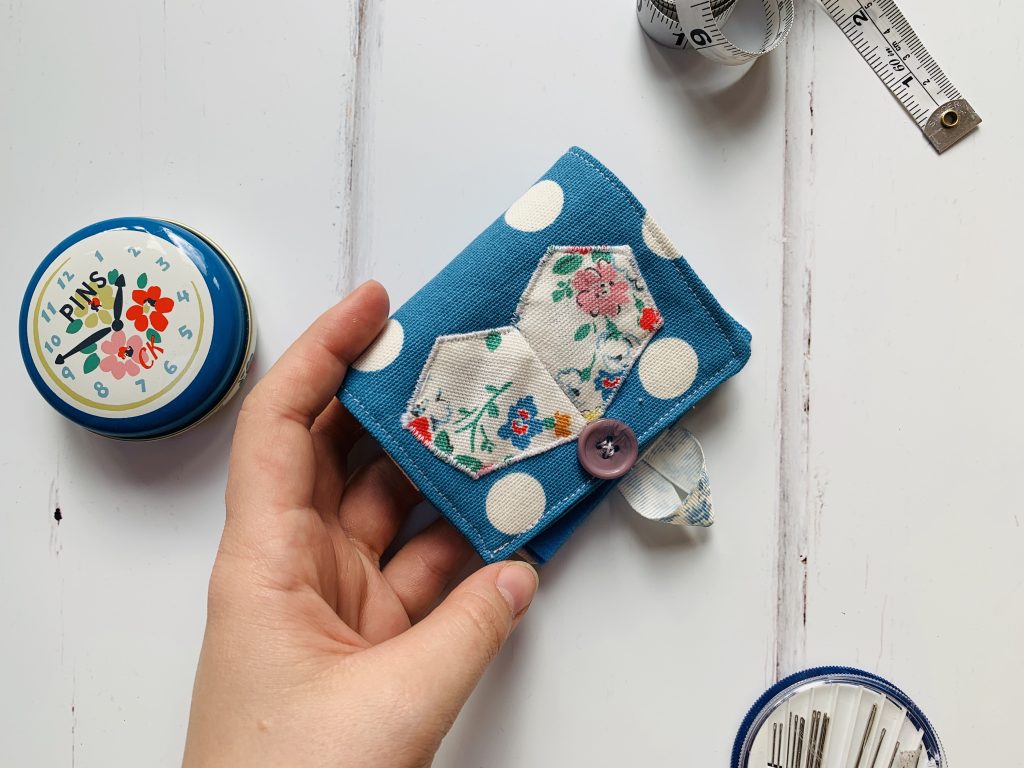
What I love the most is that you can make these in a number of ways, styles, fabrics and shapes and can be completely personalised to each person. They are simple and straight forward to make means you can sew a tonne of them in no time!
Step One
Starting with the outer shell – the cover of your book as you might think of it.
Create 2 rectangles that measure 4 1/2 by 71/2 inches. One for the front and one for the back.
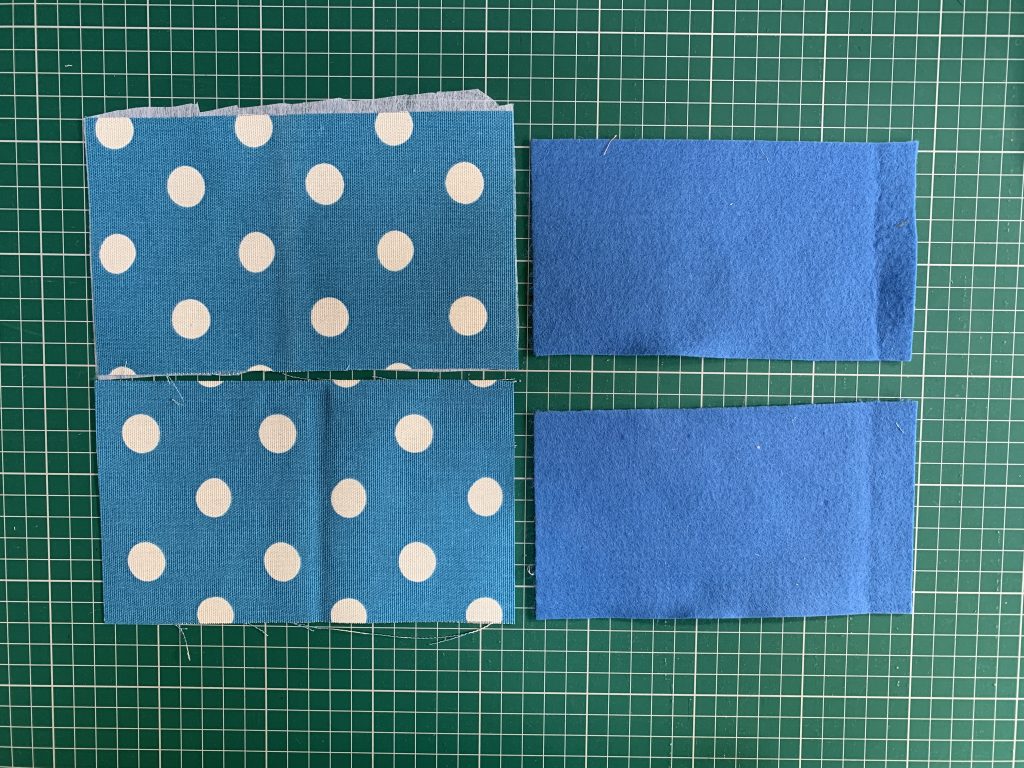
Depending on how may pages you would like in your book will determine how many you cut. I wouldn’t use any more than 4 pages.
Tip: To make accurate cuts and rectangles use a quilting ruler and rotary cutter. I swear by mine and they help me create straight lines and even shapes.
No more tilted or wobbly rectangles and shapes.
So cut 2 rectangles that are slighly smaller at 4 inches by 7 inches.
Remember to cut one rectangle of 4 1/2 inches by 7 1/2 inches into your interfacing to help give your fabric some structure.
Step Two
Start by ironing on your interfacing to one of your fabric rectangles.
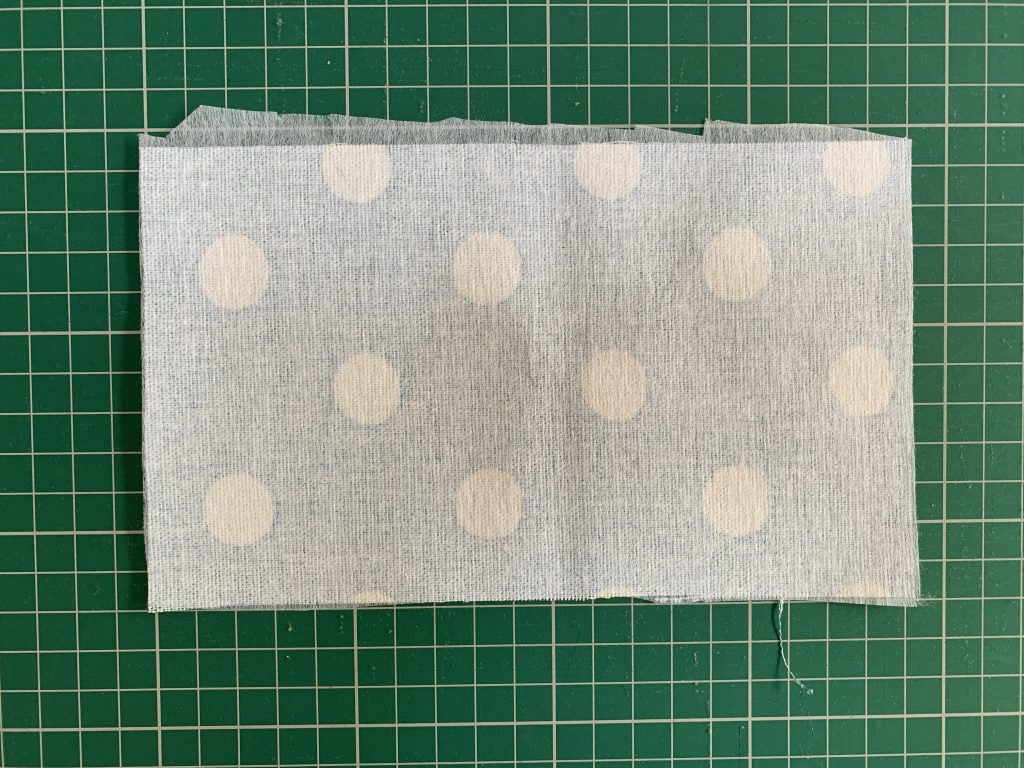
Make sure to put the shiny, tacky side down to the wrong side of the fabric.
Step Three
If you want to add any additional details to the front of you needle case do this before sewing the two rectangles together.
I chose to add an applique patchwork to mine as I was making it as a gift.

You can add anything to the front and back to your needle case as long as you don’t go into the seam allowance – unless you want it to catch in the seam when sewing the pieces together.
Add a small piece of string or thin elastic in a small loop.
Tip: Your front and back of the needle case when finished is on the same rectangle. See image below.
Pin and sew to one side of one of the fabric rectangles. This will be the hoop to close the needle case.

Make sure you note this as the back piece when you sew your fabric pieces together.
Step Four
Place your two fabric pieces together right sides facing inwards. Pin in place and sew around the edge with a 1/4 inch seam allowance. Leave open a 1 – 2 inches on one edge to turn through for later.
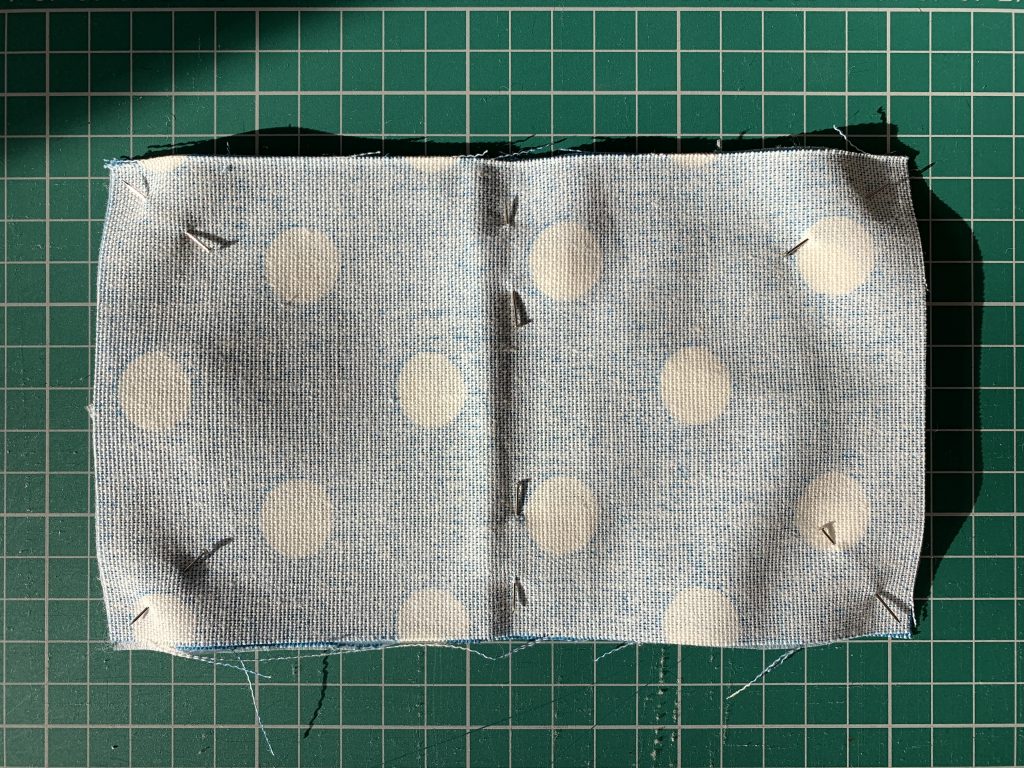
Once sewn together cut the corners down at a diagonal.

That will help get rid of any bulk when turning the seams through.
Step Five
Turn through so the right sides are facing out.
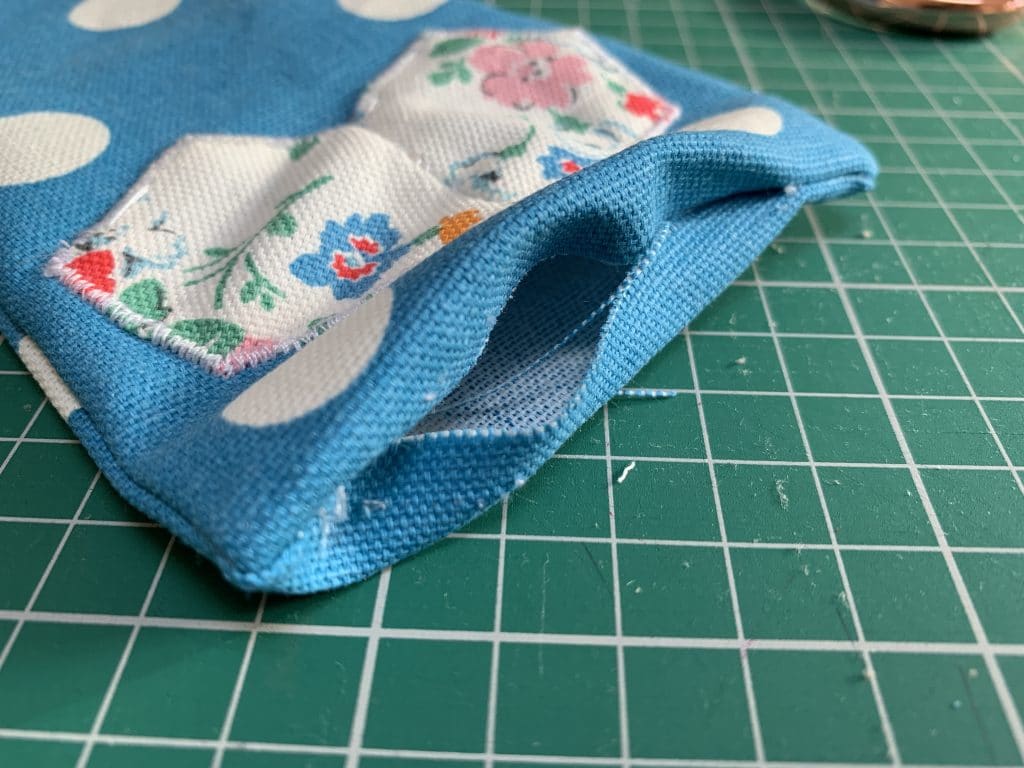
Take to the ironing board to give the pages a good press. To make the seams nice and crisp you might want to roll the seam between your fingers. This will help push the seam to the edge to make it clear and crisp.
Iron and press in place, make sure the opening is folded under ready to sew together.

Sew up the opening either using a slip stitch/ blind stitch or you can top stitch around the entire rectangle catching the open seam along the way.

Step Five
Once you have got your outer shell or book cover done you can then move onto sewing in the interior pages. These are the felt pieces you cut earlier.
They don’t require hemming or cutting with pinking shears as they material doesn’t fray.
You can however add a decorative edge with pinking shears or a decorative stitch to make it look a little fancier.

Place the felt rectangles on the inside side of your outer shell. Once Make sure they are centre aligned ready to sew in.
Tip: To get all layers in line at the half way point, fold each one in half and mark with a pin. Then match up all the pins on top of each other.
Pin all 3 layers together and they should be in line ready to sew.

Sew with your sewing machine or you can sew them in by hand.
Step Six
Finish off by cutting off all stray threads and tidy up ready to give away or use.

Finally add a button to the front to loop over your elastic or string loop to keep your needle case shut.
You don’t need to add a closure if you don’t want, I wanted to include it to show the use of having one and the process on including one.
Optional Ideas
You can make little notes for each page with what each of the needles are such as embroidery needles, felting needles and beading needles and many more.
I have many other tutorials on how to make arm chair caddies, sewing machine mats and more you can check out!
Place the note at the top of each page so you can quickly find what you need and know which needle you are using.
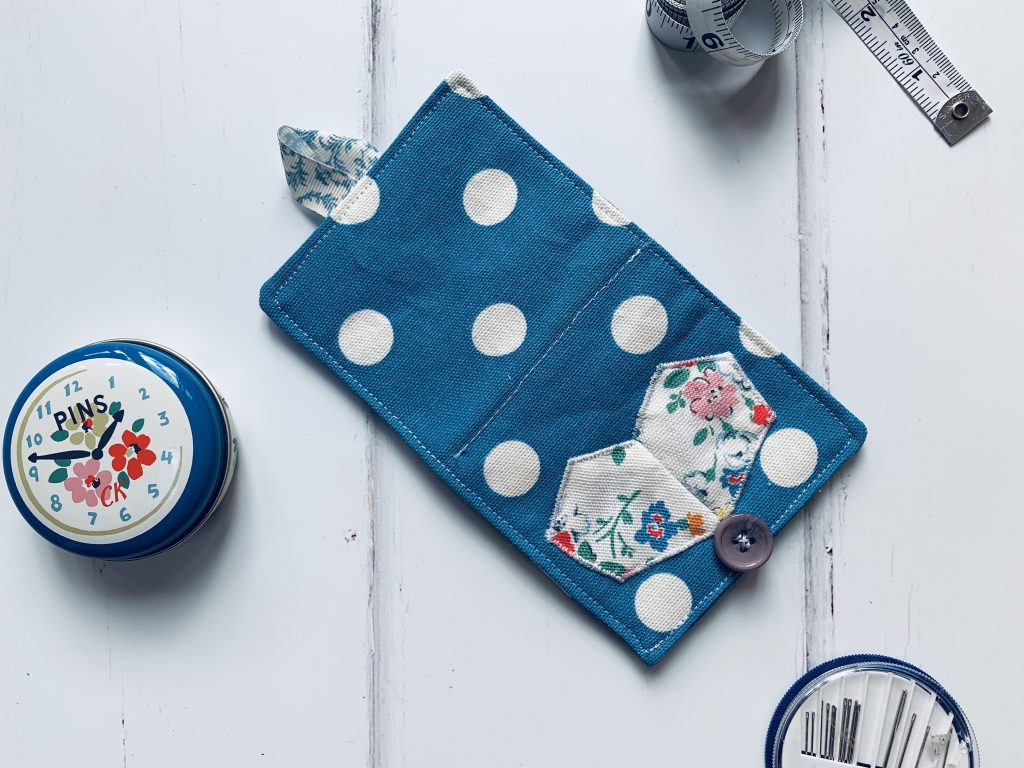
Now you can start using it!
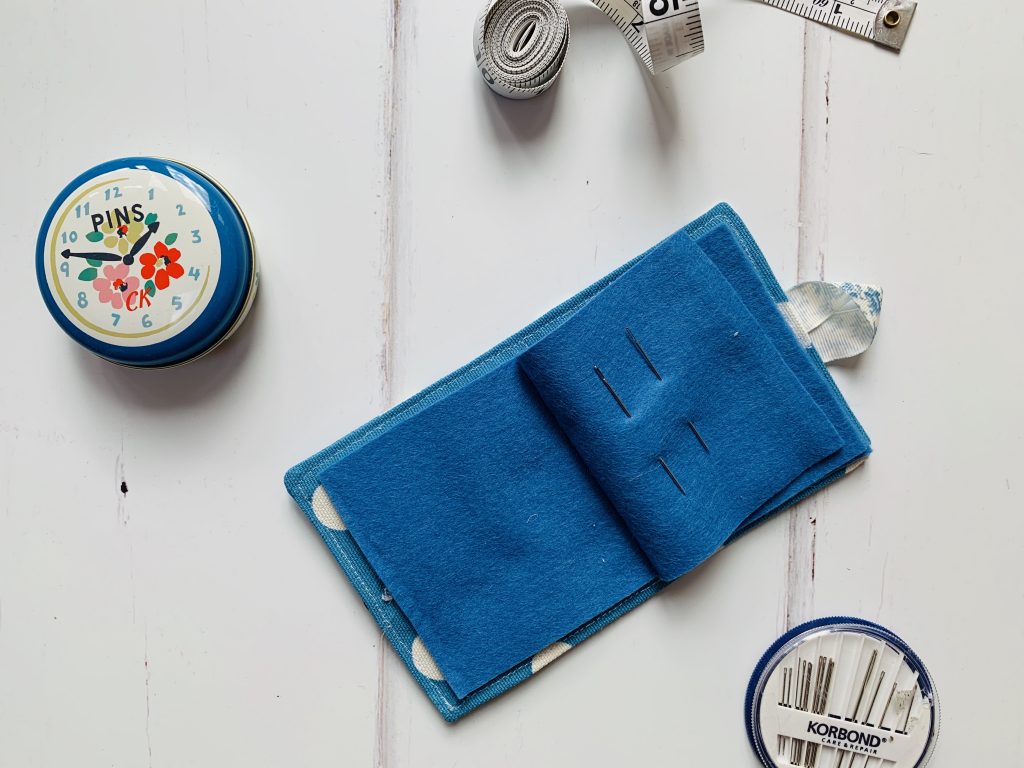
I hope you have enjoyed this tutorial and it has helped you learn how to make a sewing needle case. I would love to know different ways of making your personalised and fun!
