How To Make A Wrist Pin Cushion
Some of the links below are affiliate links. As an Amazon Associate I earn from qualifying purchases. This means that, at zero cost to you, I will earn an affiliate commission if you click through the link and finalize a purchase.
Wrist pin cushions are super easy and simple to make and are extremely effective when you are busy in your sewing room.
They are handy for anything from clothing and garment fittings to working on the mannequin or just simply doing a few bits on the machine.
Wrist pin cushions are really fun to make for friends, neighbours and family who enjoy sewing.
You can make them in a number of colours and even use thread to create flower shapes.
I love making these as they are fairly straight forward and fun to make.
What Is A Wrist Pin Cushion?
A wrist pin cushion is a smaller pin cushion that you can wear on your wrist. They can be attached by velcro or by elastic to make getting on and off easy and simple.
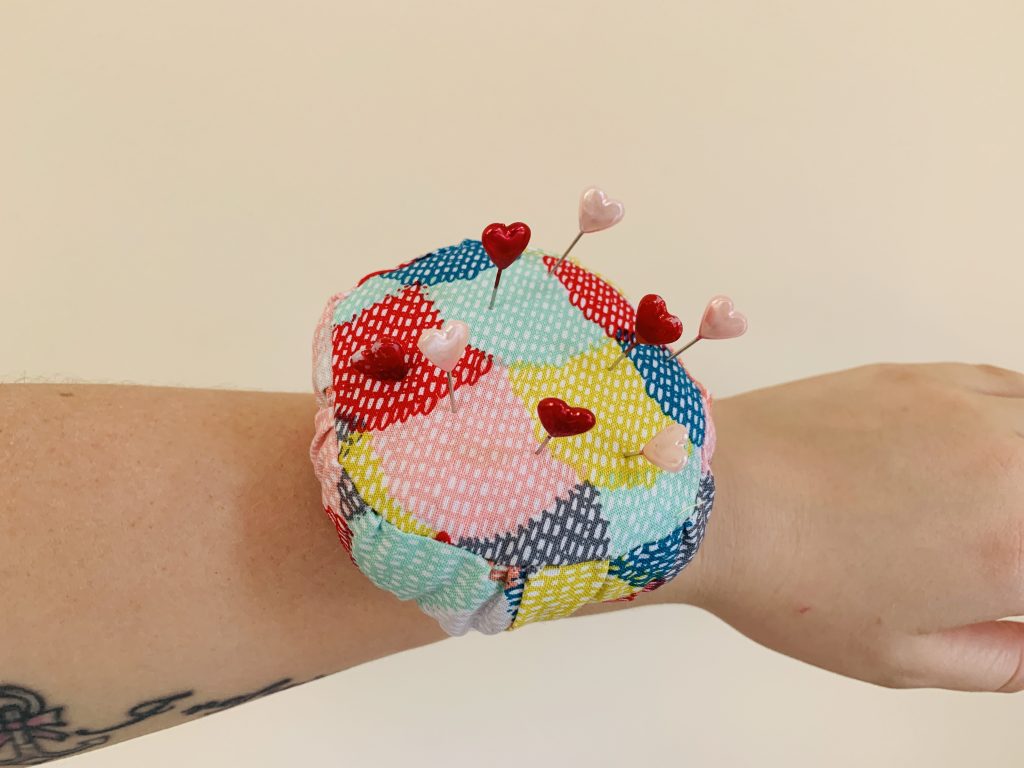
You can make them to any size you like but remember you want to keep it fairly small so it doesn’t get too heavy or in the way of you working.
Tools & Equipment
- Scissors
- Pins or Clips
- Fabric
- Small piece of card or thick paper
- Elastic
- Wire Wool or Stuffing – I have a dedicated post to help you decide what to put in your pin cushions.
How To Make A Wrist Pin Cushion
Step One
Start by cutting a circle of 2/ 1/2 inches wide into the card. If you have a circular shape that you like the size of such as a glass or pin box you can use that to draw around.
Cut out the cardboard circle and use as a template to cut the fabric pieces.
Step Two
Place your cardboard template onto the fabric and cut around, make sure to add 1/2 inch seam allowance.
Cut two circles in your fabric.
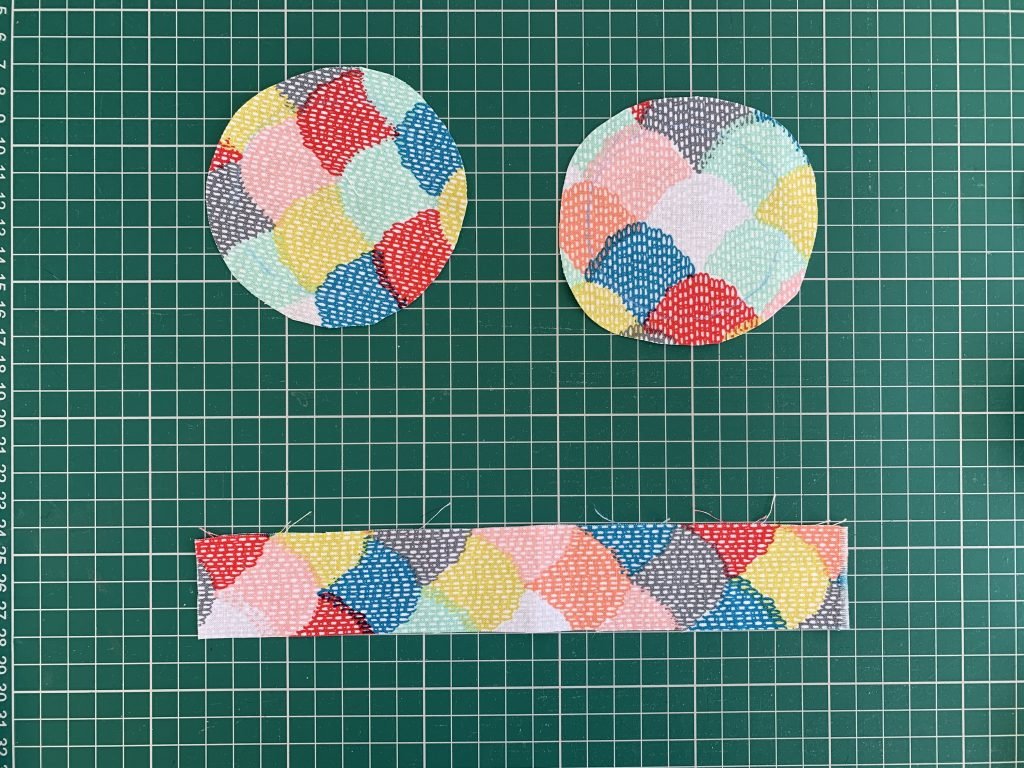
Then cut a strip of the circumference of the circle plus 1 – 2 inches for leeway. Cut the strip to 1 1/2 inches deep.
Step Three
The next step is to place the elastic around your wrist (roughly measure if it is a gift for someone else) and mark with a pen.
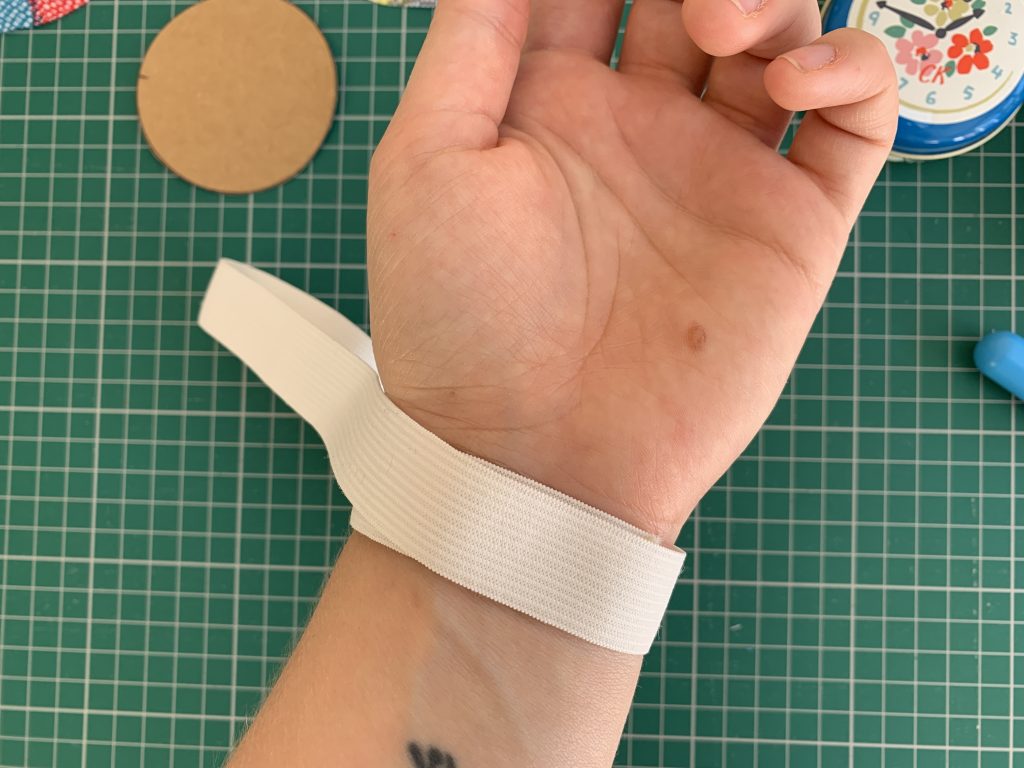
Tip: Make sure you add on 1 inch so you can overlap the elastic to sew it together. That way it won’t be too tight when you go to wear it.
Cut the elastic to the marked point and fold in a circle, matching the loose ends together.
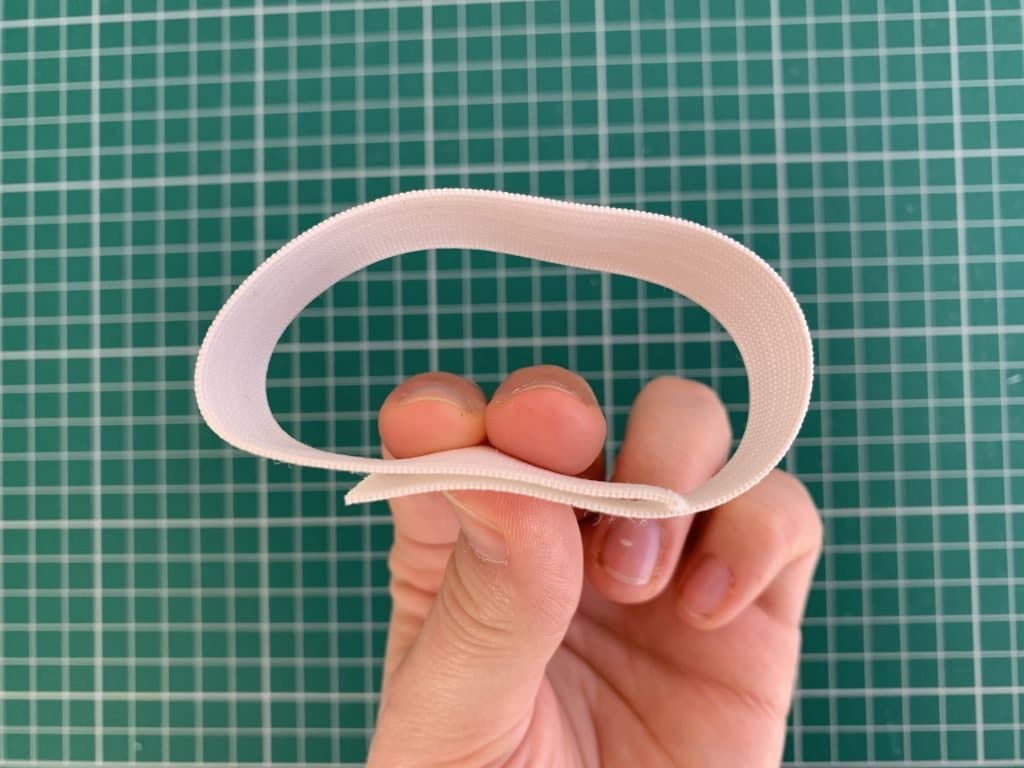
Overlap the raw edges so that 1 inch is overlapping. That way you can make sure the elastic band is going to be strong and long lasting.
Pin in place and sew a square around the edges to hold in place. You can sew an X going from corner to corner to add extra strength but it isn’t always needed.
Step Four
The step step is to sew the elastic band to one of the fabric circles.
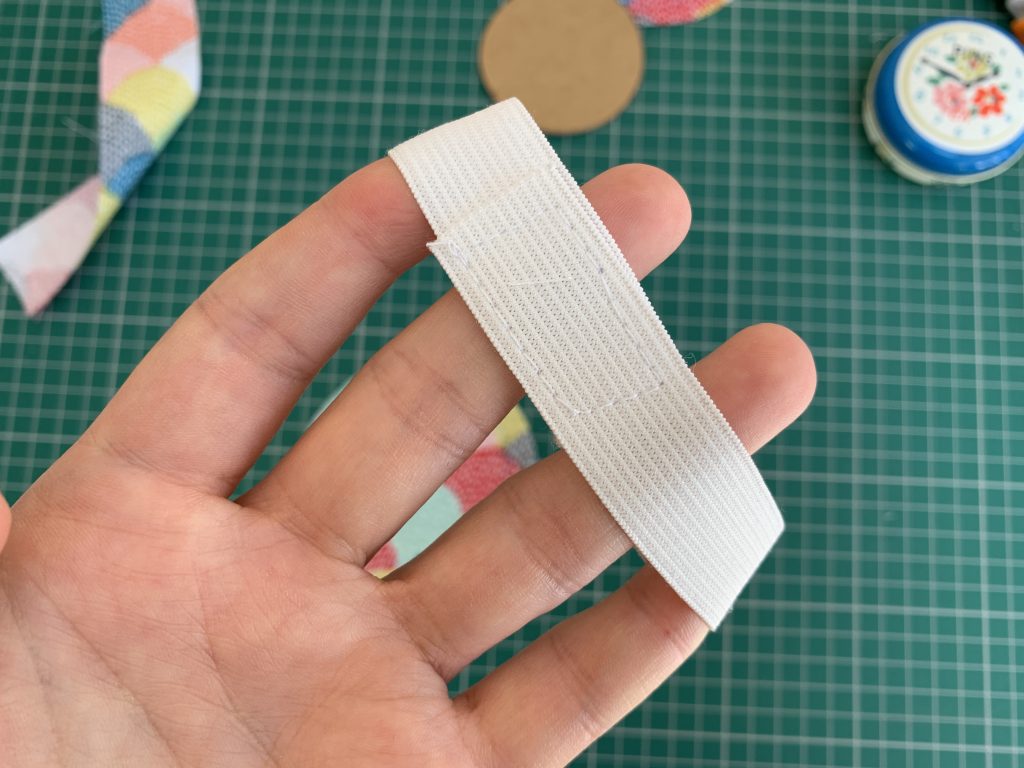
Find the middle point and place the elastic in place. I would personally use the overlapped part of the band to fix to the fabric as it has less stretch to it. Make sure you sew the elastic to the right side of the fabric.
Pin in place and sew together following the previous lines.
Step Five
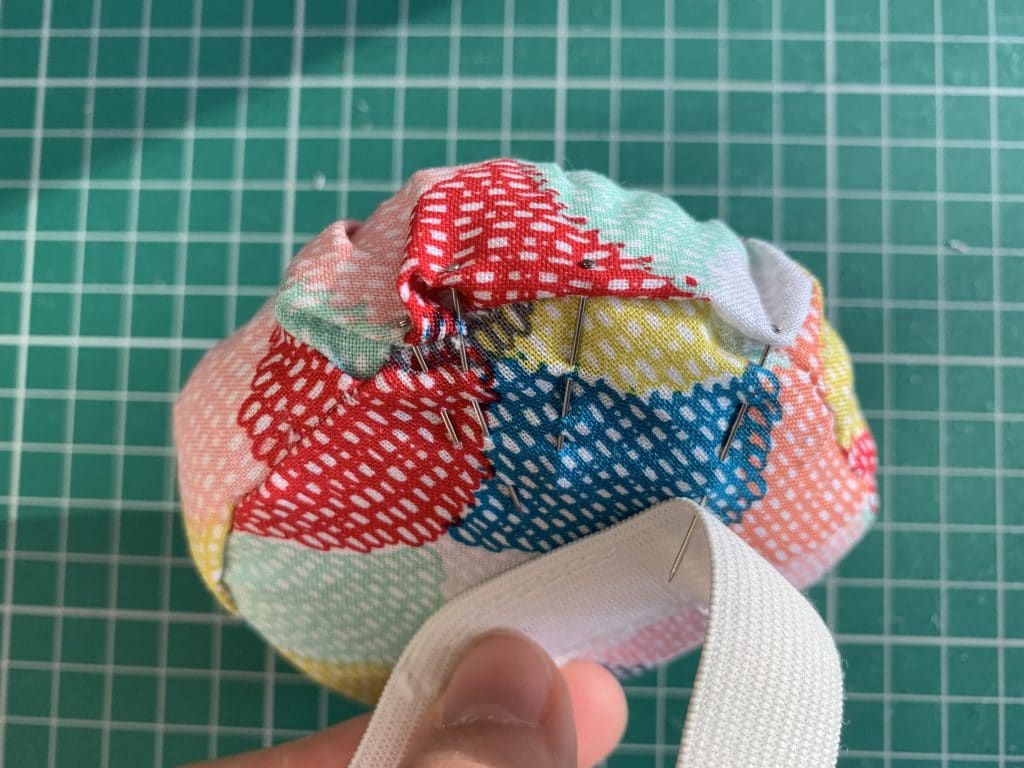
Once you have secured the elastic band in place move onto pinning the strip around the circumference of the fabric circle.
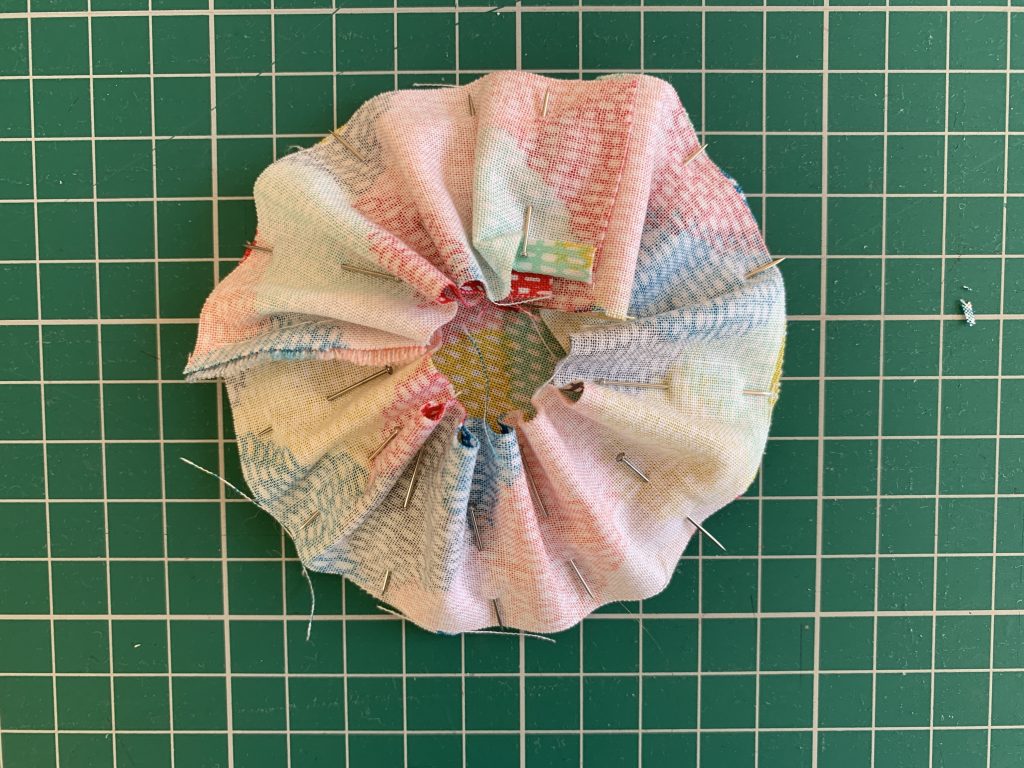
You will need to use plenty of pins to make sure there is plenty of fabric allowance so that there is room for the fabric to move and bend.
A great way of making this work better is by using a bias strip of fabric. This will allow the fabric to move around the circle shape better and not create as many creases and pulls.
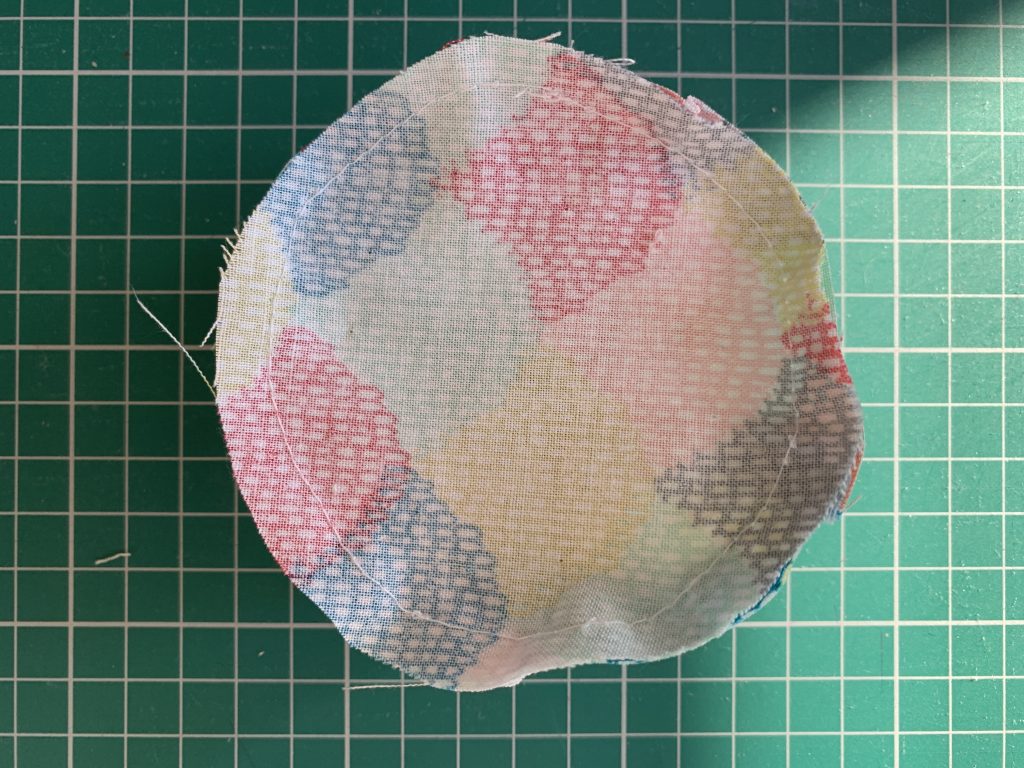
Sew in place with a 1/2 inch seam allowance. Remove all the pins ready for the next step.
Step Six
Cut into the seam allowance to let the fabric spread and bend to fit the circular shape.
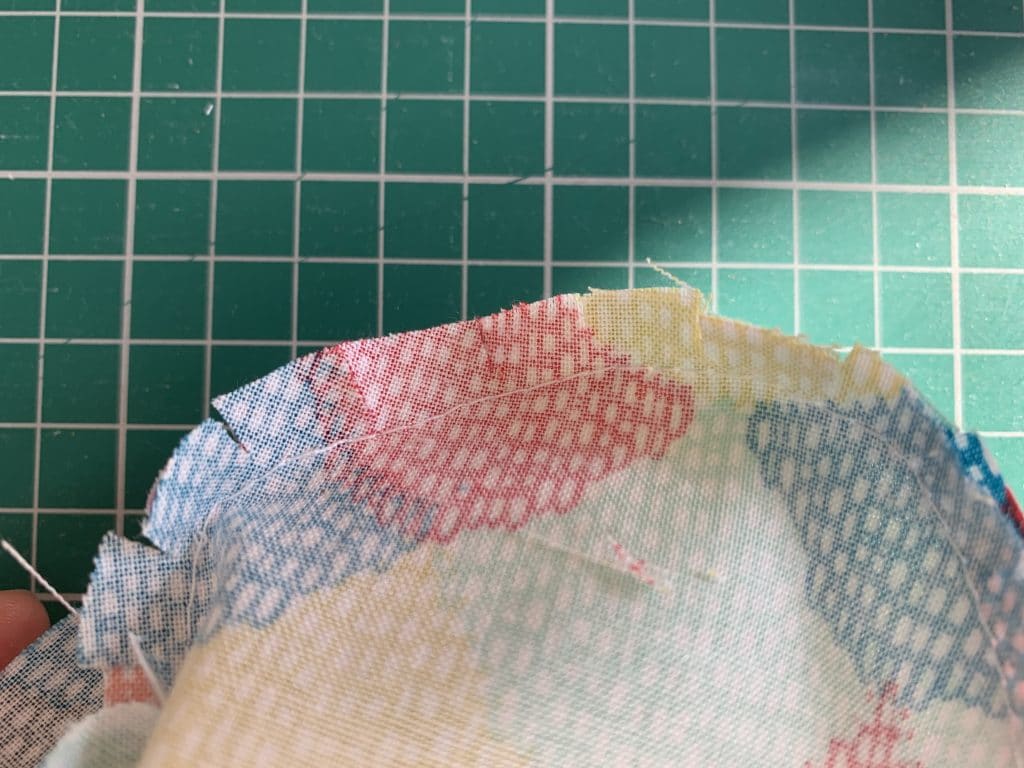
You can do this by snipping notches into the fabric up to the seam. Be careful not to hit the seam as you would need to re-sew the circle again.
Iron the seam to make it neat and crisp ready to move onto the next step.
Step Seven
Now you want to repeat the same as in step five but with the piece with the elastic.
Make sure you are pinning right sides together with the elastic on the inside.
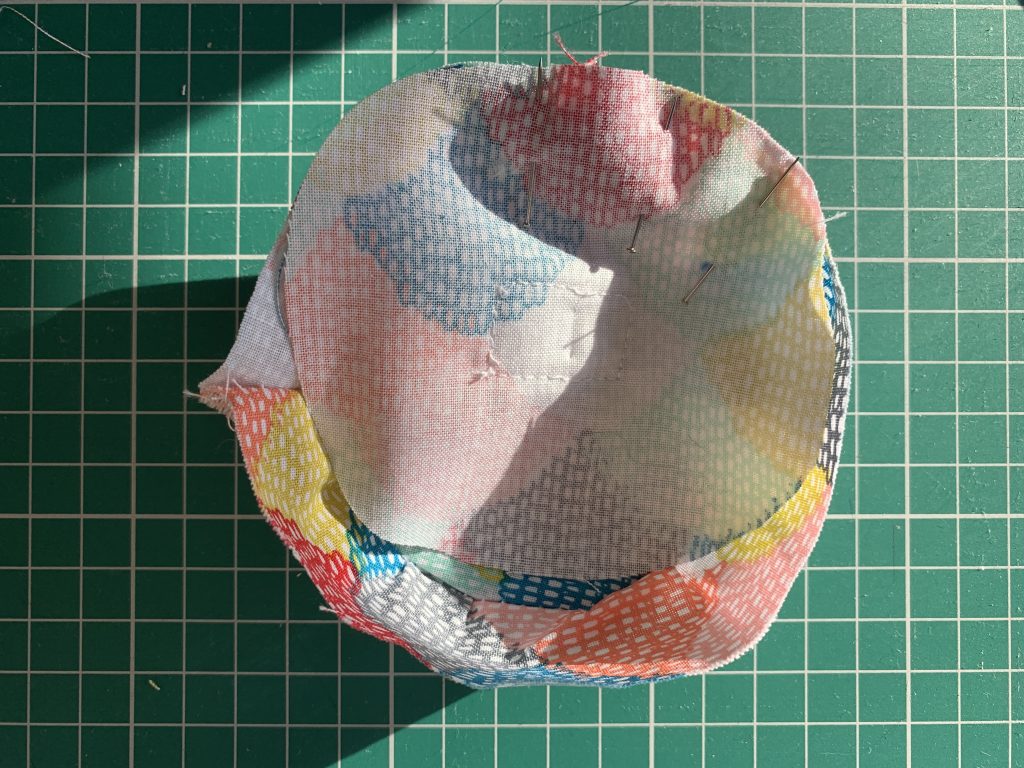
Pin the circular fabric to the strip giving plenty of room. Make sure you use plenty of pins to hold it in place.
Sew in place with a 1/2 inch seam making sure to catch both sides of the fabric. It can be hard to sew so pinning in place is vital to catch both layers in place.
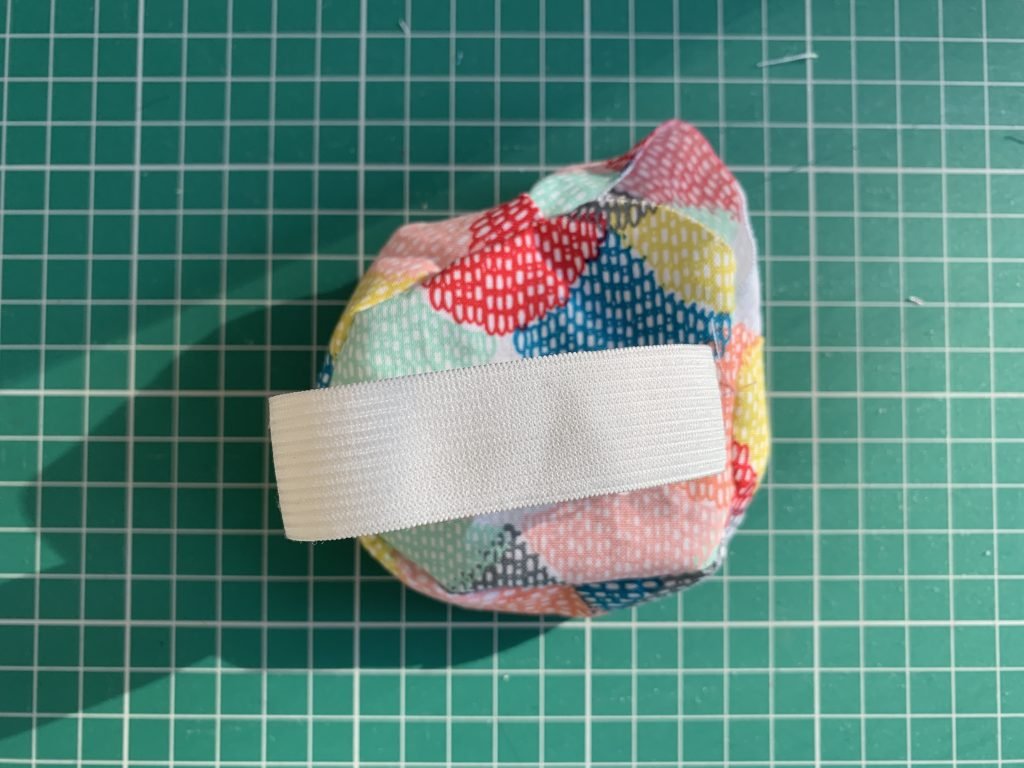
Leave a gap roughly 1 inch wide to turn through the layers once sewn.
Step Eight
Cut into the seam allowance to alleviate the tension within the fabrics.
Turn the fabric right sides out using the small gap.
Using your cardboard circle you used as a template, now slide that through the gap to sit on the bottom.
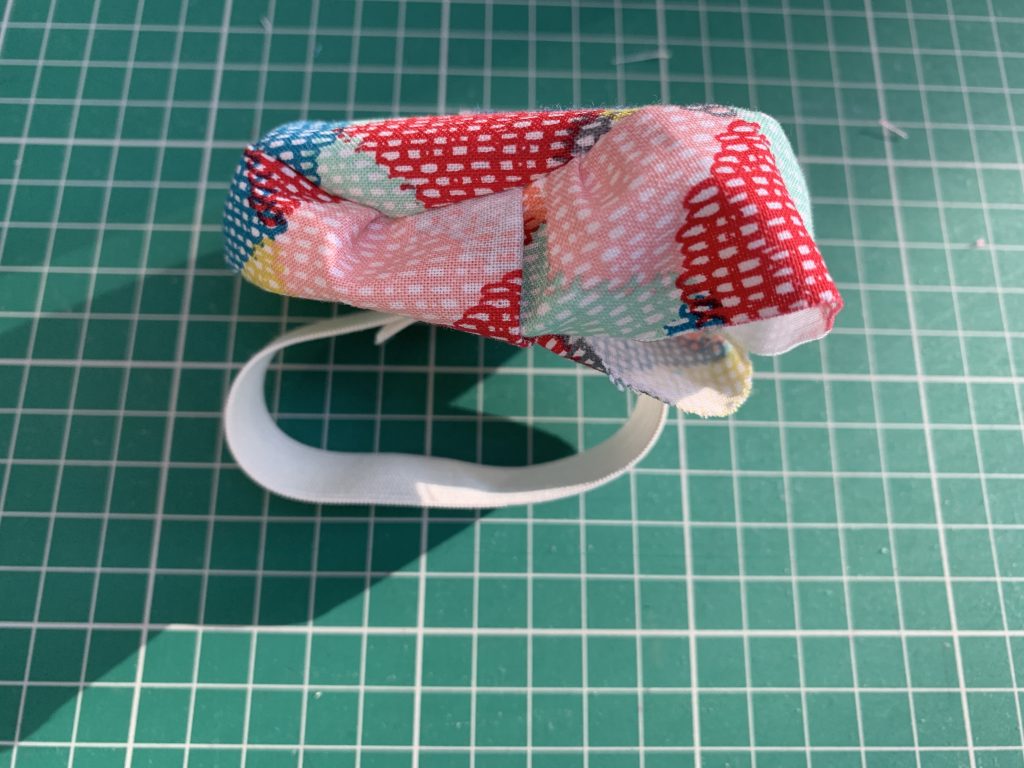
This will help create a hard barrier that the pins will hit before getting through the base layer of fabric to your skin. This shouldn’t matter if you are using small pins but if you are using larger pins such as quilting pins this will help.
Then you can start stuffing the pin cushion. I didn’t have wire wool at the time of making so I will swap that out when I do. Instead I used scrap pieces of wadding.
Step Nine
Once you have finished stuffing your pin cushion you can then whip stitch or slip stitch the opening shut.
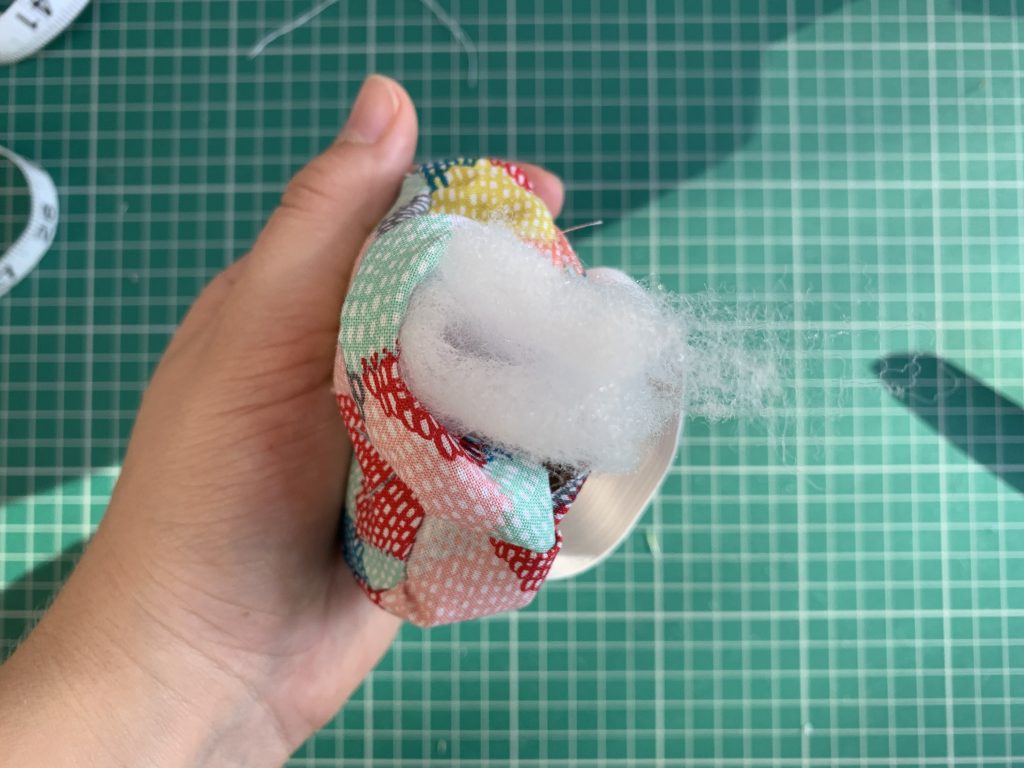
Double over your thread and use a wax threader to make your thread stronger though it isn’t necessary.
Then you are all done! Go ahead and wear your new homemade wrist pin cushion!
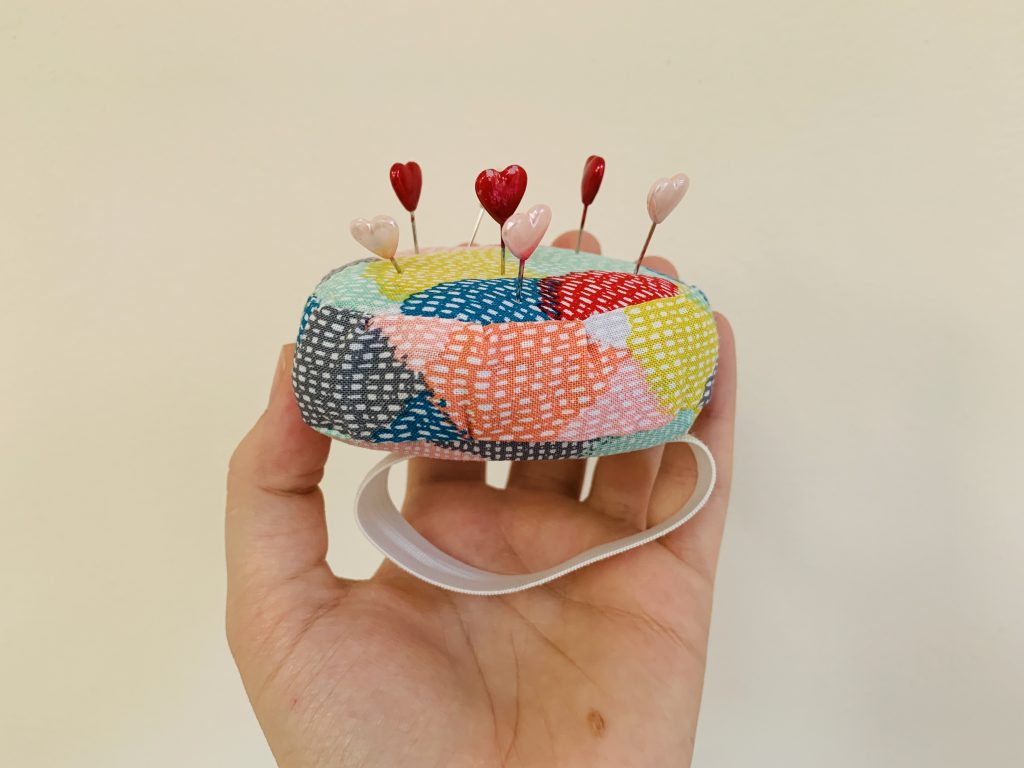
I hope you have enjoyed this tutorial on how to make a wrist pin cushion and it has been clear and helpful. If you have any tips or have made one before I would love to know what you thought and how you made it.
