How To Make Linen Bread Bags
Some of the links below are affiliate links. As an Amazon Associate I earn from qualifying purchases. This means that, at zero cost to you, I will earn an affiliate commission if you click through the link and finalize a purchase.
Are you looking at how to make linen bread bags?
Fed up of your homemade bread going moldy and stale quickly? Well here is the solution – to use linen bread bags.
We are going through a time where homemade is cool again and I love it. But it doesn’t just apply to sewing and crafts, it applies to homemade meals and goods. One of which is bread, something that many of us eat almost daily.
But unfortunately, homemade bread doesn’t last very long so it can often be wasted. There are a couple of hints out there to help extend the life of homemade bread and one of them is to use linen bread bags.
What Is A Linen Bread Bag?
A linen bread bag is very much self-explanatory. It is a bag made of linen to store homemade bread in. It was originally discovered by the French and was a popular way of storing bread over the world before we moved onto plastic.
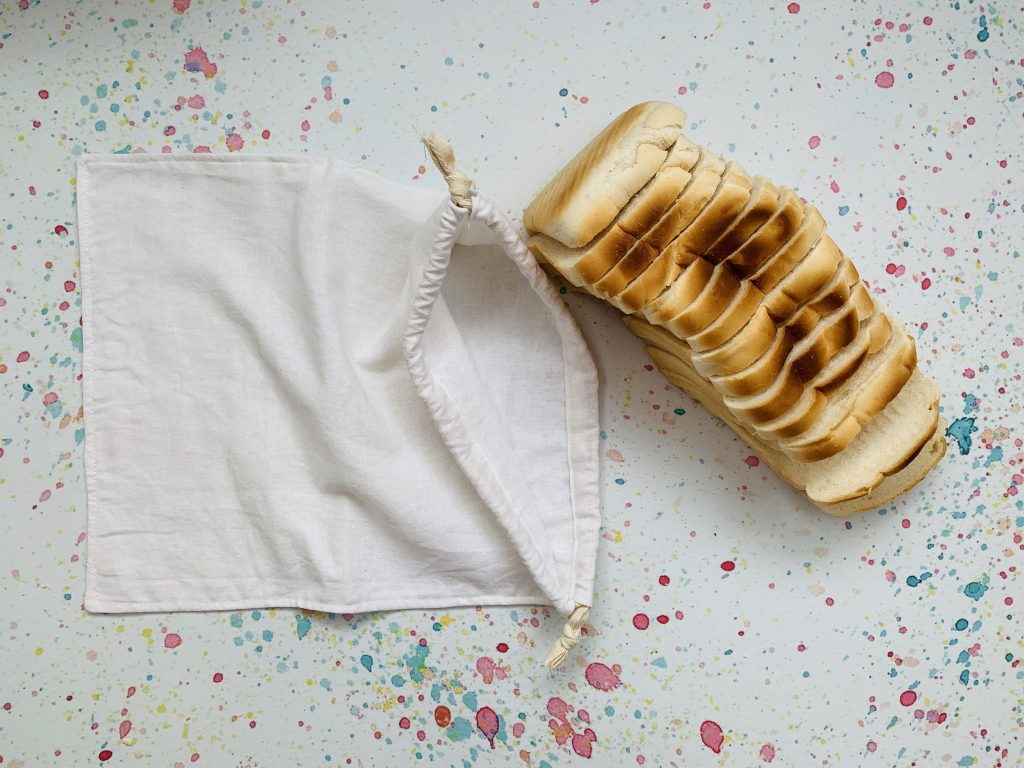
Linen is the perfect material to use for bread as it is has many elements to it that breathable, helps to keep the bread dark, it is washable and easy to use.
Tools & Equipment
I have a complete page of the tools and equipment I use, I keep this updated with any new products I use and recommend. Go to my favourite sewing supplies page to find out the different supplies I use and recommend.
- Scissors or Rotary Cutter
- Linen fabric no smaller than half a metre
- Matching Thread
- Sewing Machine
- Cotton Tape or Ribbon or String for the drawstring. ( I found a great deal on Amazon for a roll of Cotton tape which I use for so many things!)
- Iron & Ironing board
How To Make Linen Bread Bags
There are obviously different sizes of home made breads from the standard loaf to baguettes, rolls and boules. Each different to the next and will require different shape bags.
Personally would start with the shape bread you are most likely to have and make the most often. For me, that is a standard loaf, if you make a variety then purchase enough fabric to make the entire set and get going.
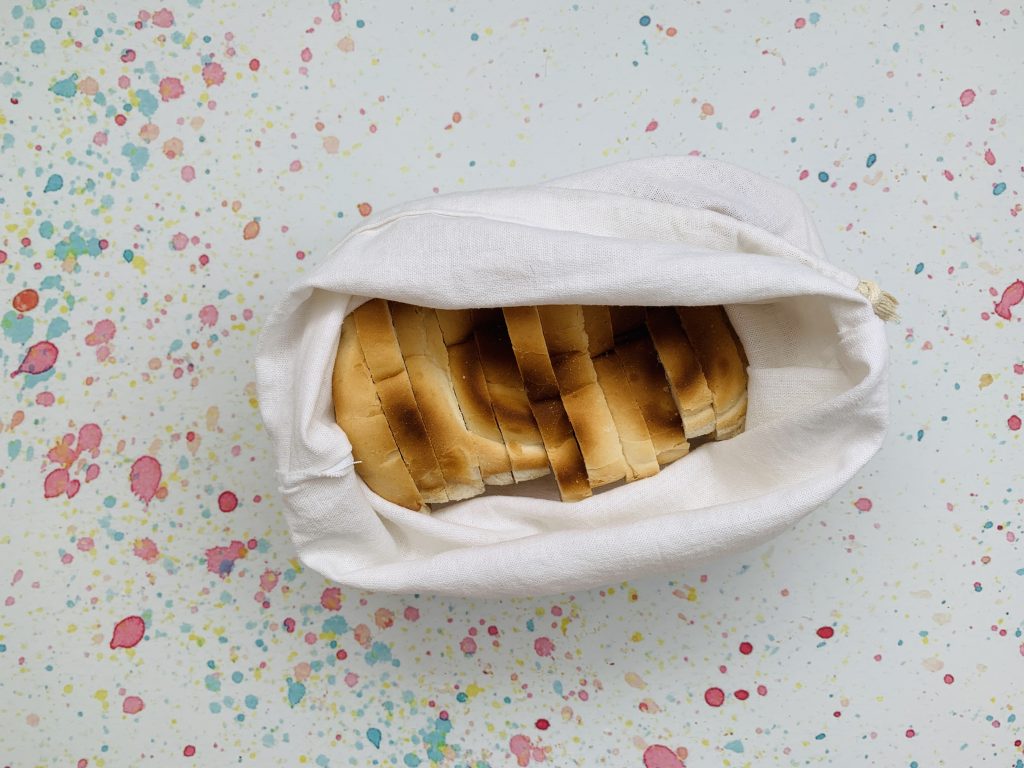
If you are looking at making a more custom size linen bread bag look at what you bake your bread on/in, take the measurements and add a couple of inches for height on your bread. That way you can use a more custom size linen bread bag for your own creations.
Here are some of the most common sizes;
Baguettes and Challah – 17 inches x 11 inches
Boules/ Round Loafs – 12 inches x 12 inches ( you can make this larger if you require)
Sandwich loaves – 15 inches x 12 inches
Step One
Cut out 2 pieces of linen, I chose to make a loaf bag so I cut 2 pieces of 15 inches by 12 inches.
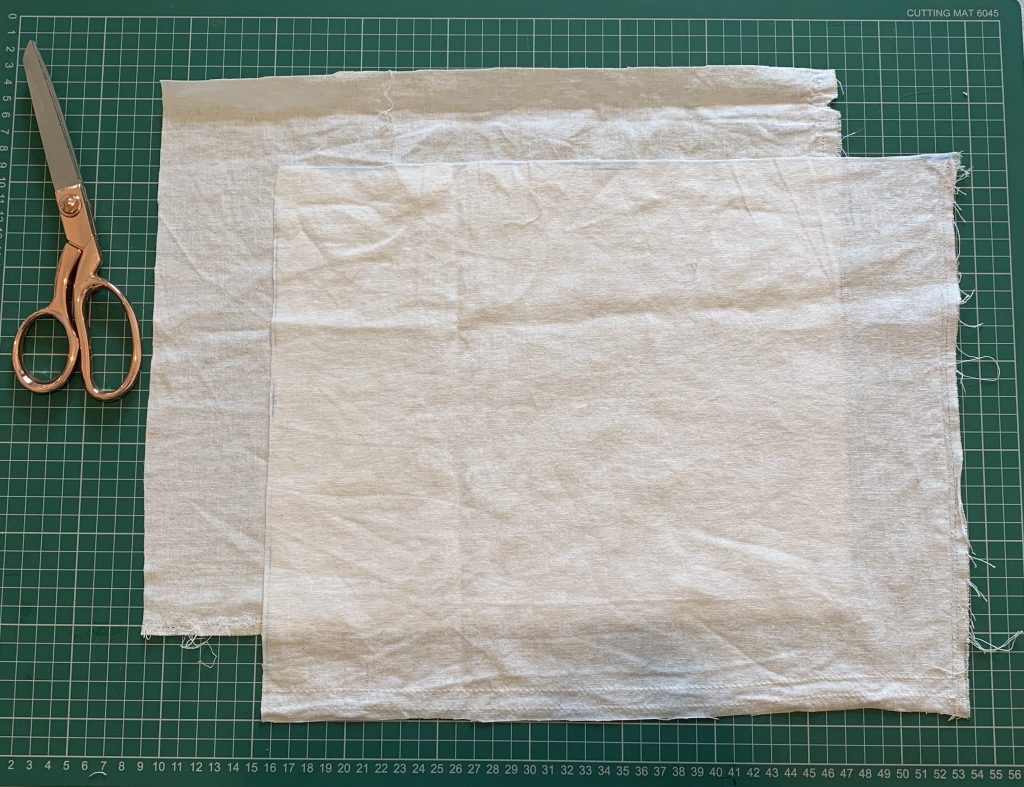
Tip: Make sure your linen has been pressed and washed to get rid of any remaining chemicals or dyes.
This will also help the fabric preshrink to its more natural size.
Step Two
Start by placing the 2 right sides together, right side facing inwards. Use sewing clips to clip around 3 edges, the 2 longest sides and the bottom.
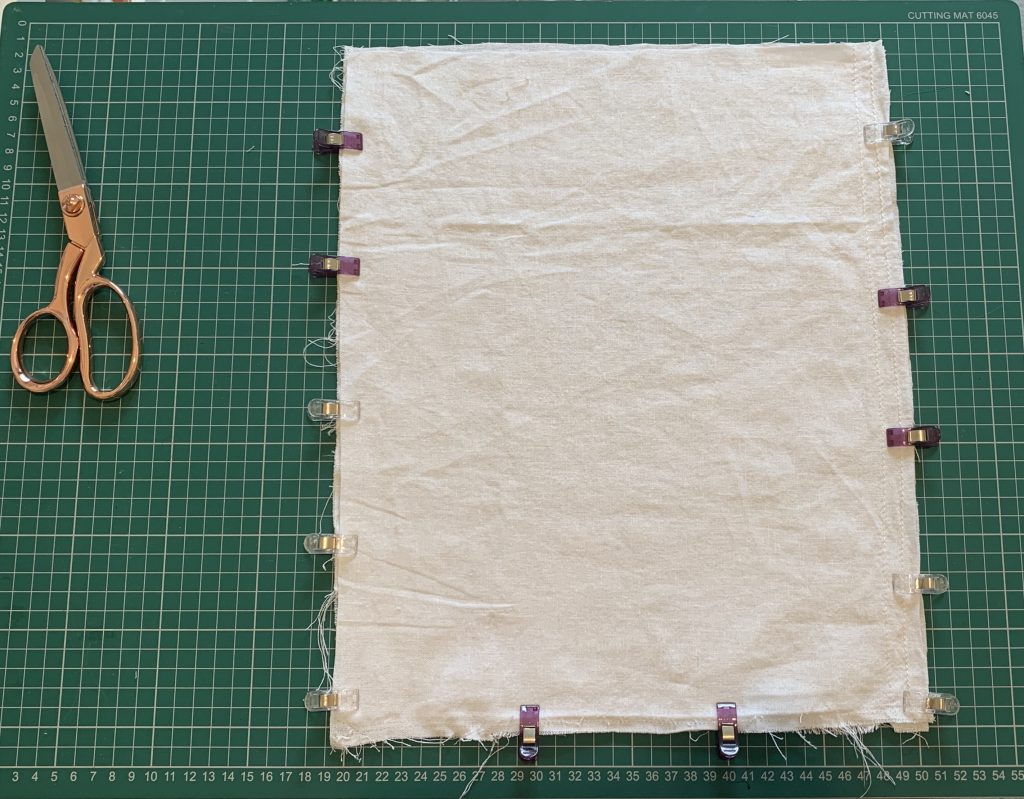
While pinning measure from the top edge down 2 inches. Mark this with a small line or pin as you want to take note of that while you are sewing.
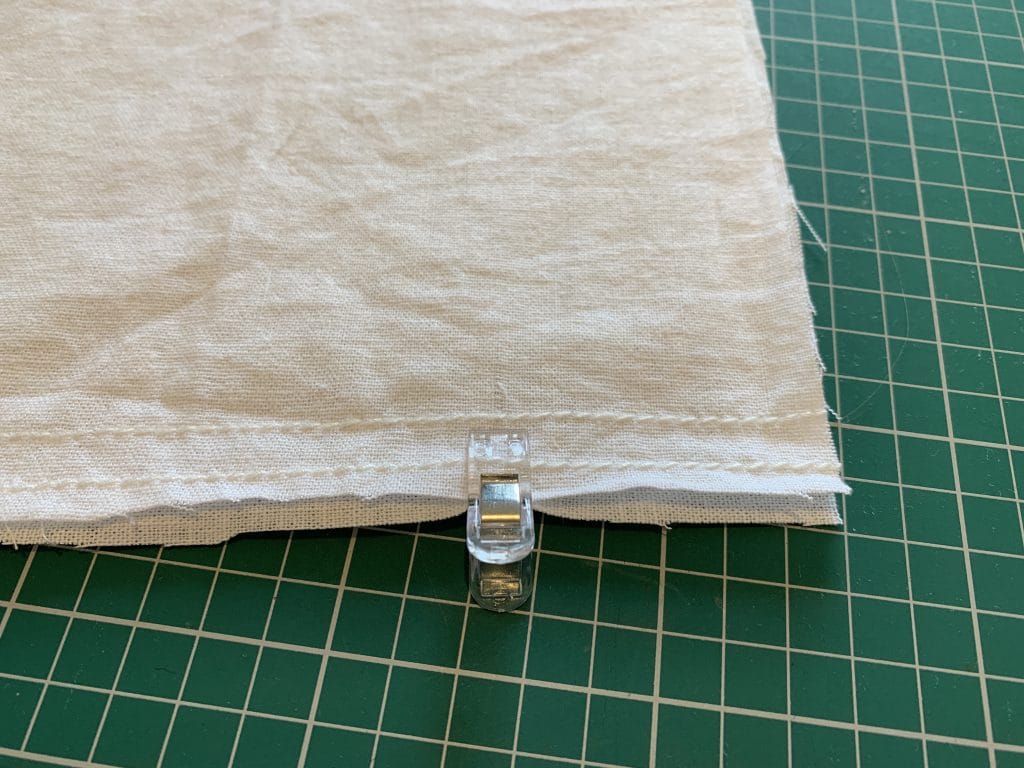
Do the same for the other side at the top.
Step Three
Take your linen pieces to the sewing machine and start from the pin or mark you just made. This opening at the top will create the channels for the drawstring element of the linen bread bag.
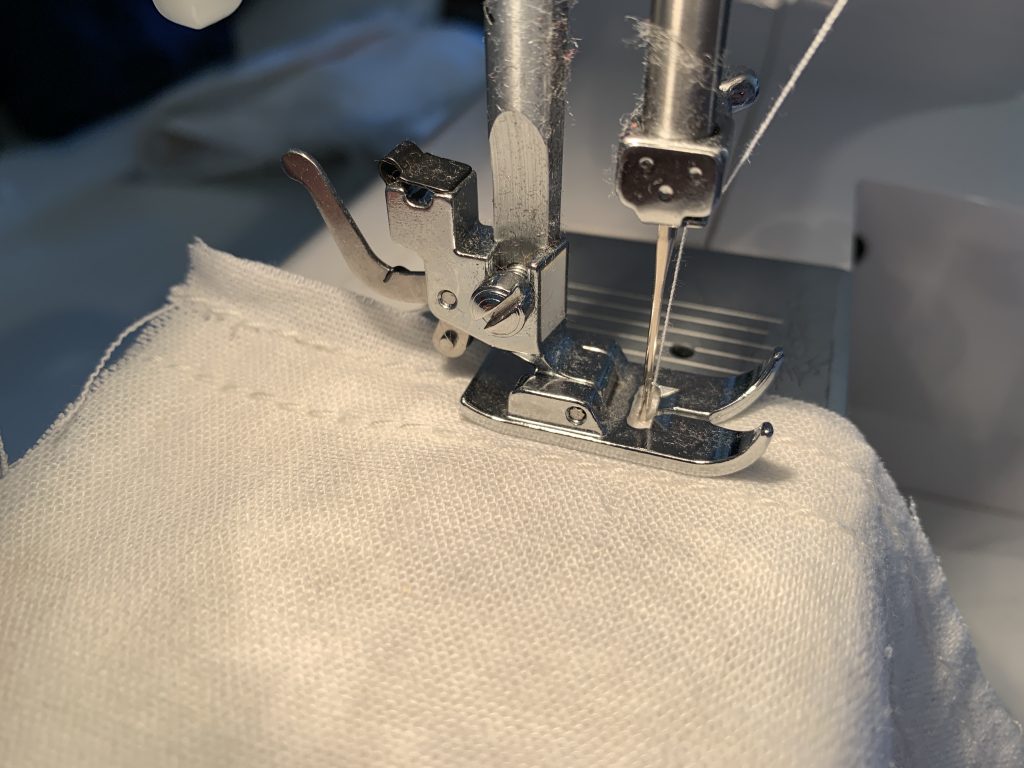
Sew down each side and across the bottom with a 1/4 inch seam allowance.
Step Four
Leaving the top opening for now, move onto turning the bag through the right way out and ironing.
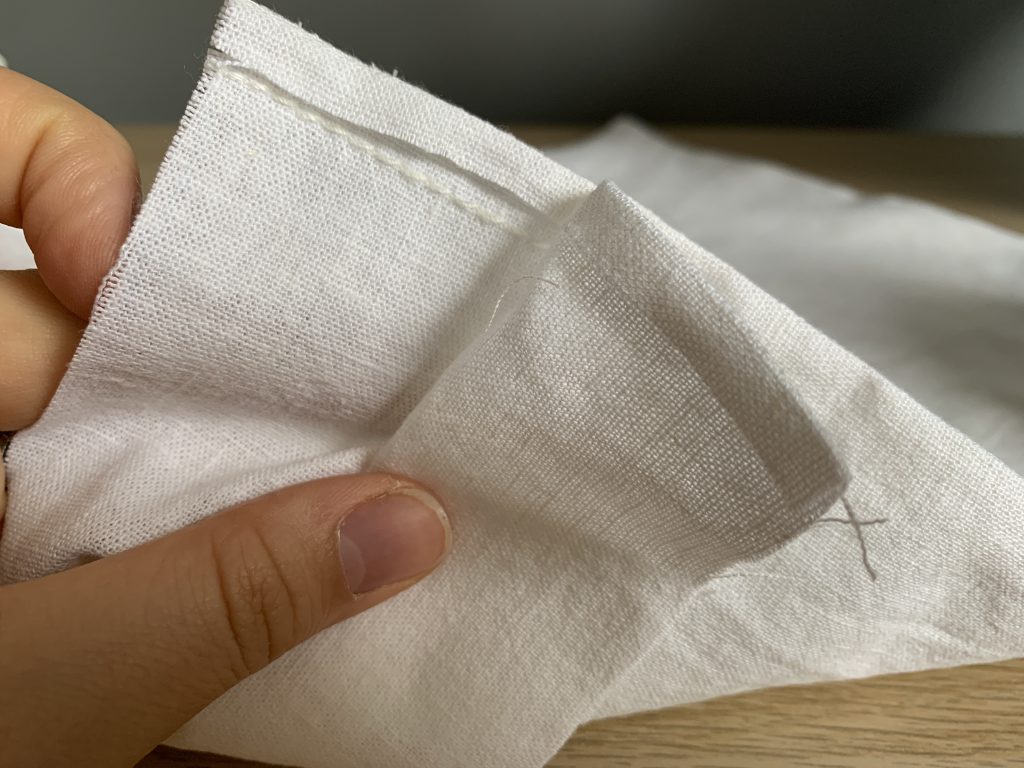
Make sure the seam is pressed well and is crisp.
Tip: Roll the seam between your fingers to get the seam to the edge and crisp.
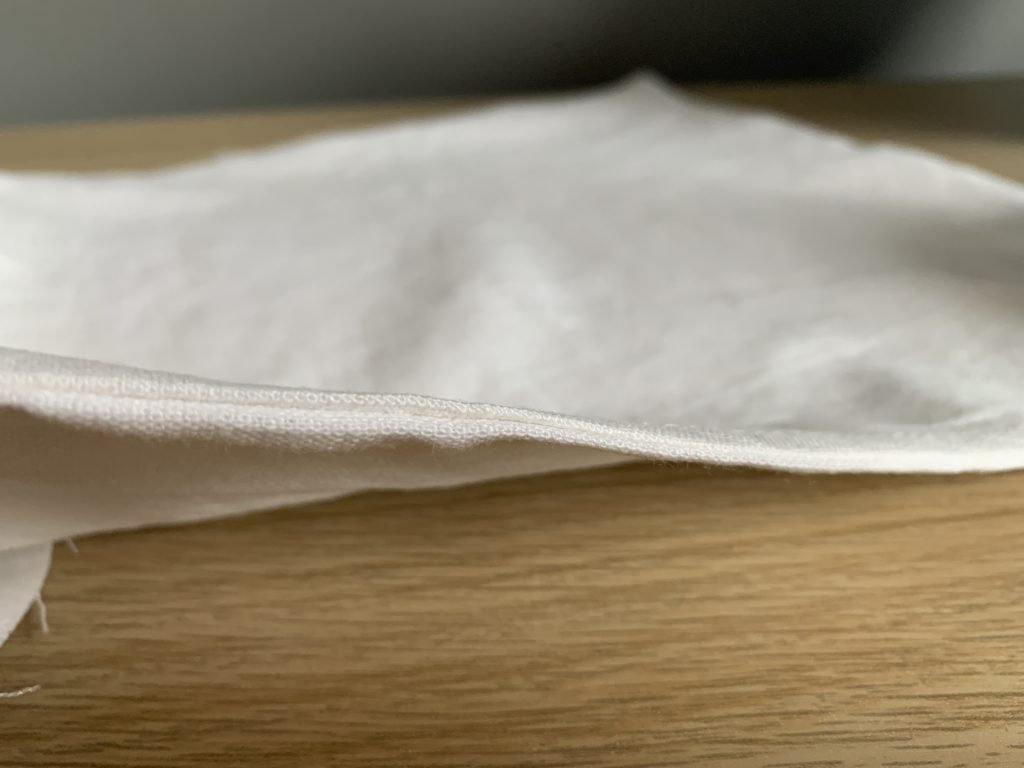
Fold under the raw edges of the top opening to follow the fold of the rest of the seam. Press the seams well ready to sew over.
Step Five
Sew from the same starting point as you had done before (where you placed your pin or mark). Then sew around the seams again, this is creating a french seam.
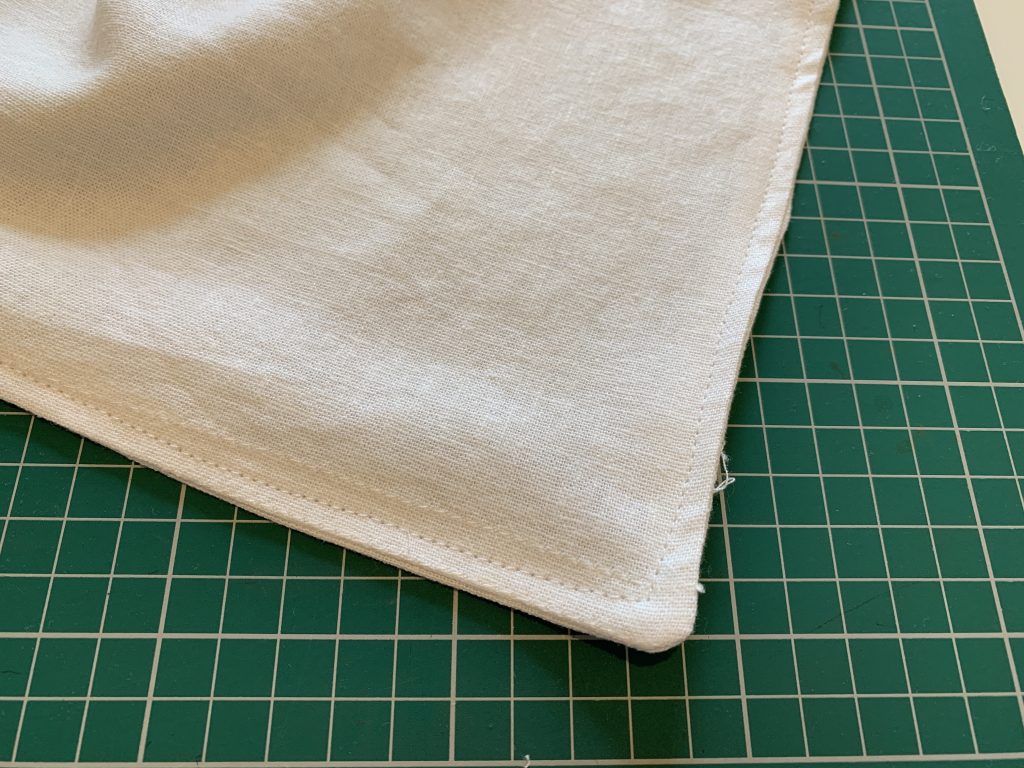
This will encase the original seam and stop the linen and seams from fraying, making your linen bread bags washable and more durable.
Sew with a 1/2 inch seam allowance to fully capture and encase the previous seam.
Step Six
Take the linen bread bag back to the ironing board, now we are going to create the channels at the top for the drawstring element.
Make sure you are folding the raw edge inwards of the bag.
Fold down the raw edge 1/4 inch and press down, this will help it stay in place when you sew it in place.
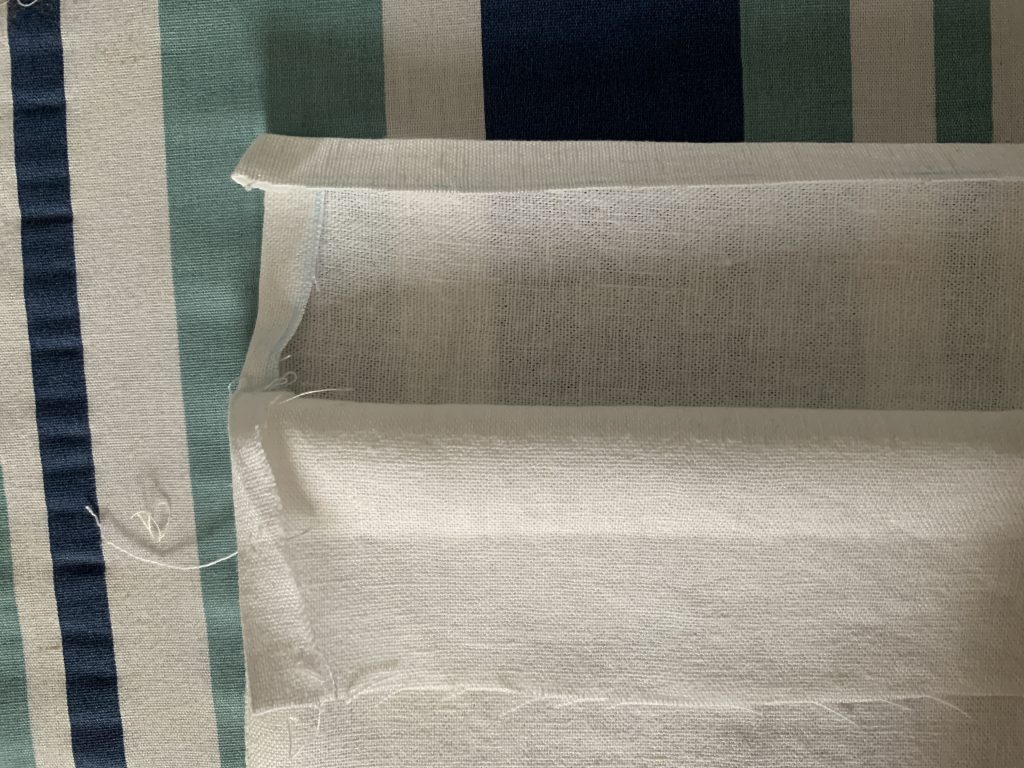
Then fold over again to meet the point in which you started sewing. It will be a quite obvious point.
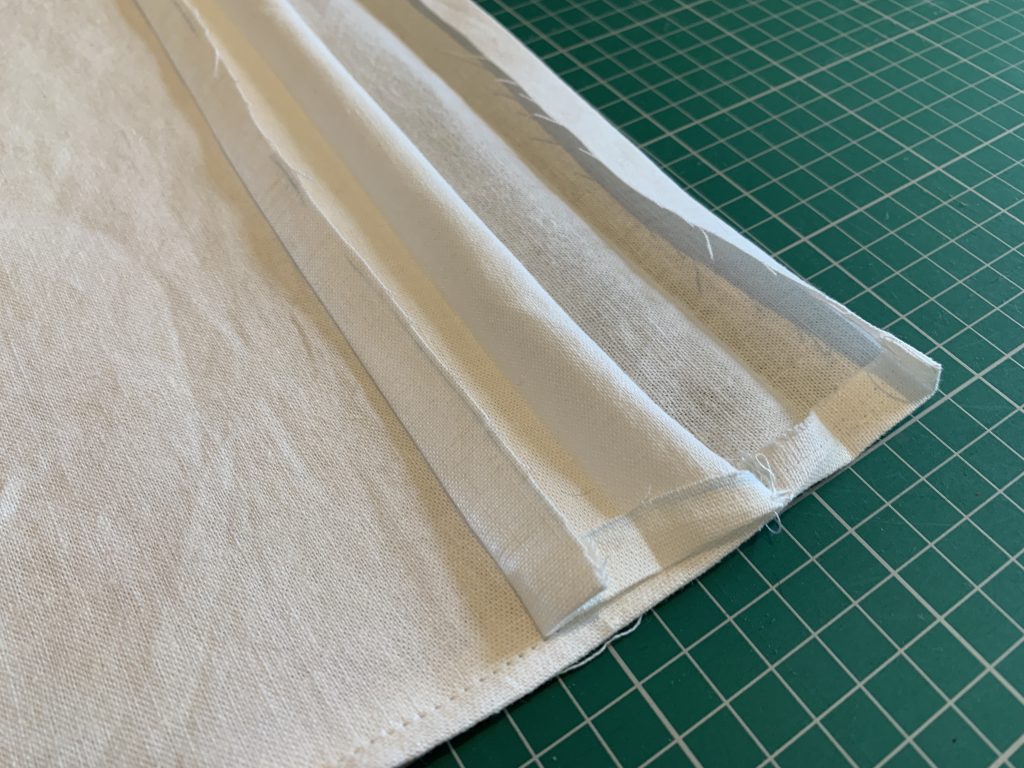
Press into place and pin. Repeat the process for the other side.
Step Seven
Sew both channels into place, running a stitch along the bottom edge to hold the folds in place.
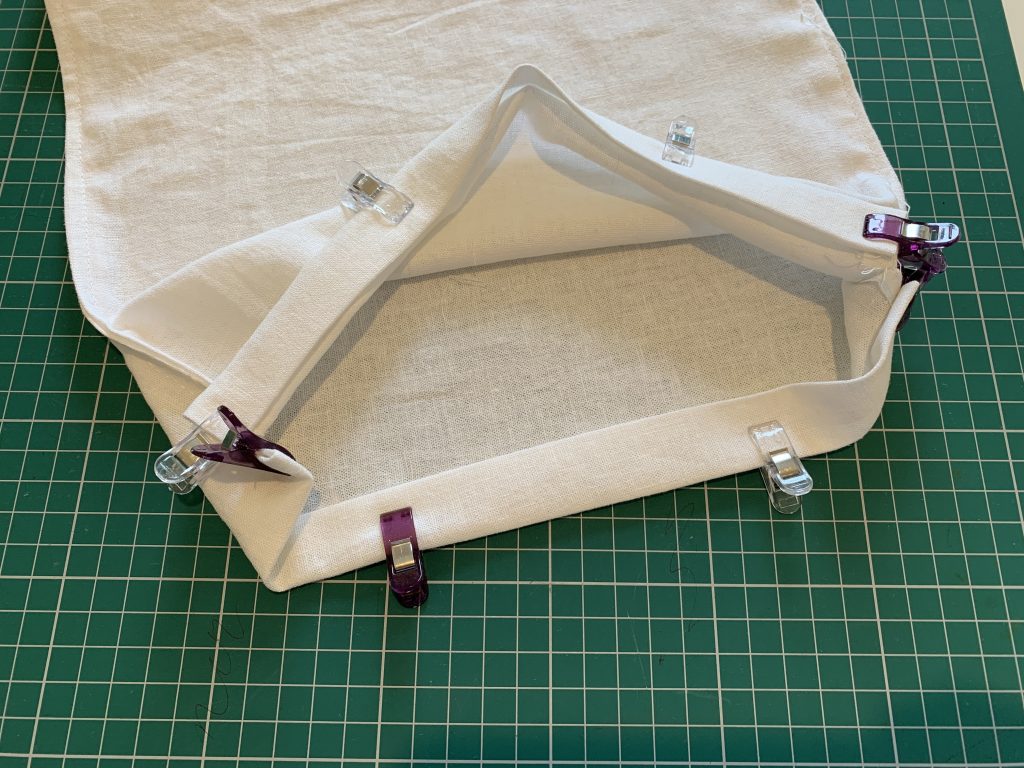
Don’t sew up the edges at these need to be left open to pull through the tape or string for the drawstring part.
Once sewn together remove all pins and clips. Iron again for a good finish and crisp seams.
Step Eight
Cut 2 strips of string or ribbon to 30 inches long each.
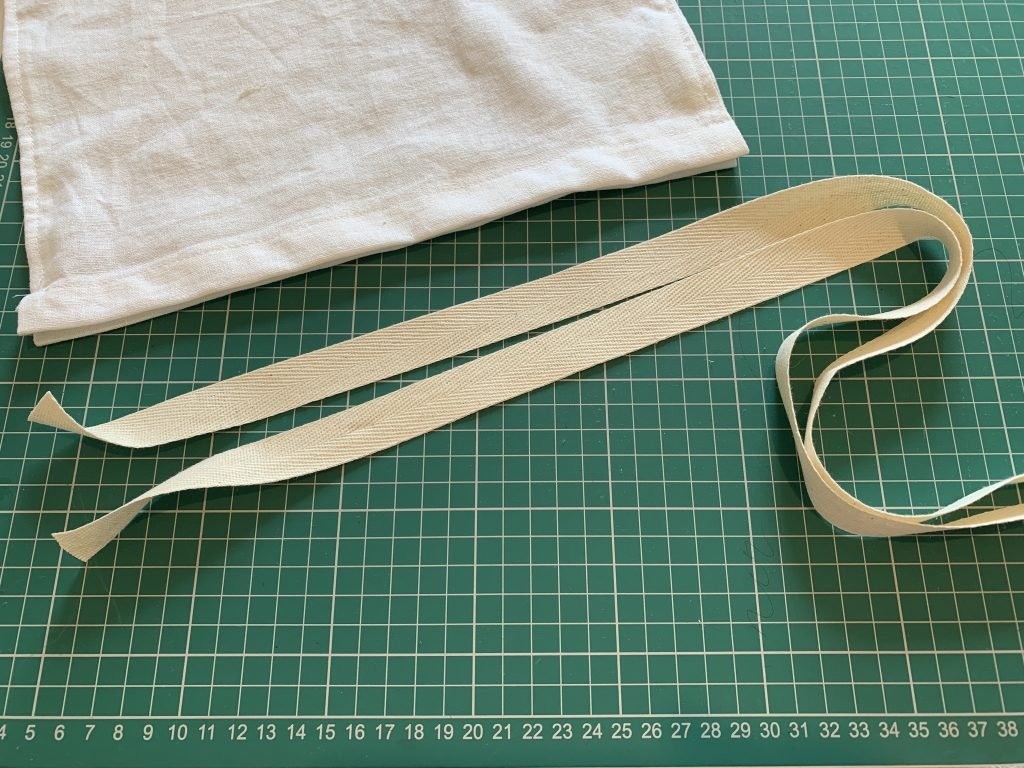
Take one and attach a safety pin to the end.
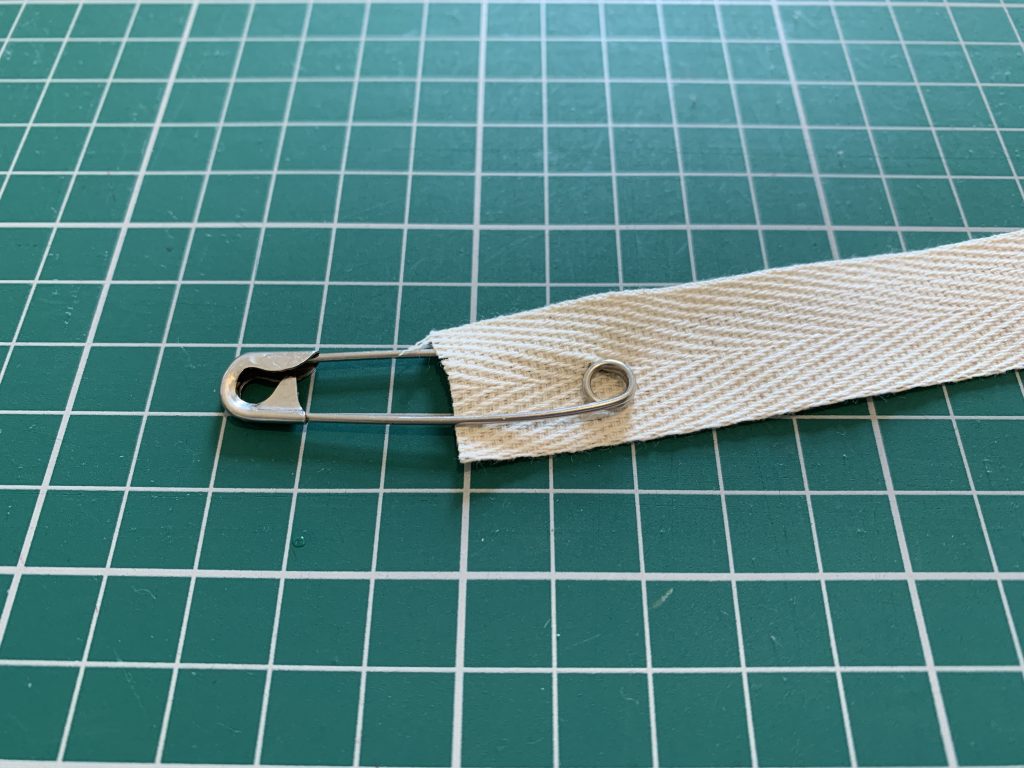
Thread it through the channel and back to the start again.
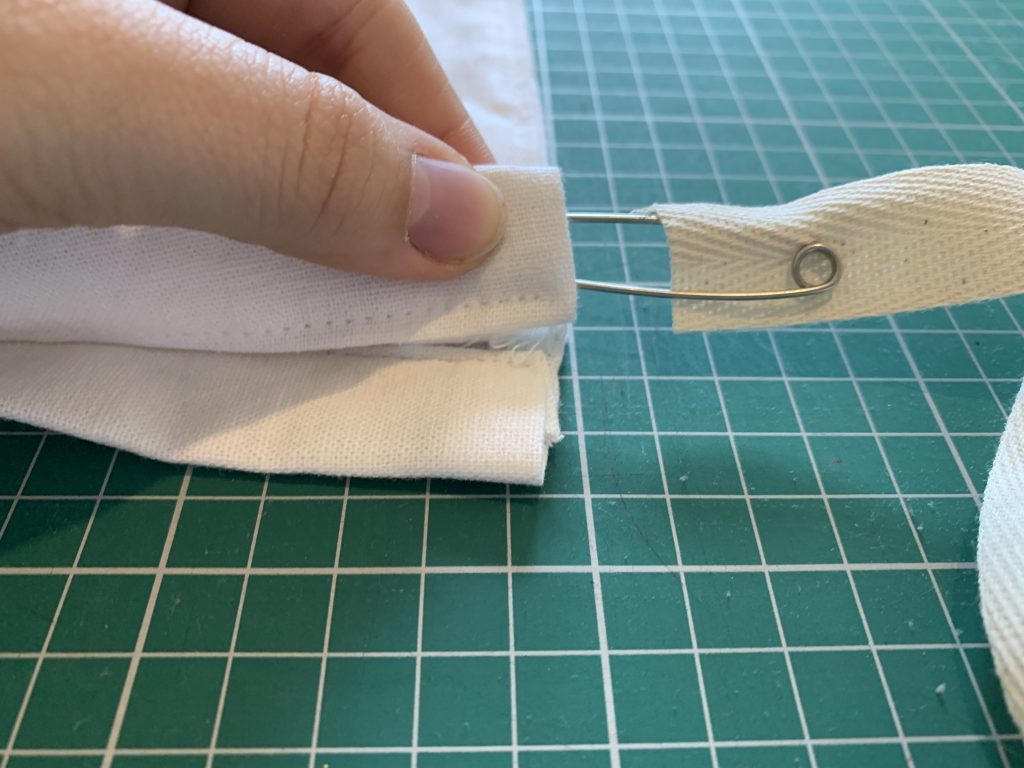
Tie both ends together in a knot. Repeat for the other piece but going out of the other side.
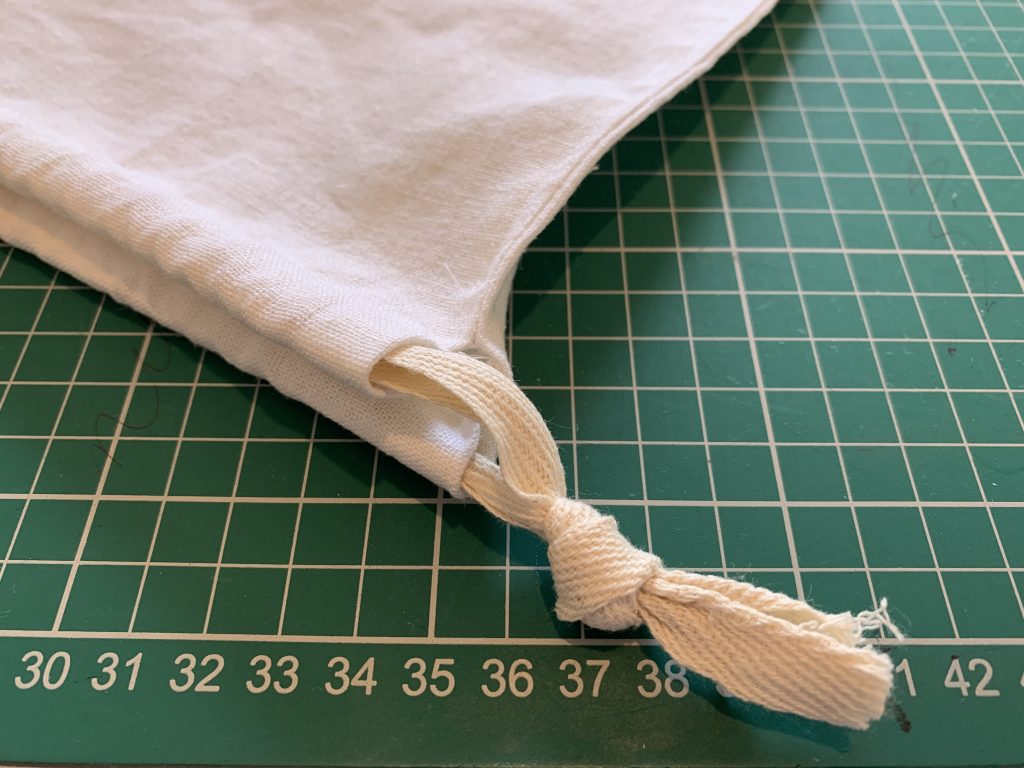
Once your string is in place pull together to create your drawstring bag effect. Then you are done!
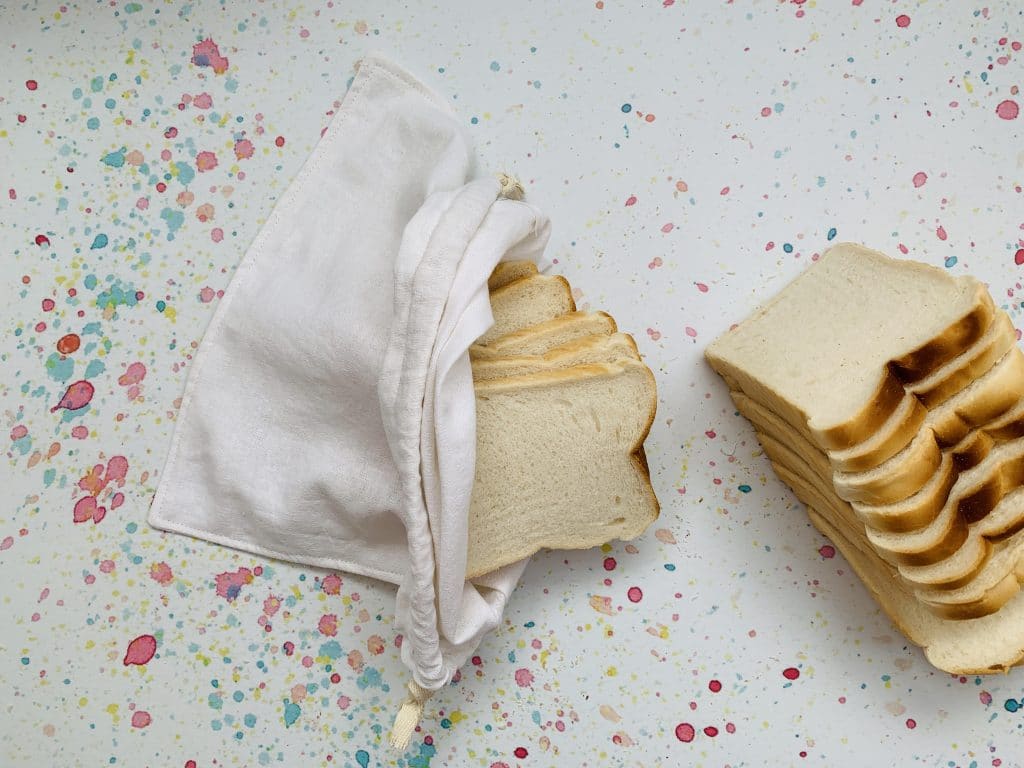
I hope you have found this tutorial on how to make linen bread bags simple and easy to follow. If you want to get technical you can use a piece of clear plastic on the front to hold a little piece of paper with the date made or a label.

