How To Make Placemats – Quick & Easy Tutorial
Some of the links below are affiliate links. As an Amazon Associate I earn from qualifying purchases. This means that, at zero cost to you, I will earn an affiliate commission if you click through the link and finalize a purchase.
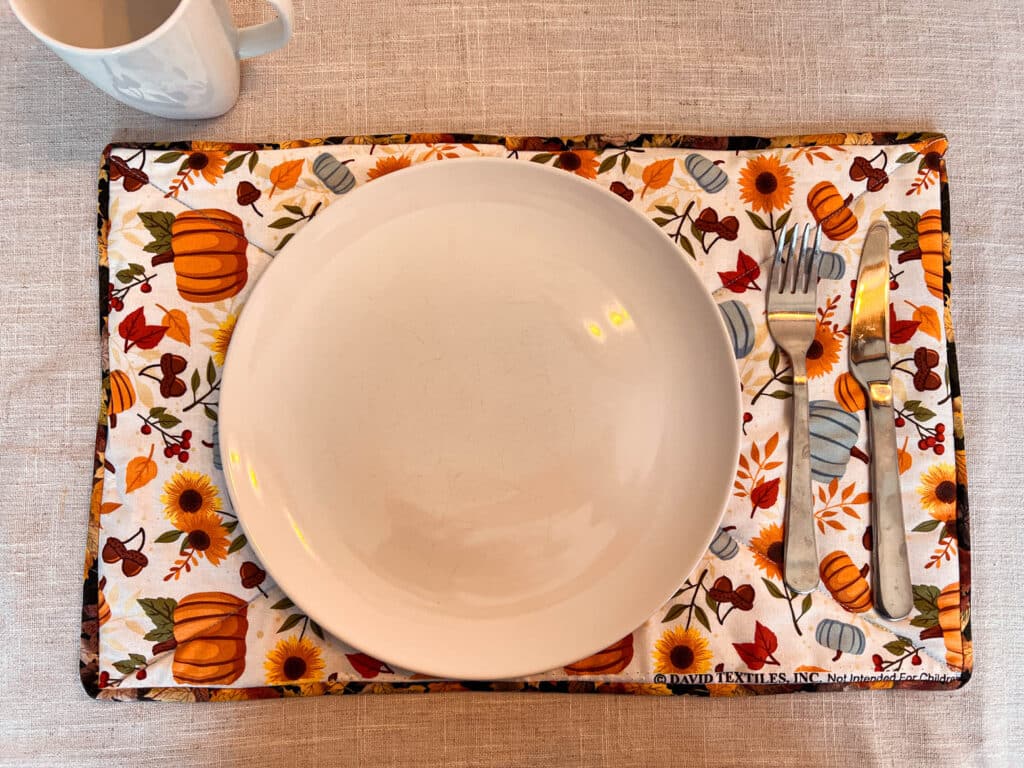
Placemats are something that many homes use and utilise so it is a perfect gift or project for anyone looking to make something both beautiful and functional for the home. Placemats are simple to put together and can give you great results at the end.
I love the concept of placemats as the skills used are basic and easy to learn and can be easily transferred into so many other sewing projects. These are also great as you can make them tailored to your home and colour scheme along with size and style.
I am going to show you a quick and easy method on how to make a placemat with step-by-step instructions. You can use this method to make any size and shape you want for your placemat as the skills and tools used are easy to transfer to any shape and size.
Before we get started we will need to look at what tools we will need…
Tools & Equipment
- Fabric – I am using cotton though you can use any of these recommended fabrics for your placemats.
- Fabric Scissors Or Rotary Cutter
- Chalk Pencil
- Tape Measure
- Sewing Machine – Though if you wish to do this by hand you can follow the same process.
- Thread
- Pins or Sewing Clips – I have an entire post reviewing the top sewing clips on the market here.
- Cutting Mat
- Iron & Ironing Mat
- Fusible Fleece or Wadding – Check out the best batting for placemats here.
- Bias Binding – You can use homemade or store-bought.
Method
Step One
Before cutting any of your fabric or making plans for your layout make sure all your fabrics have been pressed and are ready to be cut.

Many fabrics shrink under heat and so it is best to do that before you cut your fabrics to stop this from happening mid-project.
Step Two
Measure and cut 2 rectangles of 16 inches by 11 inches. If you are using patterned fabric with a directional print measure 16 inches across and 11 inches down to ensure the pattern is going the right way.

I used 2 different fabrics to make my front and back look different, mainly to keep the tutorial clear and easy to follow.
Step Three
Measure and cut the fusible fleece or wadding layer to the same measurements. If it helps simply lay on one of your rectangles on top of the wadding layer and cut around it.
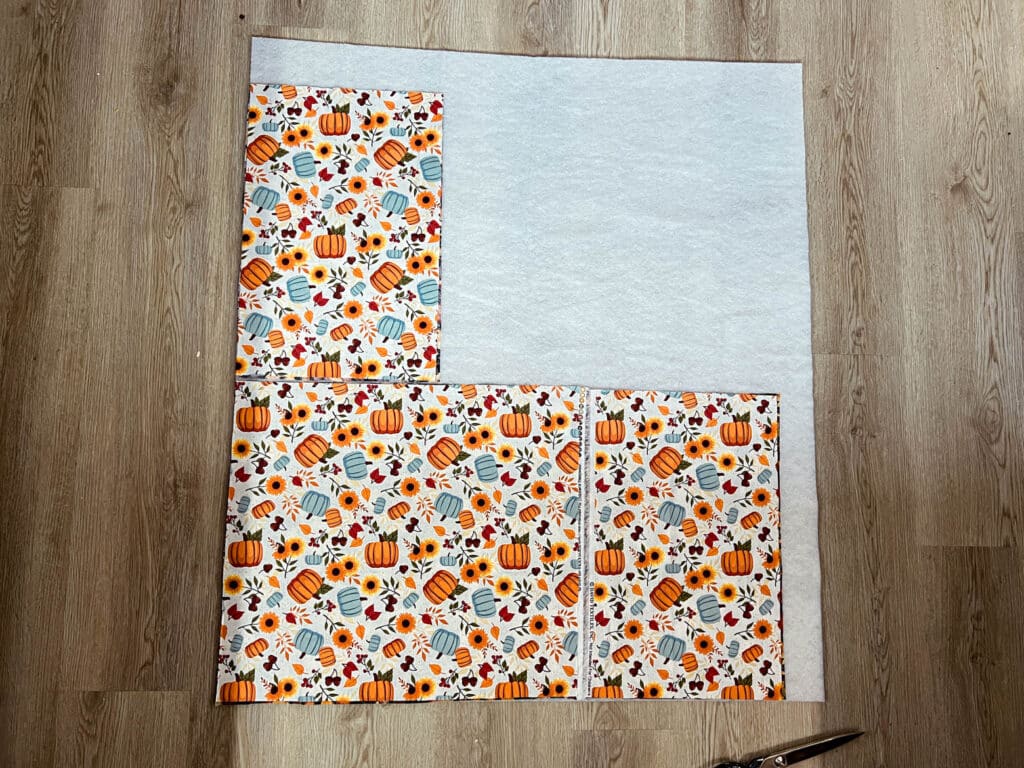
This can help anyone who might struggle to measure and mark their wadding layer, it is also quicker and much easier to do.
Step Four
Fusible fleece usually comes with 1 side to fuse to another fabric and one plain. You can use a bondaweb on the non-fusible side to make it easier to hold all layers together if you prefer.
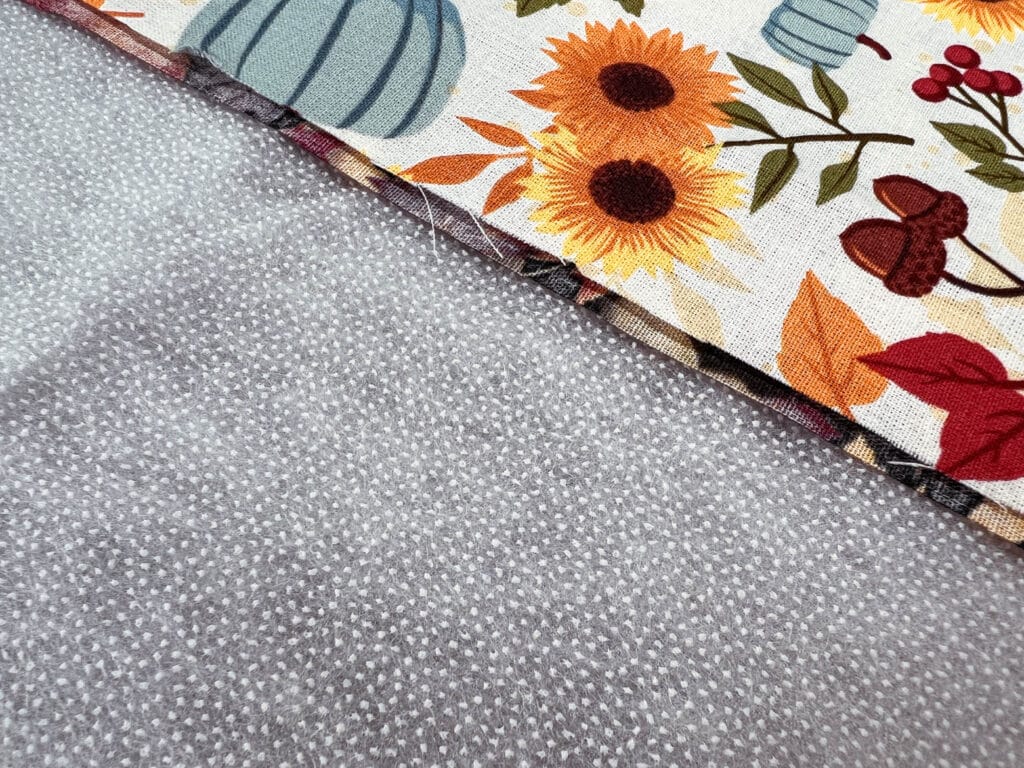
Alternatively, pick one side of your fabric to iron to your fusible fleece. Make sure the wrong side of your fabric is fused onto the bubbly rough side of the fusible fleece.
Make sure your iron is hot and try to limit the amount of steam you use as this can cause the fabric to feel wet and be harder to work with.
Step Five
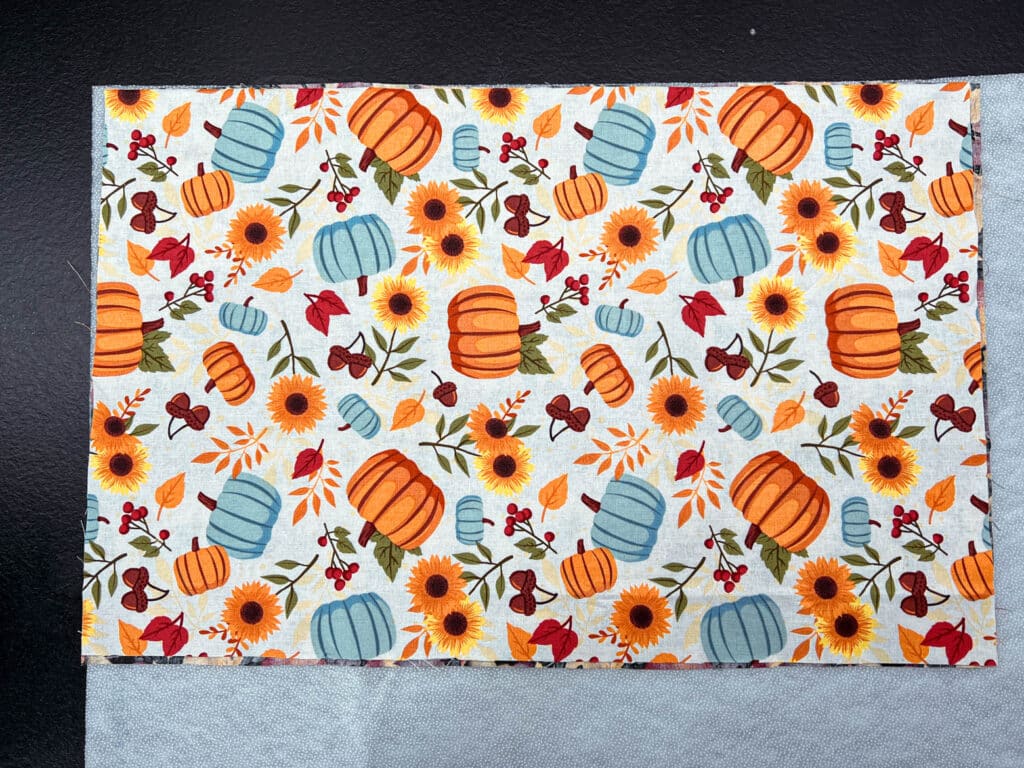
Once you have fused the two layers together you will have one other fabric layer left to attach (this is if you haven’t used an alternative bonding method in the previous step).

Start by laying the layers together making sure that both fabrics have the right side facing outwards. Pin or clip those in place.
Step Six (Optional)
This is an optional step and is mainly for anyone looking to try something new or add a little something extra to the placemats.
You can use this step to add embellishments or quilt your placemats before finishing off the edges.
Step Seven
In this step, we are going to attach the bias binding. This can be optional whether you use homemade or store-bought. Store-bought is easier to use for beginners as the hardest part is already done for you.

Though if you have a matching fabric you wish to use for the edging feel free to try making your own bias binding. If you want to make your own I have a helpful and easier tutorial on how to make your own bias binding.
Pin and sew on your bias binding. If you need an in-depth look at how best to attach your bias binding I have an easy-to-follow tutorial here.

Once you get to sew on your bias binding sew on by machine or by hand. Choose the method which is easiest and more comfortable for you.
Step Eight
Give your placemats a final press and iron before using. This will help you see any threads that need to be clipped and any other small niggles that can be corrected.