
How To Make Pyramid Pattern Weights
Some of the links below are affiliate links. As an Amazon Associate I earn from qualifying purchases. This means that, at zero cost to you, I will earn an affiliate commission if you click through the link and finalize a purchase.
Ever used all your tools to weigh down your pattern pieces? I do this a little too often and even draft in my drink, elbow and more to keep the pieces flat. I decided it was time to invest in some pattern weights. So here is how to make pyramid pattern weights.

What Can I Use Pyramid Pattern Weights For?
You can use them for a number of sewing jobs such as weighing down your pattern pieces while you cut them, trace them or even draft them. Don’t forget you can use them to weigh down your fabric while cutting out.
I have used them in the past to hold a ribbon in place while I plaited it. There are numerous ways to use pyramid pattern weights if you don’t want or need them make them as a gift for a fellow crafter and sewer.
What Do I Need To Make Pyramid Pattern Weights?
The tools and equipment you will need are :
- Your chosen fabric(s)
- Scissors / Rotary Cutter
- Fabric Marking Tool
- Rice
- Matching Thread
- Sewing Machine
- Ruler To Measure – Tape Measure

How To Make Pyramid Pattern Weights
I broke the steps up one by one so you can follow along easily and take your time. Though the pyramid pattern weights are fairly simple to make it can still get a little confusing at times.
Step One
Start by creating the size of the pattern weights, you don’t want to make them too large as they will take up too much room and won’t be useful. Too small and they won’t actually do the job they are meant to do.

I decided that making a rectangle fabric piece of 18cm by 9cm (7 inches by 3.5 inches) was a perfect size. Big enough to do the heavy duty job but small enough to be maneuvered around the table and discreet.
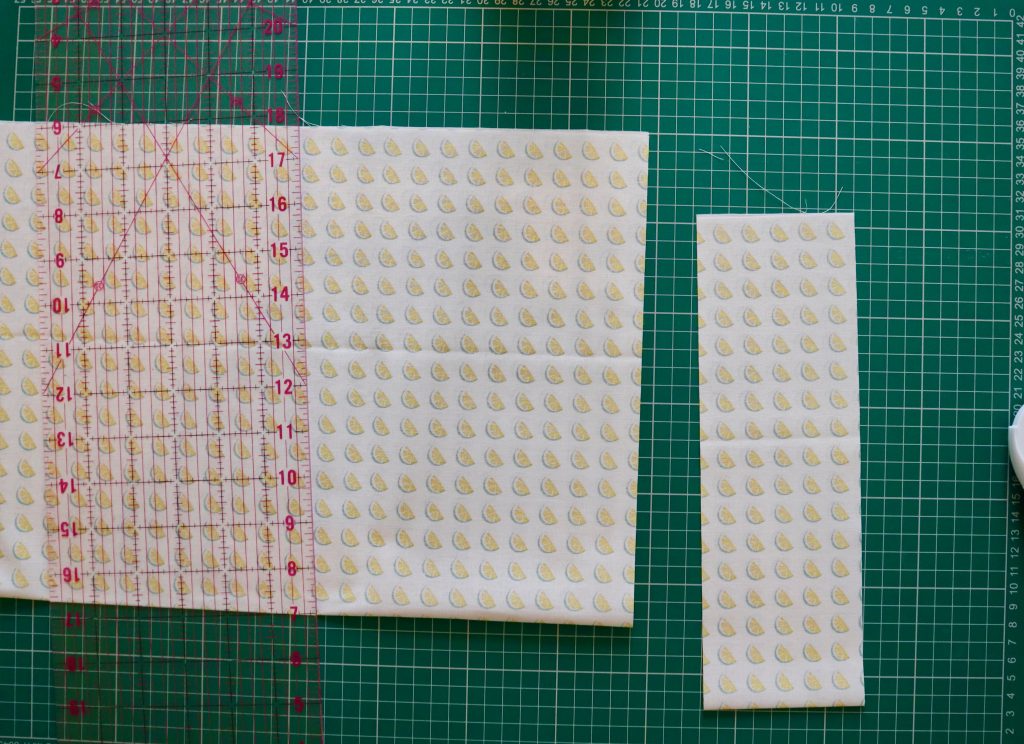
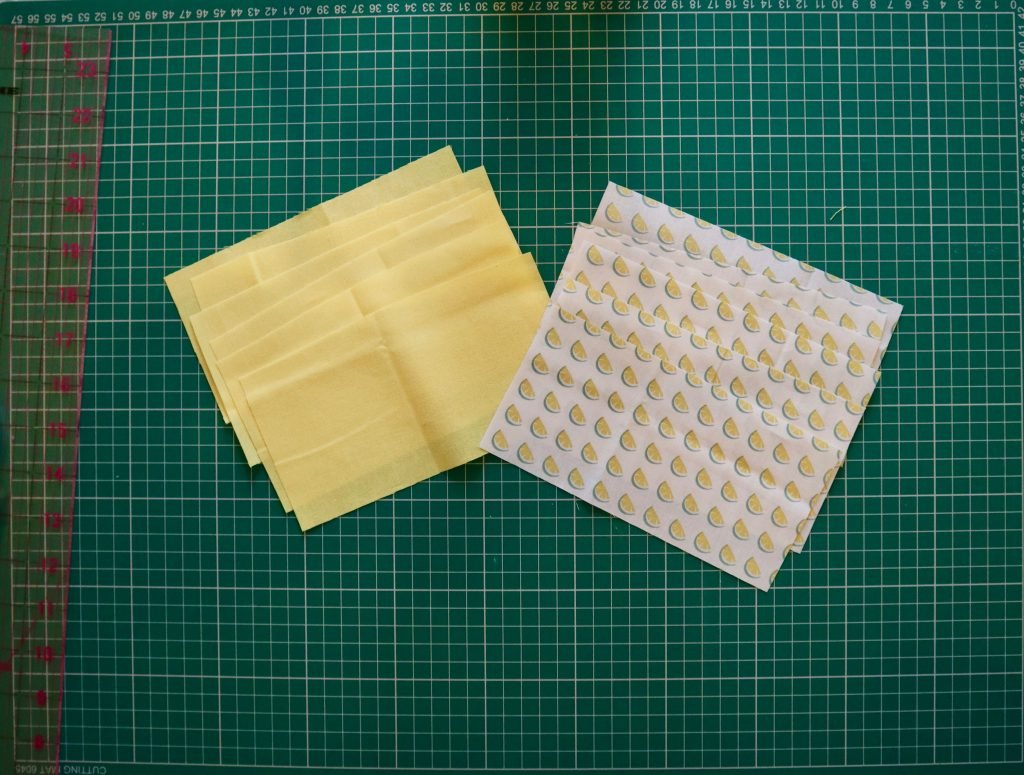
Cut this into your chosen fabric, remember to cut a number of these size as you will need more than one to do the job. A good number to make is around 10 – 12. This will give you plenty to use while pattern drafting or pattern tracing.
Tip: Make sure to square off your fabric before you start so you can get an accurate measurement. It isn’t essential but does help keep neat pyramid pattern weights.
Step Two
Start by folding the rectangle in half to make a square shape. Fold the piece right sides together.

Pin into place to keep in line while you sew the sides together.
Step Three
Sew down each open side and leave one edge open. It doesn’t matter which side is left open.

Make sure to use a fairly small stitch as to not let any of the fillings out.
Step Four
Cut down each corner to remove any bulk for turning through. Cutting the corners at a diagonal to remove the excess fabric will create pointy and crisp corners once turned through.

Turn the fabric right way outwards and use a fine point such as a pencil or small scissors.

Be careful not to poke too hard and create a hole in the corner. Once turned through and press to get any creases out.
Step Five
I used a 1/4 cup of rice for each pyramid pattern weight.

That was what I felt was enough to add weight but not too full I couldn’t sew it shut.
Step Six
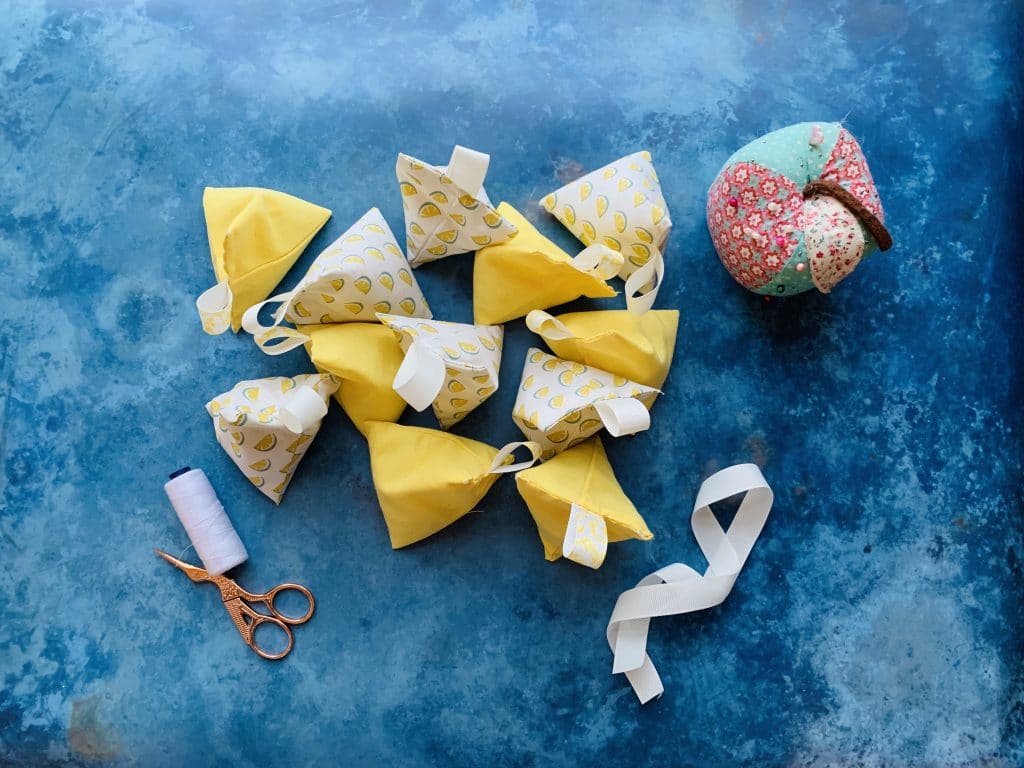
I chose to add in a loop of ribbon to add a little decoration and so I can pick them up easier. You can do this or just sew the tops shut. I made a loop roughly 2 inches long, I didn’t measure as I just wanted to be able to hook my finger through the hoop.

I then folded them in half and pinned them into place. I took each pyramid pattern weight and held the open ends in my fingers. I folded roughly 1/4 inch inwards to create a neat edge along the top.

I then placed the folded loop of ribbon in the middle and pinned it into place. When creating the top you want to add the seams from the previous edges face to face.
You want to match the seam line together and use that as your middle point. This will create the pyramid effect you will see above.
Step Seven
I then took each pyramid pattern weight and sewed the top together. You can do this on the machine if you prefer but personally I chose to slip stitch the top shut. I prefer to sew things like this by hand as I am neater and I find it easier.

You can do either way and what works best for you. A little hint would be to use hemming bond a web tape on the top, iron into place to hold the tops together. This will hold the edges together and the filling inside while you sew the edges in place.
There you have it! That is how to make pyramid pattern weights. If you have made a different shape of pattern weight let me know in the comments below. If you use pyramid pattern weights let me know how you find using them.

