
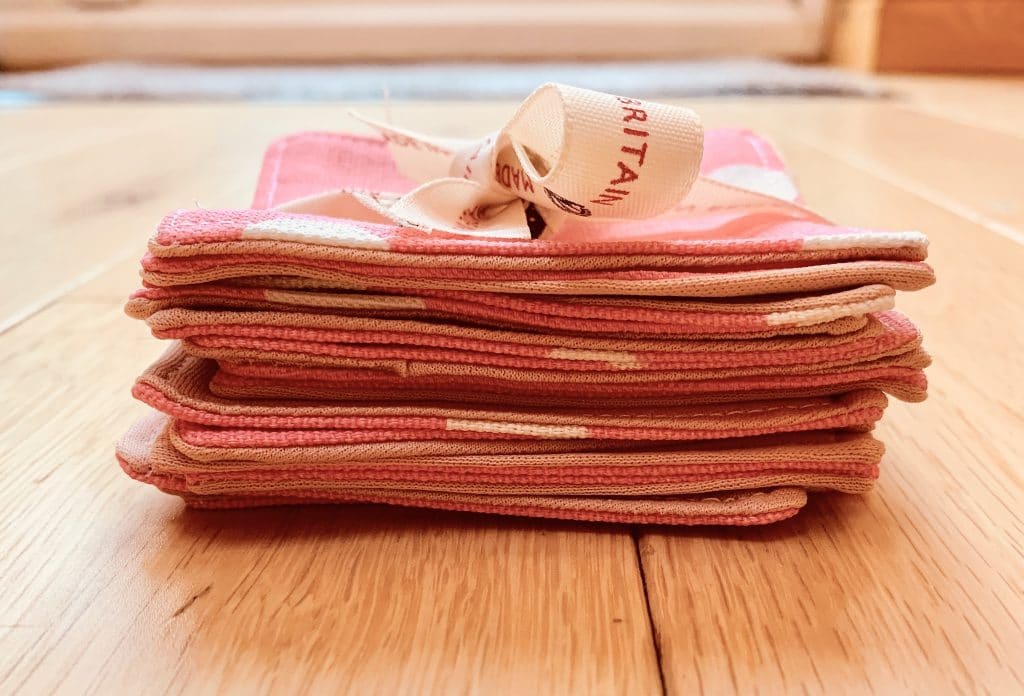
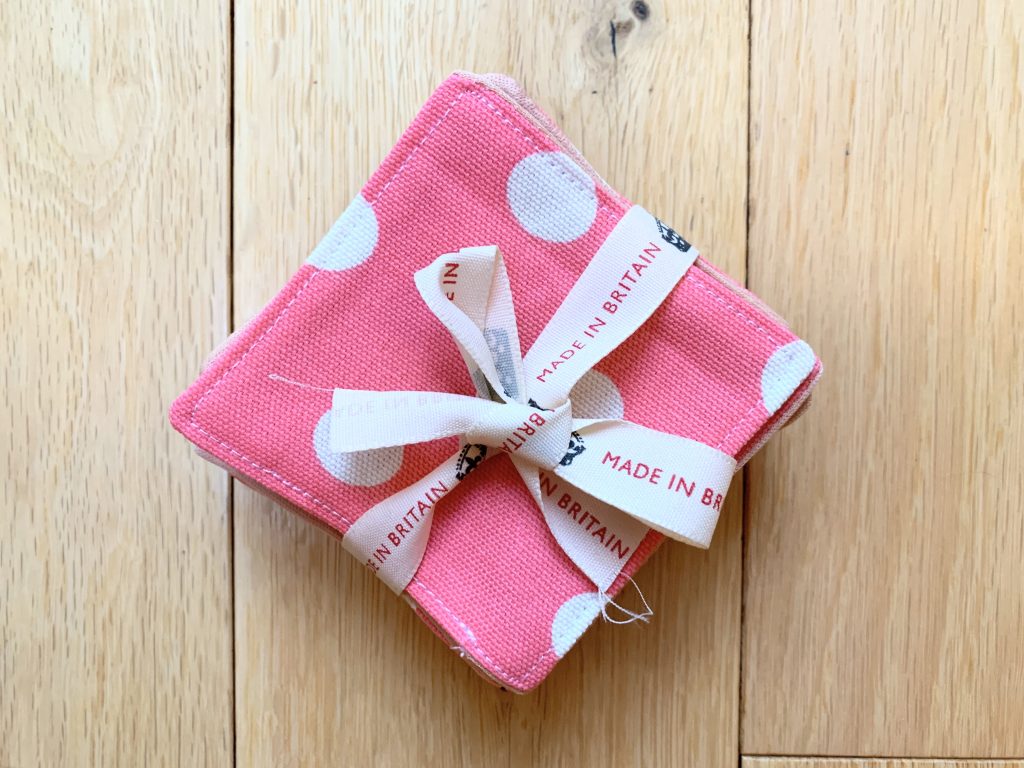
How To Make Reusable Face Wipes
Some of the links below are affiliate links. As an Amazon Associate I earn from qualifying purchases. This means that, at zero cost to you, I will earn an affiliate commission if you click through the link and finalize a purchase.
Are you looking to trade in your store bought face wipes for reusable wipes?
I have been slowly trading out some of my one-time use items for reusable where I can and one of the things I want to change is my cotton pads and face wipes for reusable.
I loved making different reusable items for the home and one of my favourites was these reusable kitchen rolls.
I don’t often wear make up so I don’t actually use them very often (a couple of times a month max!). But this didn’t mean it wasn’t a good decision for both the planet and myself.
Can I Use Any Fabric To Make Reusable Face Wipes?
Essentially yes you can but I wouldn’t advise it.
There are a number of fabrics which are beneficial to using on your skin and that wash well.
I have a full and comprehensive post which outlines the different fabrics to use for reusable face wipes and why.
Can I Use Toner & Cleanser With The Reusable Face Wipes?
Yes you can. But it will affect your face wipes.
Make sure your fabrics have been pre-washed to make sure if they have any colouring that the dye is full washed out and won’t transfer.

The chemicals in toner and cleanser may cause the fabric to stain. This is okay if you are washing and reusing but it may mean that they need replacing sooner than just soap and water face wipes.
Tools & Equipment
- Scissors
- Thread
- Fabric – this is a perfect way to use up all your scraps
- Ruler – I love using a quilting ruler as the measurements are easy to use and help me create clear accurate lines.
- Sewing Machine – optional
- Pins
How To Make Reusable Face Wipes
There are a couple of different ways you can edge your face wipes.
Either blanket stitching by hand – looks nice but may not work for certain fabrics due to fraying. Or you can hem the edges using an overlocker, this is the most popular way to stop the fabric from fraying and looks nice.
The last way is the way I am going to make mine, due to not having an overlocker I wanted to conceal my seams to make them longer lasting when being washed and used.
You can make these in rectangles, squares or circles.
Step One
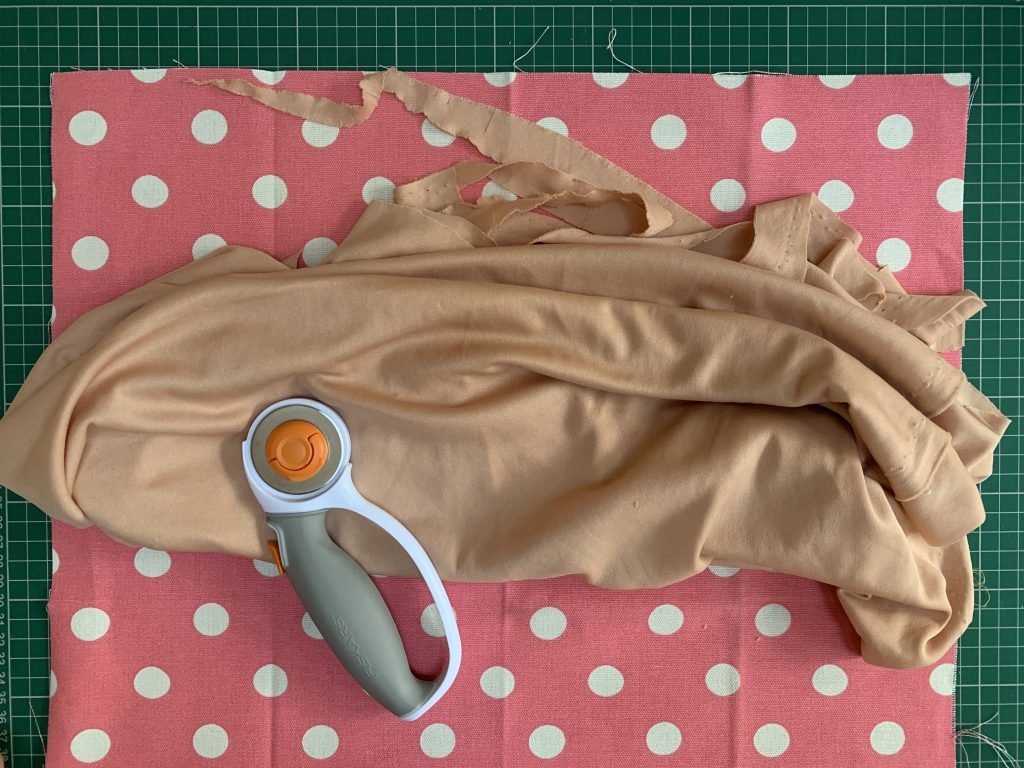
Start by cutting out the pieces in your facbrics.
I chose to have a soft side and a rough side to my face wipes, this will help soothe my skin and also the rough side will help remove dirt and exfoliate.
Make each square 4 x 4 inches. That is large enough to use and hold onto without it being too large. They are also perfect size to put into a glass jar to store in the bathroom.
Tip: If you are wanting to make these larger you can do and store them in a larger jar with a little water solution ready to wipe your face with.
You can use a paper template to use first if you prefer. I used my quilting ruler and rotary cutter to make crisp clean cuts. I also use the measuring lines on my quilting ruler to keep me on track.
Cut as many as you want to make, this could be anything from 5 to 50. I decided to go with 12 as that was a good number and I don’t often need to use them so they can be back from the wash by the time I need to use another!
Cut another 12 in your other fabric to use on the other side.
Step Two
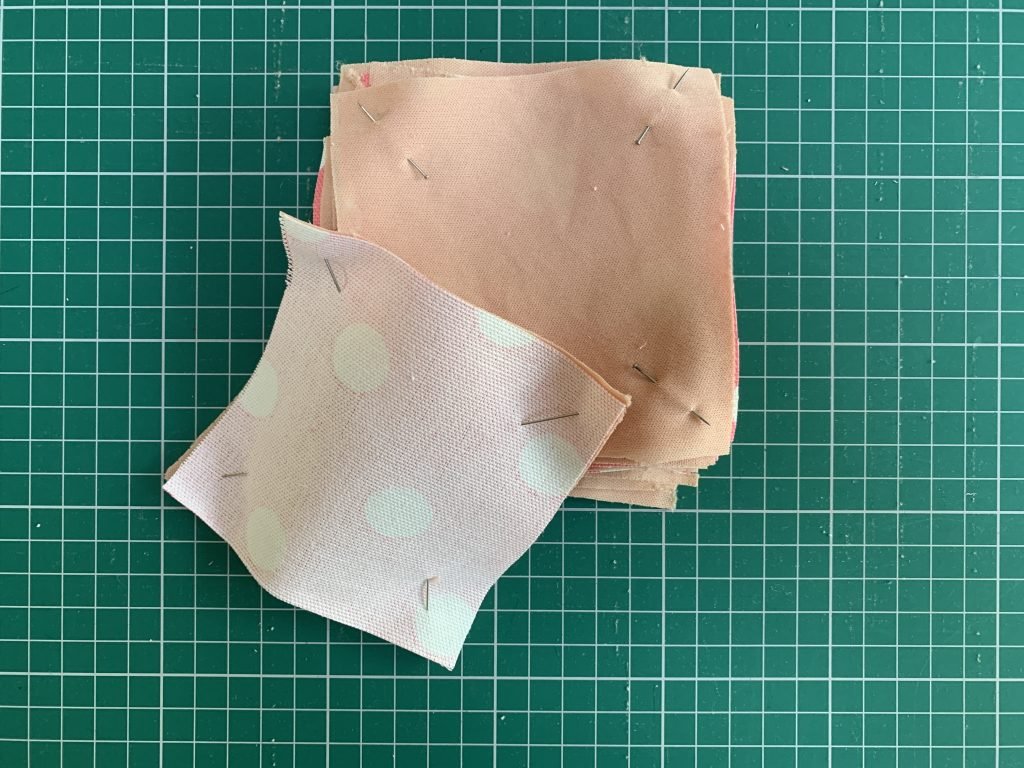
Once you have both of your fabric squares cut out start pairing them up.
Tip: I find this easier so I can make sure I have the right amount before I start sewing.
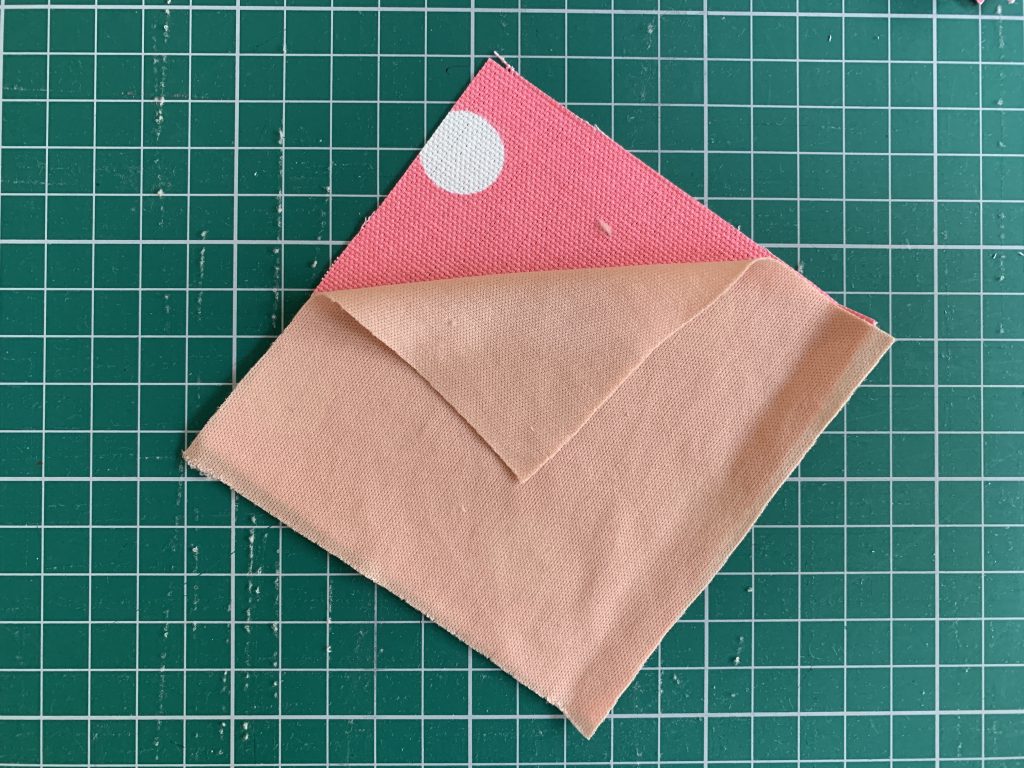
Pin together on each corner at a diagonal to hold the layers together. Make sure you are putting the squares, right sides together.
Sew with a 1/2 inch seam allowance around each edge. Leave a 1-2 inch opening on one edge. This will be needed to turn through to the right way out later.
Step Three
Before turning the squares rights sides out, you will want to trim the seams down – not too close. You will also want to trim the corners, cut at a diagonal across the corner.
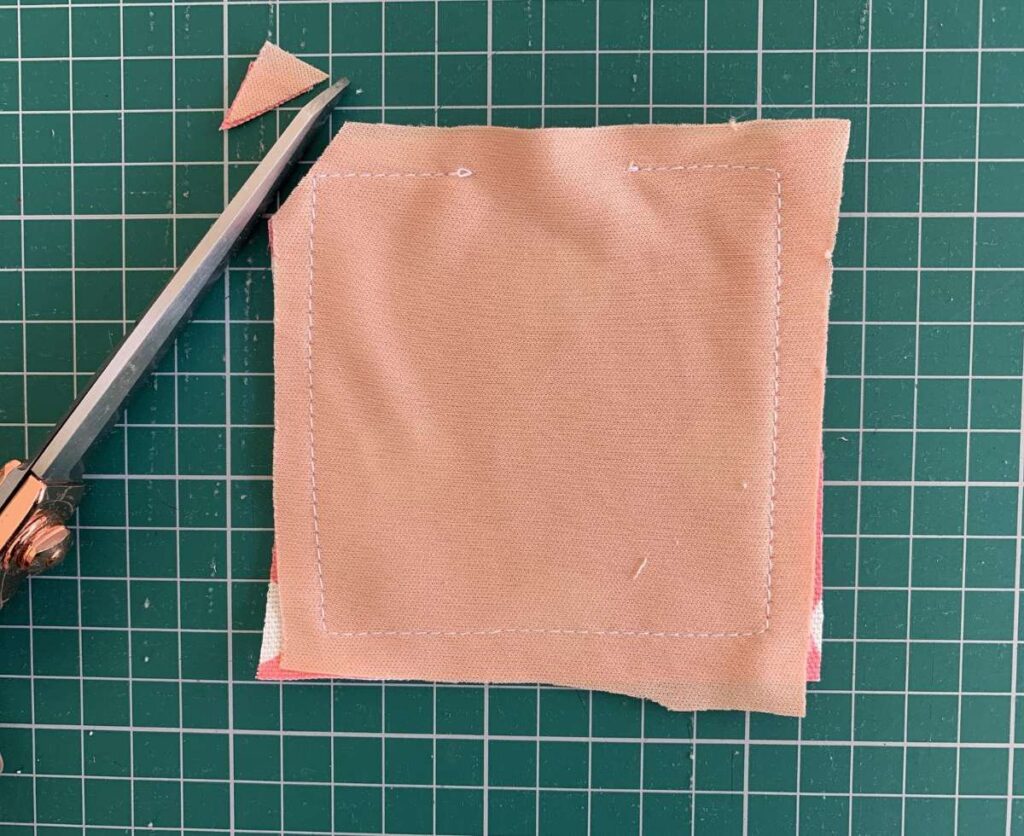
Make sure you don’t clip the seam when you cut the corner.
Turn the square the right way through using the gap you left earlier.
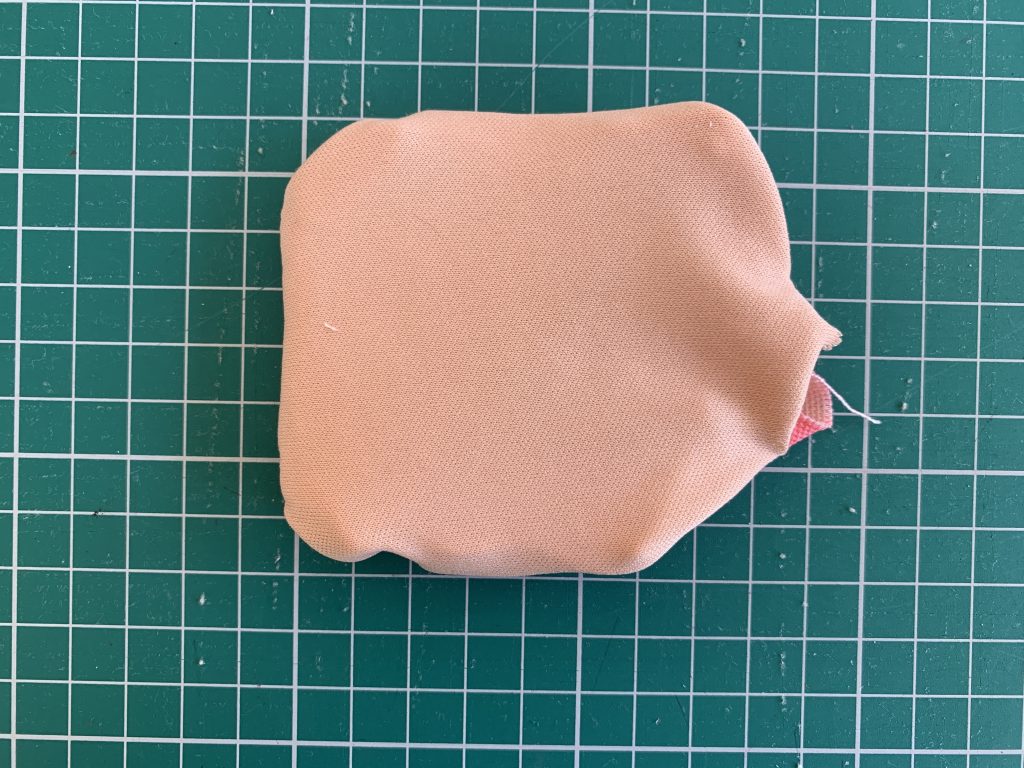
Use a dull pointy tool like a knitting needle end or a chopstick to push the corners out and make them pointy.
Step Four
Take over to the iron and press the seams to remove any creases.
Make sure the open gap is folded inwards and press in place.
Pin to keep shut ready to sew.
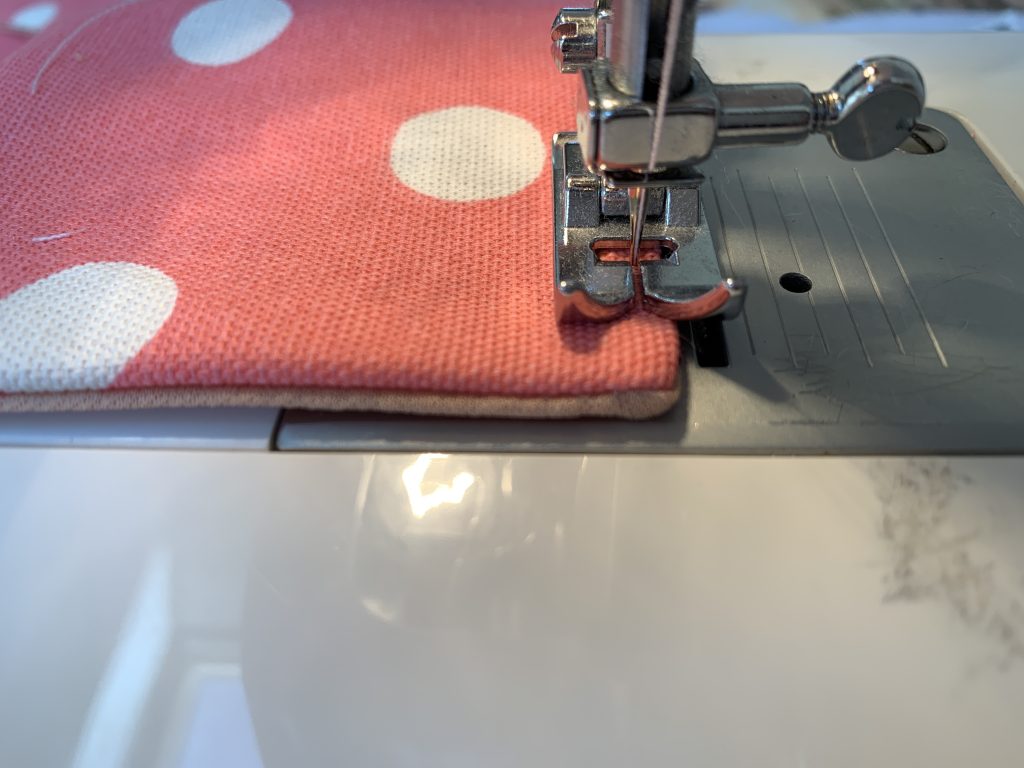
Step Five
Take your reusable face wipes back to the sewing machine and sew 1/2 inch seam around the edge. Topstitch around the edge to conceal the original seam and to sew that open gap shut.
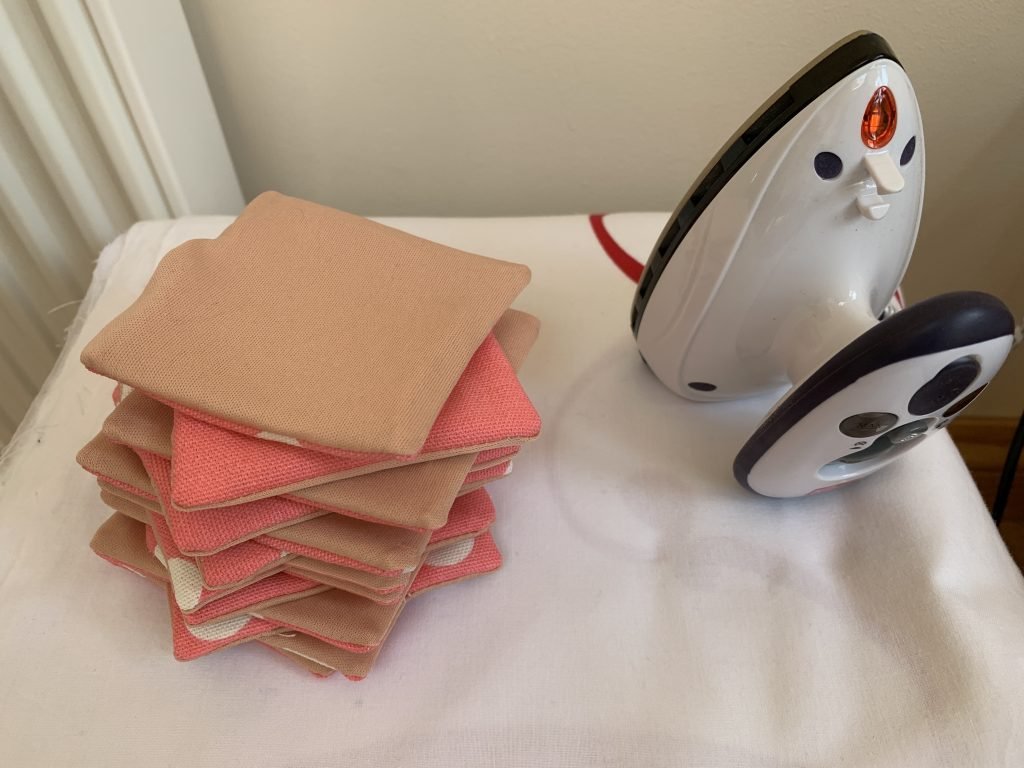
Once you are done give them another press and then they are ready to use.
Store in a box or glass jar in your bathroom to make them easy to access.
I hope you have enjoyed this tutorial on how to make reusable face wipes and have found it easy to follow. If you like to use reusable products at home there are a number of ways you can do this.

