How To Make Reusable Kitchen Roll
Some of the links below are affiliate links. As an Amazon Associate I earn from qualifying purchases. This means that, at zero cost to you, I will earn an affiliate commission if you click through the link and finalize a purchase.
I never knew the essential use of kitchen roll until I had my own home. But using it as often as I do feels so wasteful so I am slowly changing to more reusable products within the home. I decided to give making my own a go, this is how to make reusable kitchen roll!

If like me you are experimenting with changing up some of your more throw away items to reusable and longer lasting then why not try out some of the others on the market. You can trade out your make up wipes, make-up remover pads, and even your table wear.
Tools & Equipment
- Old Towel
- Scrap pieces of cotton or unbleached cotton
- Snap Fasteners – optional
- Scissors Or Rotary Cutter
- Quilting Ruler
- Tape Measure
- Thread
- Sewing Machine – You can sew them by hand if you prefer.
- Fabric marking tool
- Clips Or Pins
Check out my Resources page for all my recommended tools & equipment.
How To Make Reusable Kitchen Roll
Step One
You can either cut specific sized pieces such as the 10-inch by 10-inch squares I recommend below or you can cut your pieces like I did.
I folded my towel in half lengthways and cut it, I then took each long piece and folded it in half and cut it. I repeated that for the second piece, I then took the 4 smaller pieces and folded them in half and cut.
Tip: Cut off any bulky seams on the towel such as the bulky binding at the edges to make it easier to sew later on.
My pieces worked out around 10-inch by 10-inch squares. But that way you can use the full towel and it is an easier and faster method.
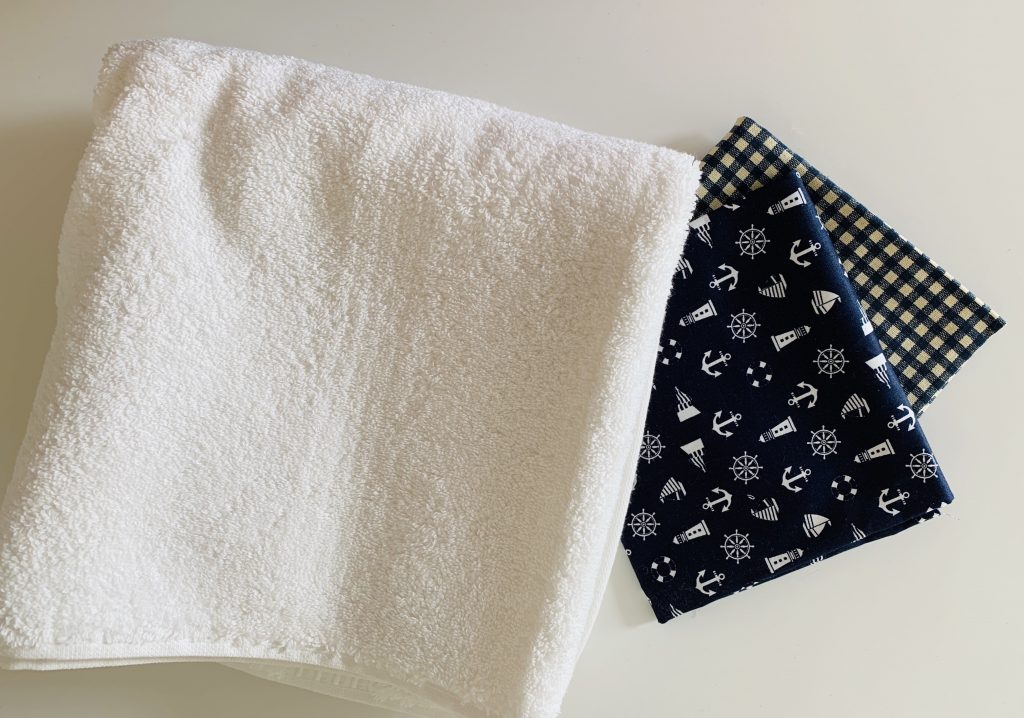
Cut 10-inch by 10-inch squares from both your cotton fabric and your toweling.
You can make 8 reusable kitchen towels from 1 hand towel measuring (general measurements apply)
Tip: Make sure all fabric is ironed or steamed before cutting to ensure all creases are out.
Do this by using your quilting ruler to mark 10 inches by 10 inches. Use your rotary cutter to cut the fabric using the ruler as a guide.
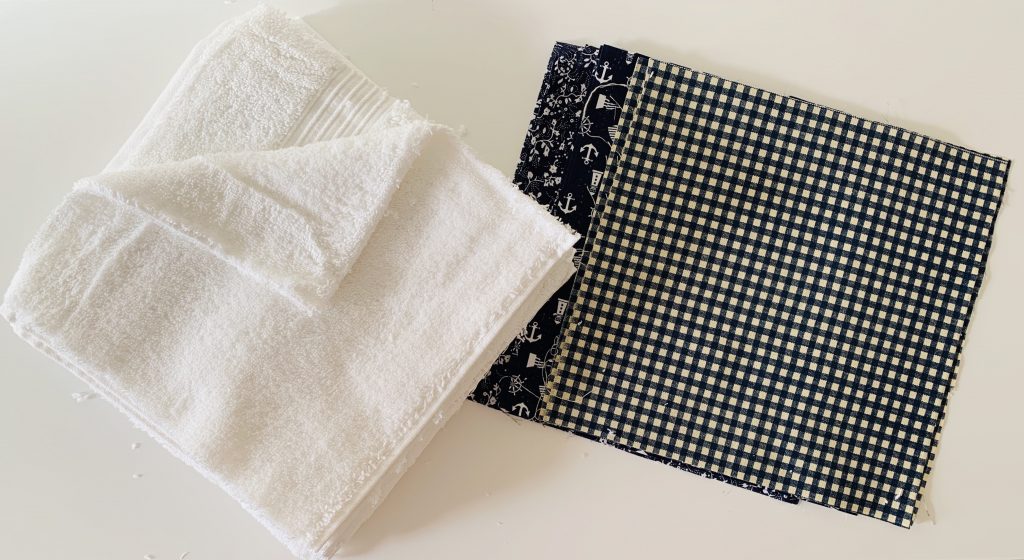
Tip: Make sure you do this in a room you are okay with getting a little messy, I found cutting the towel up caused a lot of mess with the loose fibres falling.
Step Two
Place your towel fabric and cotton fabric right sides together and pin or clip in place.
I like to use sewing clips as they are easier to handle and take out while sewing.

Remember to leave one side open or a gap no smaller than 2 inches. You will need this gap to turn through your fabric once sewn.
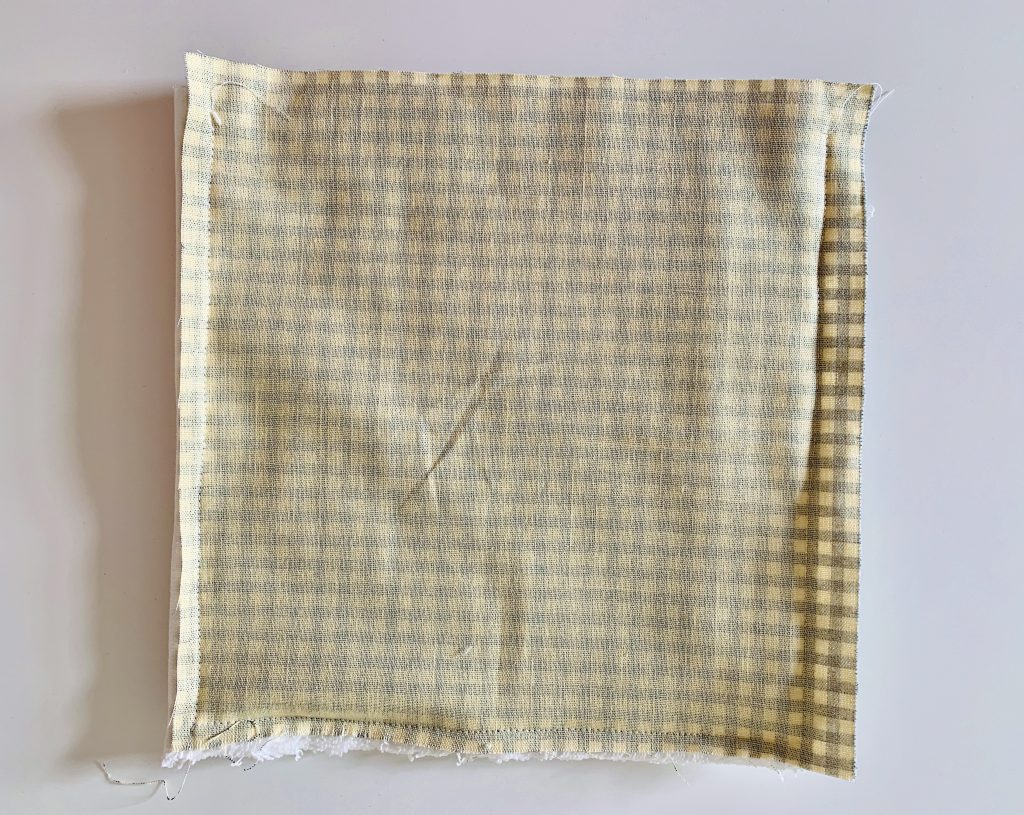
Sew the pieces together using a 1/4 inch seam. The seam allowance is key to making sure your seams don’t bust or start to fray after 1 or 2 washes.
Step Three
Trim the corners of your square, so this by diagonally placing the scissors across the corner to cut off the excess.

Tip: Make sure you do that step as it will help you create a neat and tidy point in the corner.
Then turn your kitchen roll piece right sides outwards.
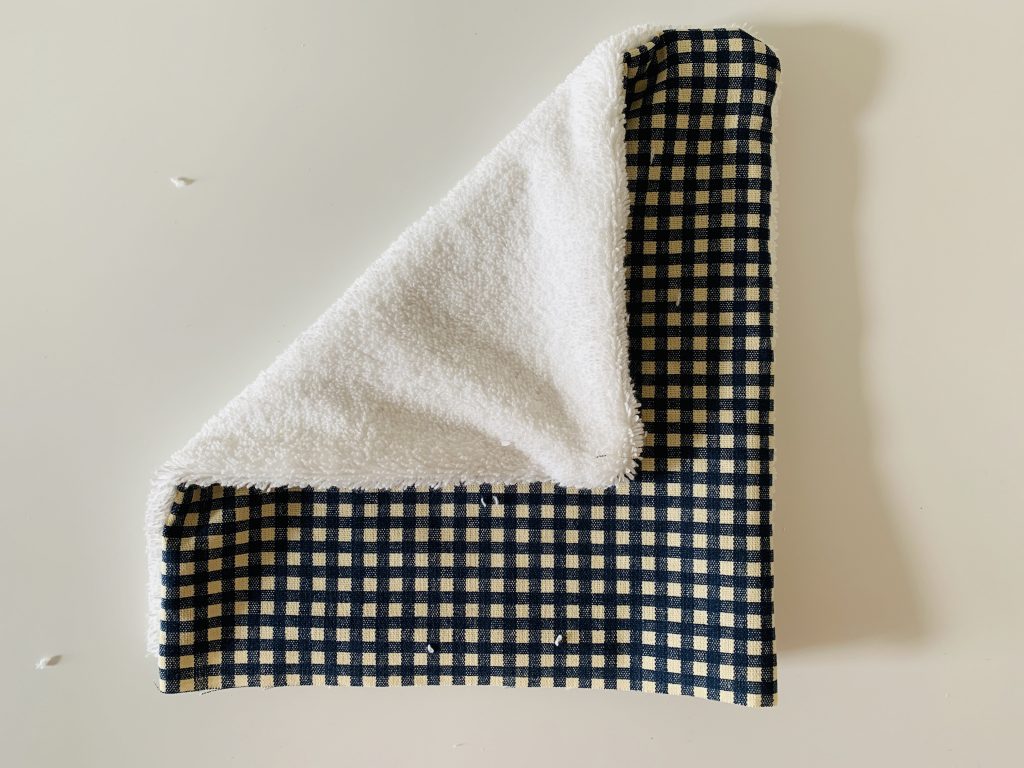
Iron or press to make the seams neat and tidy.
Step Four
Fold the raw open edge in to create a neat edge the same as the rest of the square.
Clip or pin into place, sew around the edge with a 1/4 seam or just less to make sure you hit that open edge to close it.

This will give the reusable kitchen roll a stronger feel and be long lasting.
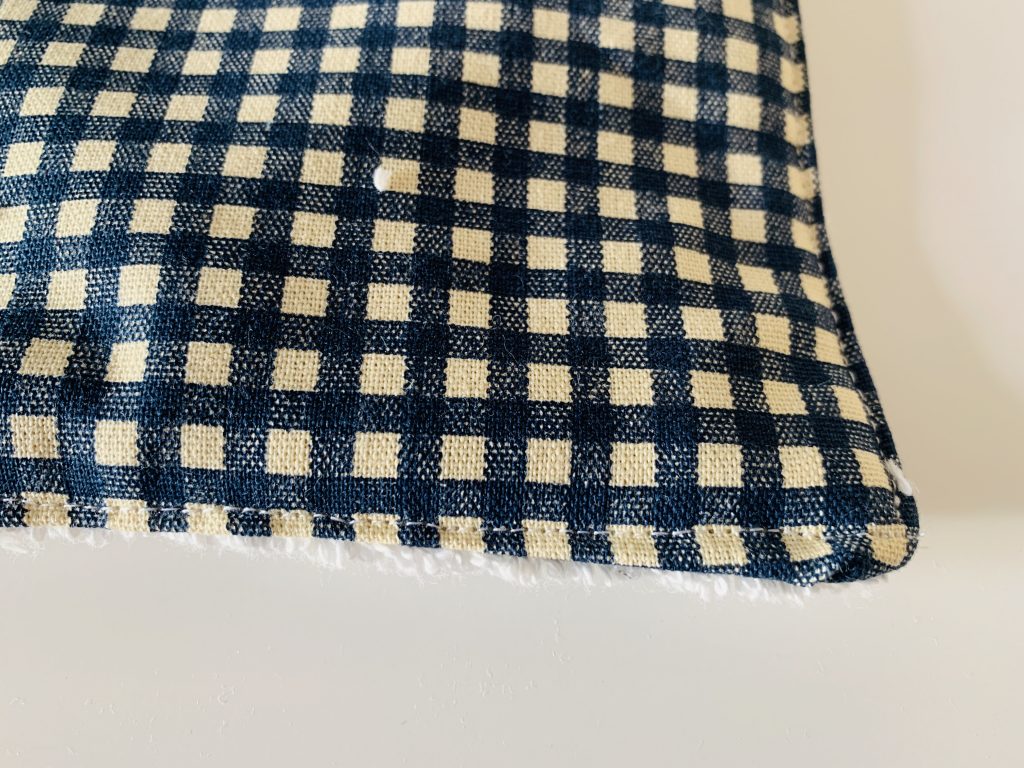
Remove all pins and clips and you are done!
Step Five – Optional
At this point, you can attach snaps to enable you to roll the kitchen towels onto a rube roll like you would any other kitchen roll or you can leave them as they are and stack them neatly in a little basket on your worktop.
This is a step you can miss on how to make reusable kitchen roll.
I personally didn’t want to add them as I didn’t want the plastic fasteners to scratch my kitchen surfaces.

That is my simple and easy to follow tutorial on how to make reusable kitchen roll. I hope you have found this easy to follow and useful if you have please leave a comment. If you have made other reusable items in your home I would love to know more about them!

