How To Make Your Own Fabric Bolts
Some of the links below are affiliate links. As an Amazon Associate I earn from qualifying purchases. This means that, at zero cost to you, I will earn an affiliate commission if you click through the link and finalize a purchase.
I have recently been buying more and more fabric, some cottons for quilting and some fabrics for dressmaking. But my problem is its all currently sat in a basket and if I need to get to one fabric, I have to take it all out.
It is getting to the point that it isn’t sustainable and its hard to manage. The basket is too heavy to move and I can’t see what I have. So I decided to make my own fabric bolts so I can stand them in my Ikea Kallax and see eaxctly what I have and get to it easily.
Traditionally people have used recycled fabric bolts from companys or used light cardboard pieces that are used to slide in with comics to give them stability.
Though you can buy these materials and some at cheap prices I wanted to create my own with recycled resources that I have to hand.
Best Materials To Use For Fabric Bolts
There are a number of materials you can use and some you want to avoid.
Though you might not know it there are certain types of materials that can cause damage to your fabrics to you to want to make sure that you are using the right materials to ensure long-lasting results and care to your fabric stash.
Here are the top materials you should be using to create your own fabric bolts.
- Foam Board
- Cardboard – make sure to remove any tape and labels
- Thick Card – Card that comes in curtains and bedding packs are great!
If like me you end up saving lots of cardboard and empty Amazon boxes you will be in luck and finally have a use for them.
Tools & Equipment
Before you start getting carried away and rolling up your fabric there are a couple of things I wanted to mention before you get started. Here are some tools I think you will want to use and will need.
I used all 3 for my project to arrange my fabrics
- Scissors
- Craft Knife
- Ruler
- Iron – optional as my fabrics were in such a bad state I chose to iron them before placing them onto the new boards.
- Cutting Mat
- Pen
How To Make Your Own Fabric Bolts
I love going through every now and then to adjust my sewing room and how I store my supplies as I work out ways that work well and ways that dont.
I recently re-organized my ribbons and laces and it made such a difference to how they look and how easy it is to find them.
Step One
To start you first want to work out where your new fabric bolts are going to stand. Are they on a shelves, in a unit or in a box?
If they are going to be in a shelving unit or box you want to make sure you know the measurements of the height and width so you can make your bolts the right size to slot into that space comfortably.
Step Two
If like me you have let your fabric stash take over and it is in all kinds of dissaray you might find some of your fabrics heavily wrinkled and folded.
I decided to give my worst pieces a quick iron and press before putting them onto my boards.

Work out how many fabrics need to be placed on the boards so you know how many to cut out. If you are smaller pieces of fabric you can stash them in the same way but on smaller boards if you prefer.
I store my small fabrics and fat quarters in a 9L Really Useful Box and it works great for me!
Step Three
Use your measurements from before and take 1 cm off the width and length. This will help it fit into the space just right once it has fabric wrapped around it.
For example, my space is 33cm x 33cm x 38cm which is the inside of an Ikea Kallax cube. So I want to make my pieces of card 32cm by 32cm.
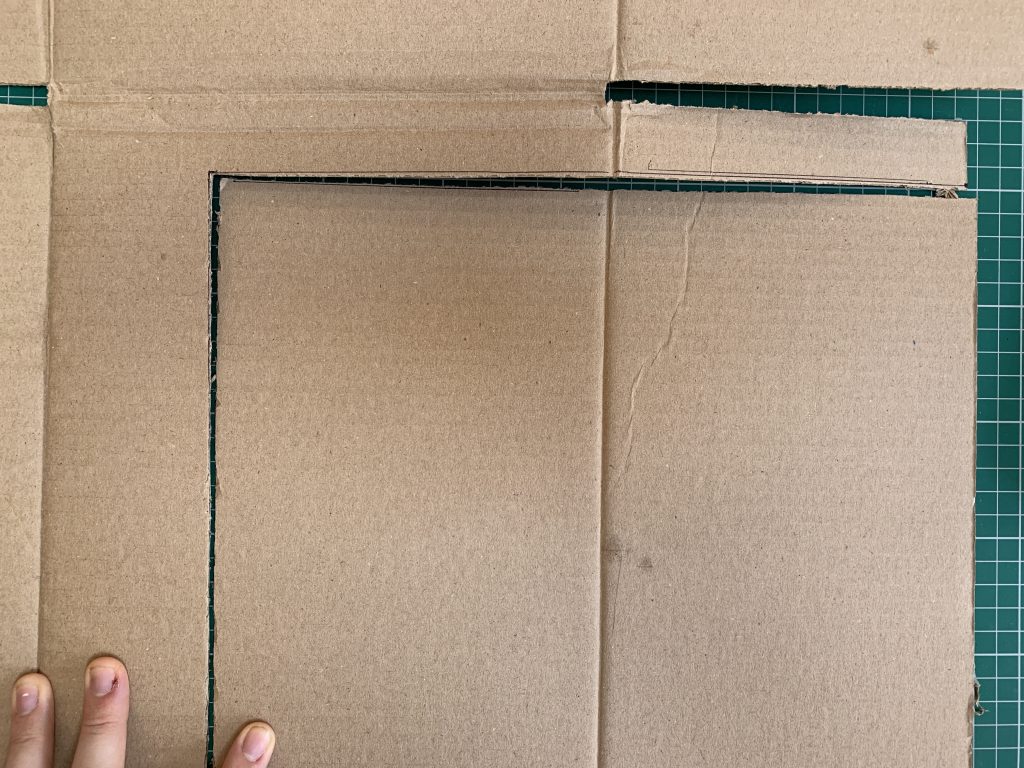
Tip: If you are using a craft knife to cut your boards I highly suggest using a cutting mat to save your work surface or table from scratches from the knife.
Take your measurements and start drawing out the lines onto your chosen material. If you are using recycled cardboard like me, make sure you have squared off your edge to be straight. Otherwise you might end up with wonky fabric bolts.
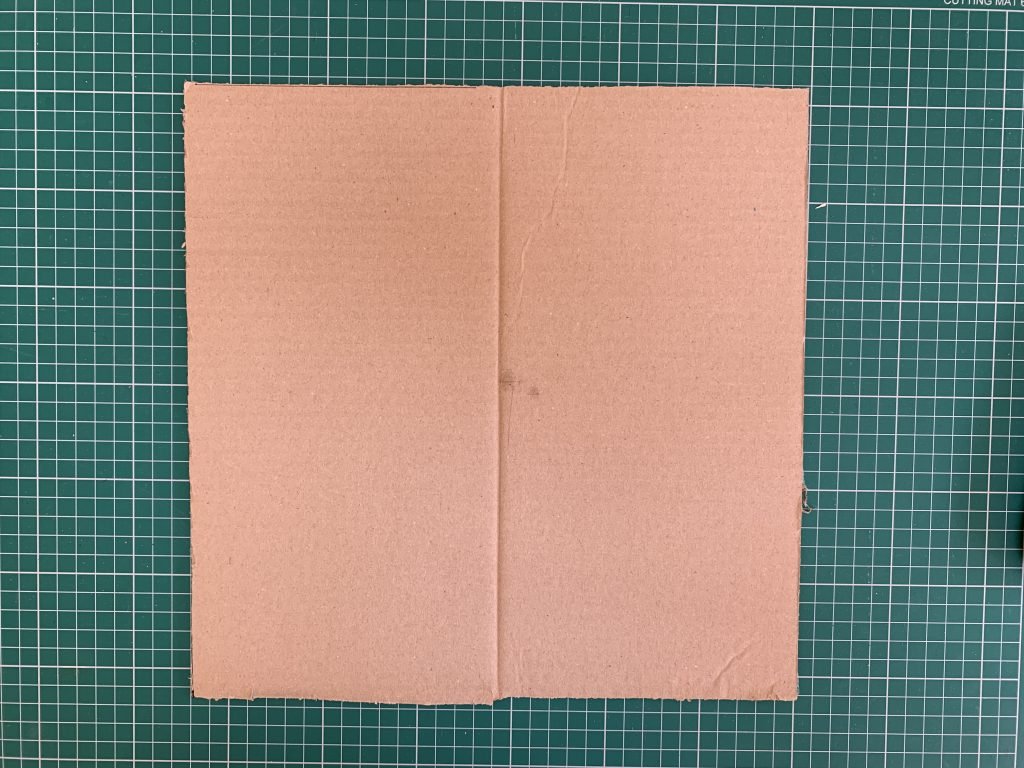
Using your ruler mark on your first measurement – in my case 32cm and create a solid line with a pen then on the opposite way create the second measurement line.
Cut out your individual squares ready to start using as fabric bolts.
Step Four
Fold your fabrics to the width of your board – make sure the fabric is slightly smaller so you can add notes to the top if you need to.
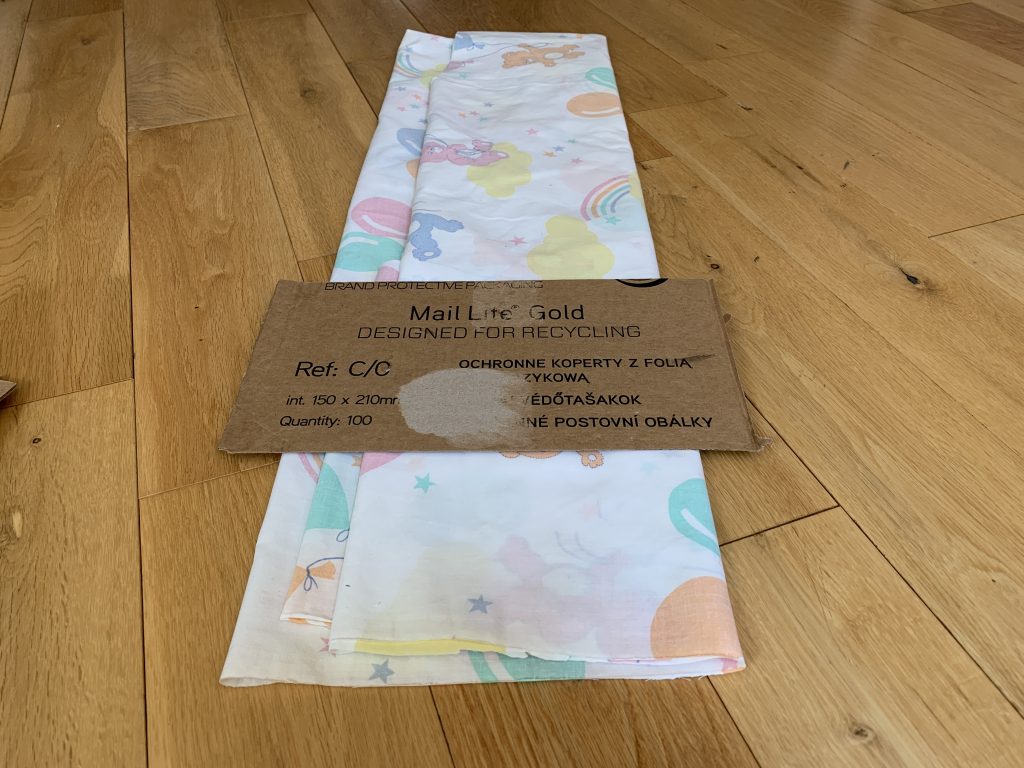
Tip: If you are new to sewing or have lots of fabric you may want to note the fabric style whether it is cotton, viscose etc.
You may also want to note how much (roughly) is left on it so when you are making a new project you can quickly see what can fulfil that project.
Lay your fabric on a clean surface and fold to just smaller than the width of your boards. Lay your board on top and fold over the fabric, hold in place and keep rolling until you reach the end.
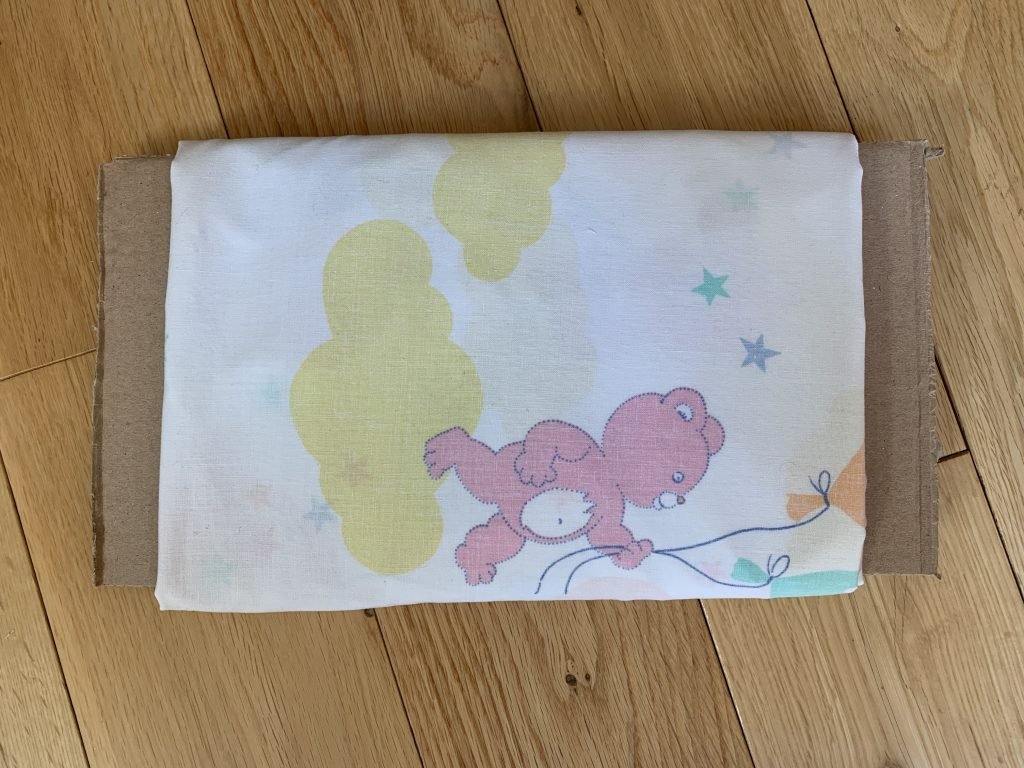
Tuck in the loose end or you can use pins or even paper clips to hold the loose end in place.
Repeat for each piece of fabric until you are done.
Step Five
Once you have wrapped all your fabric onto your boards you can stack them in the box or shelf and admire your wonderful stash!
I hope you have found this tutorial on how to make your own fabric bolts helpful and has gave you a new and exciting way to store your fabrics!
Why not go crazy by create a rainbow look or simply stack in order of fabric type. There are a number of ways in which you can organize your fabric stash to look pretty and be useful at the same time!
