How To Sew On Bias Binding – 3 Easy Techniques
Some of the links below are affiliate links. As an Amazon Associate I earn from qualifying purchases. This means that, at zero cost to you, I will earn an affiliate commission if you click through the link and finalize a purchase.
Are you wondering how to sew on bias binding?
Bias binding is probably one of my favourite parts fo sewing. At university, I absolutely hated it and couldn’t think of anything worse but since doing sewing at home for myself I have found so many uses for it and I love it!
If a project has bias binding involved I am totally there! Bias binding can be a little confusing and a little tricky to get the hang of but once you do you can completely relax and work wonders with it.
What takes time is knowing how to sew it on and how to handle it. Once you crack those you will be binding everything in sight!
I decided to put this handy tutorial together to show you 3 easy ways to use bias binding. Whether it is for clothing, binding a quilt or just making something at home that needs it.
I will show you how to make it and how to sew it onto a project. I will also include information on each method about best sewing technique and what projects it works best with.
Tools & Equipment
These are the most common tools and pieces of equipment you may want to use for one of these methods or find they are used in all of the methods.
I will note in each method which of the tools you will need to create the binding.
If you have never made binding before and want to read a full tutorial of how to make it, I have a step by step guide of how to make bias binding.
If you are looking at attaching your bias binding you want to make sure that for the bias tape is folded into the middle as shown below.
(image of bias binding with folds)
If you are using premade bias tape you don’t need to create the folds as this is done for you.
Exposed Binding Method
Within this method you will need the following tools:
- scissors
- pins or sewing clips
- Sewing Machine
- Thread
- Iron
Within this method, you can learn 2 ways of attaching your bias binding. The beginner way and the more advanced way.
The beginner method is to take the bias binding and open it up so that all folds are visible. Place the binding right side down to the right side of your project.
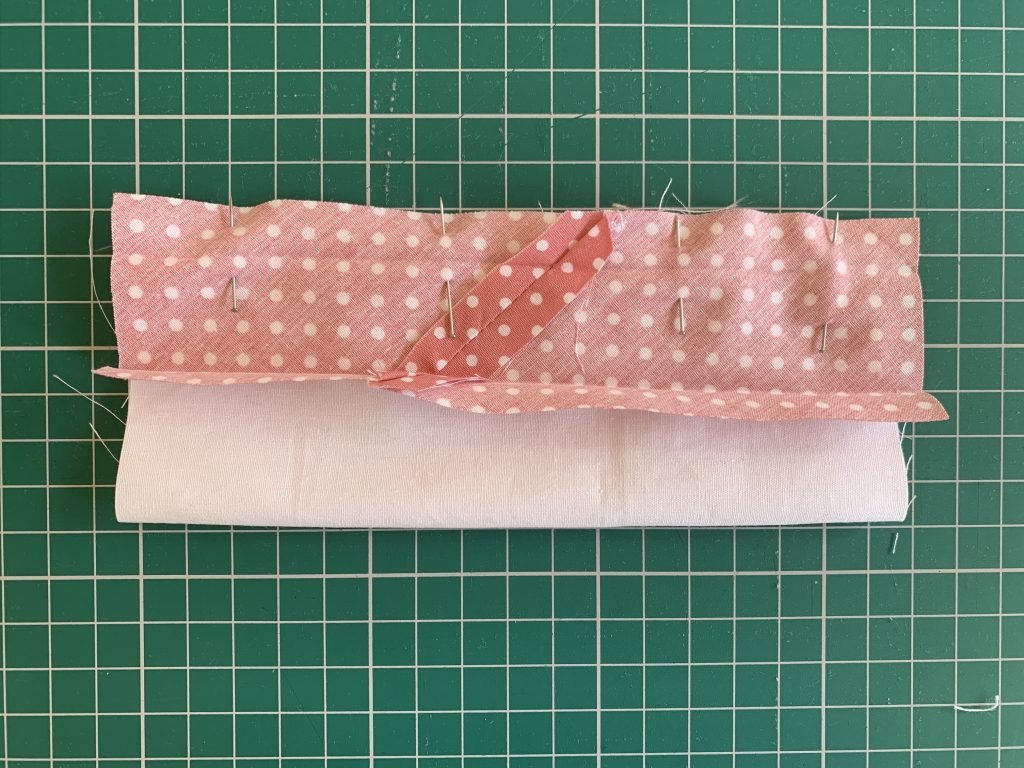
Fold back the end to conceal the raw edge of the binding. Completely pin the binding in place around the edge of your project. Sew in place using a straight stitch – don’t use anything too tight and small as this may cause your fabric to pull and wrinkle.
When you sew the binding in place, sew in the ditch of the fold, this way you can be sure that your stitching and binding will be accurate and neat.
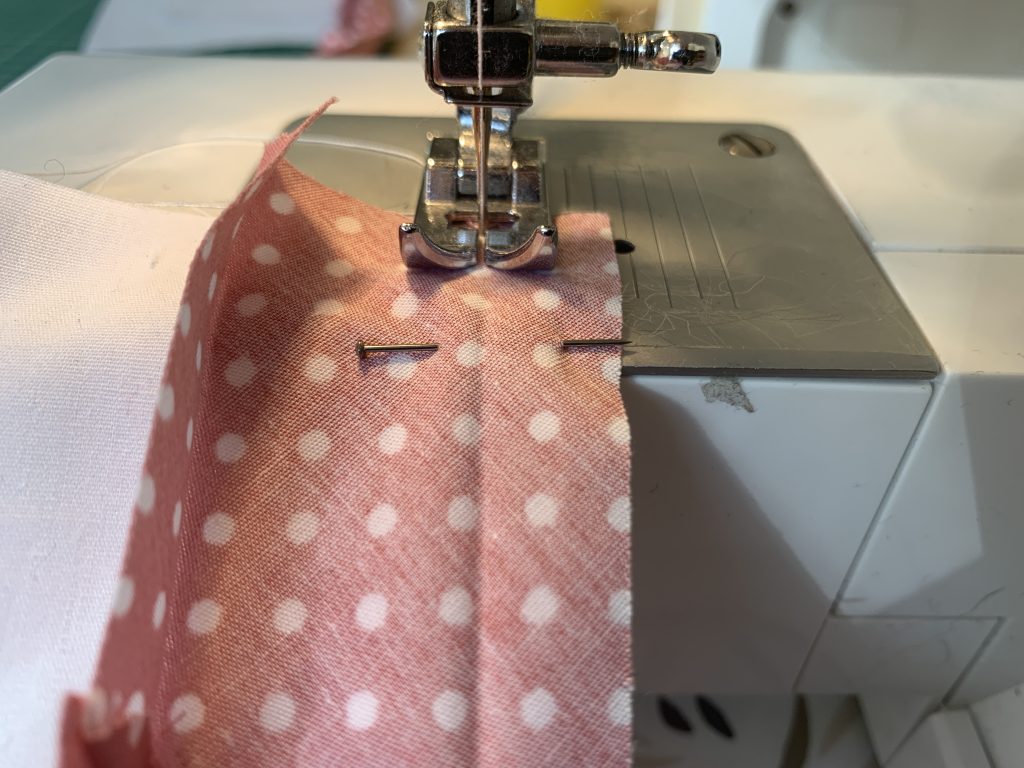
Once you have sewn the binding all the way around, fold over the binding towards the wrong side. Make sure you iron the seam so it is nice and pressed over and neat.
Fold under the raw edge of the binding – make sure you follow the crease that is already there to create the fold. Then place it down to meet the previous stitch line, you want it to slightly overlap the stitch line so it isn’t seen.
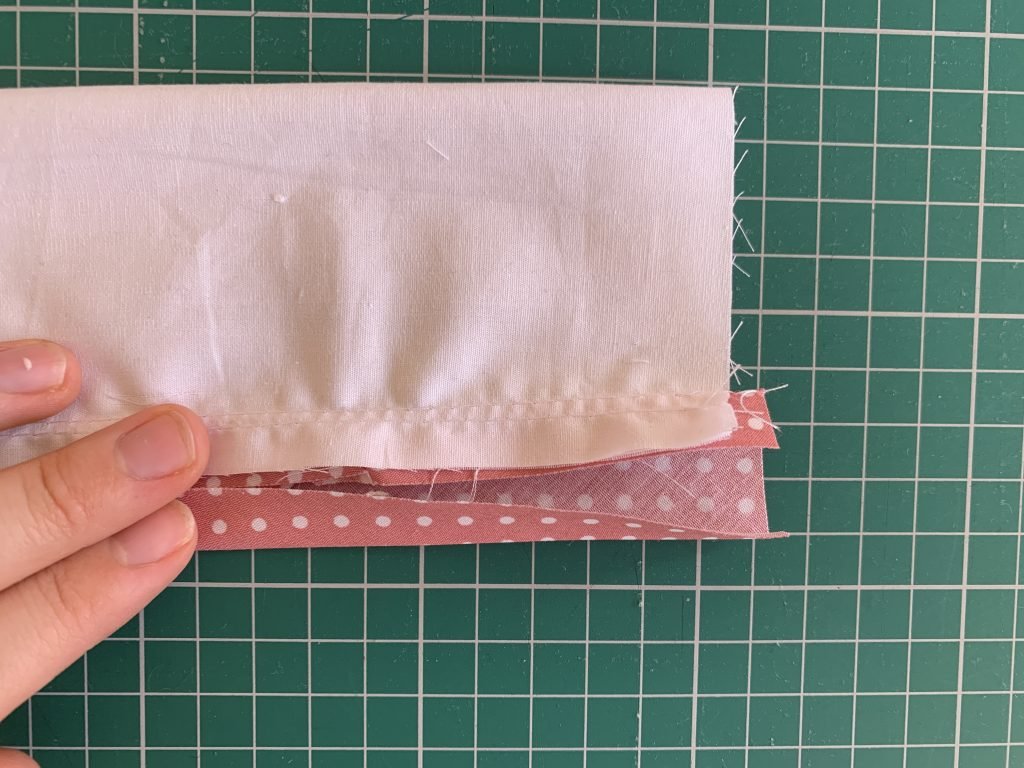
Pin the binding in place and sew by hand to hold it in place. This is the longest way to finish the binding but it is often the cleanest and most neat.
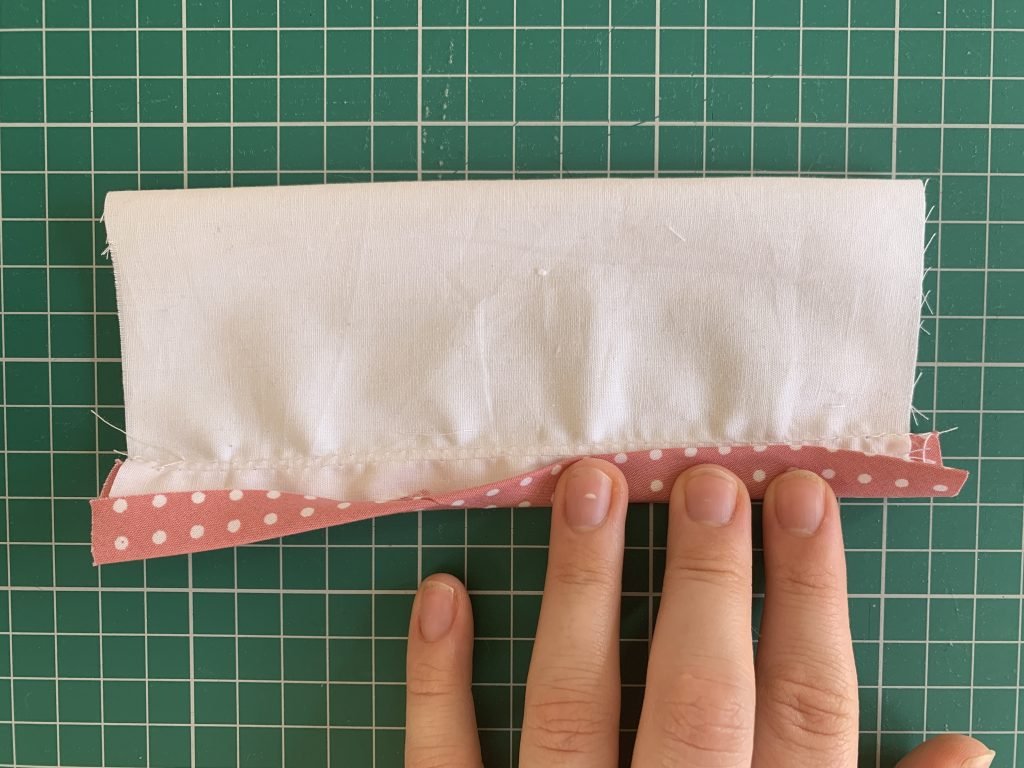
You can, however, topstitch the binding in place using a straight stitch on your sewing machine.
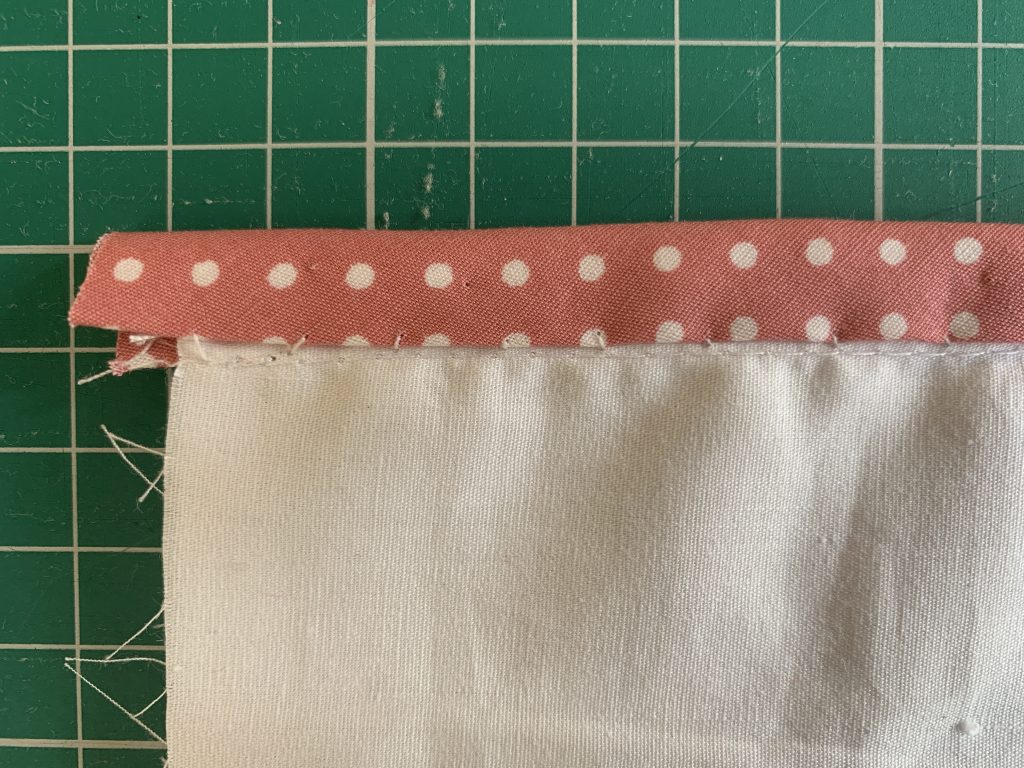
The advanced method is to use the binding as it is, folds inwards to look like the image below.
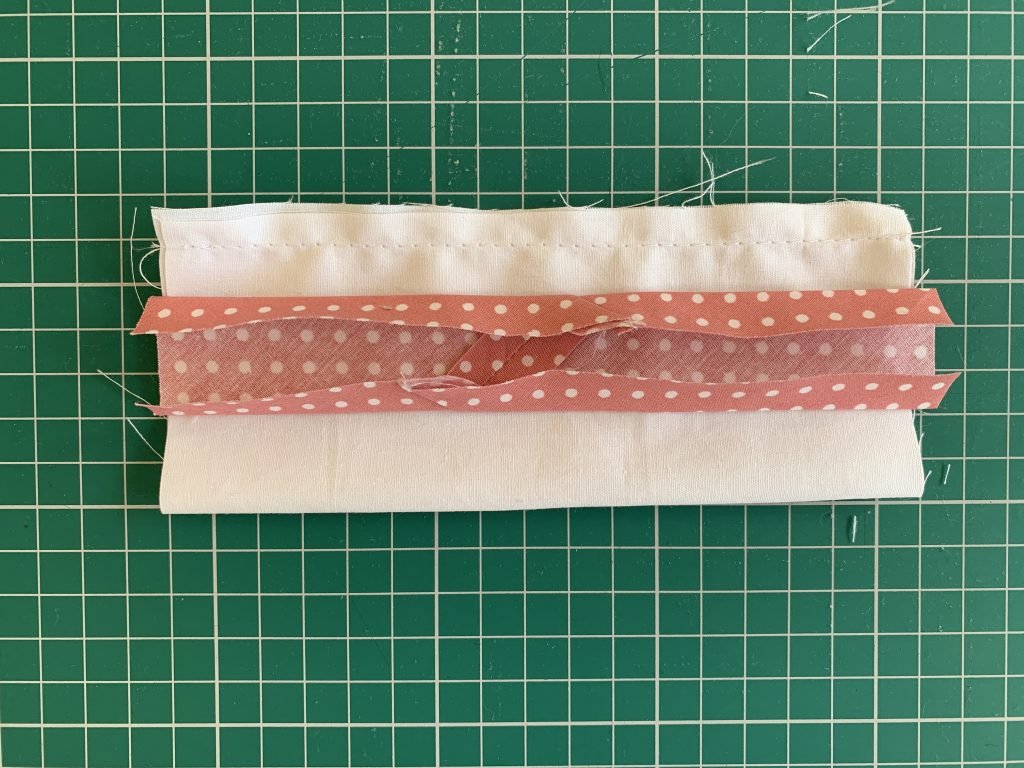
You then take the binding folding the raw edge to the inside (where the folds are) and place on your project.
You may not always need to fold down the raw edge to conceal the fraying edge as this may be caught in a seam later on in your project.
Check your sewing pattern instructions for more information before starting.
Place the binding over the raw seam edge like a peg on a washing line. This will be taking both parts of the bias tape to each side encasing the raw edge in the middle.
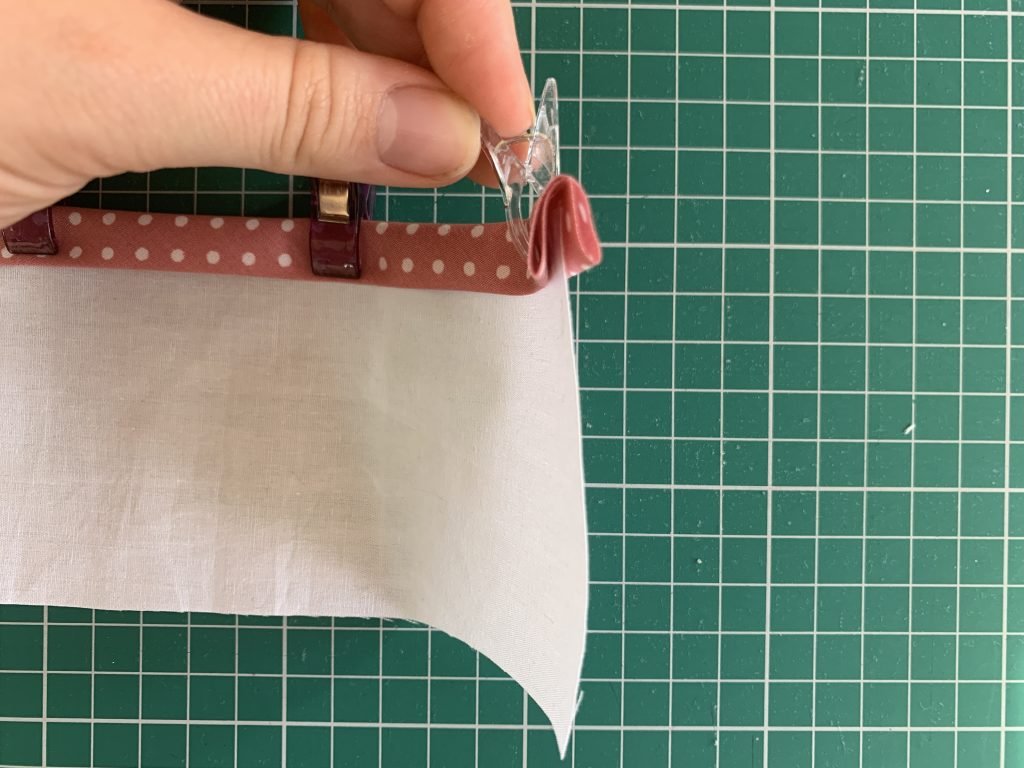
Pin in place or use sewing clips to hold in place and they won’t cause any punctures or holes in the material.
Topstitch the binding in place using a standard straight stitch – don’t use a stitch that is too small as this can cause the thread to pull and cause the fabric to wrinkle and pucker.
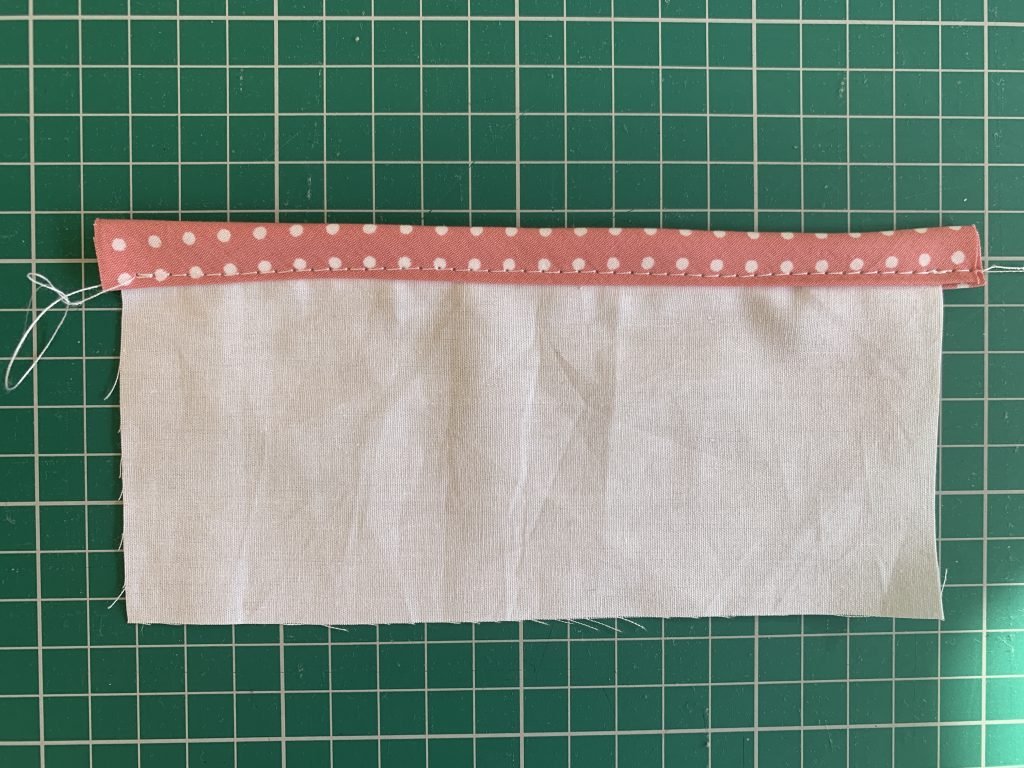
Sew the binding along the edge to hold the layers in place.
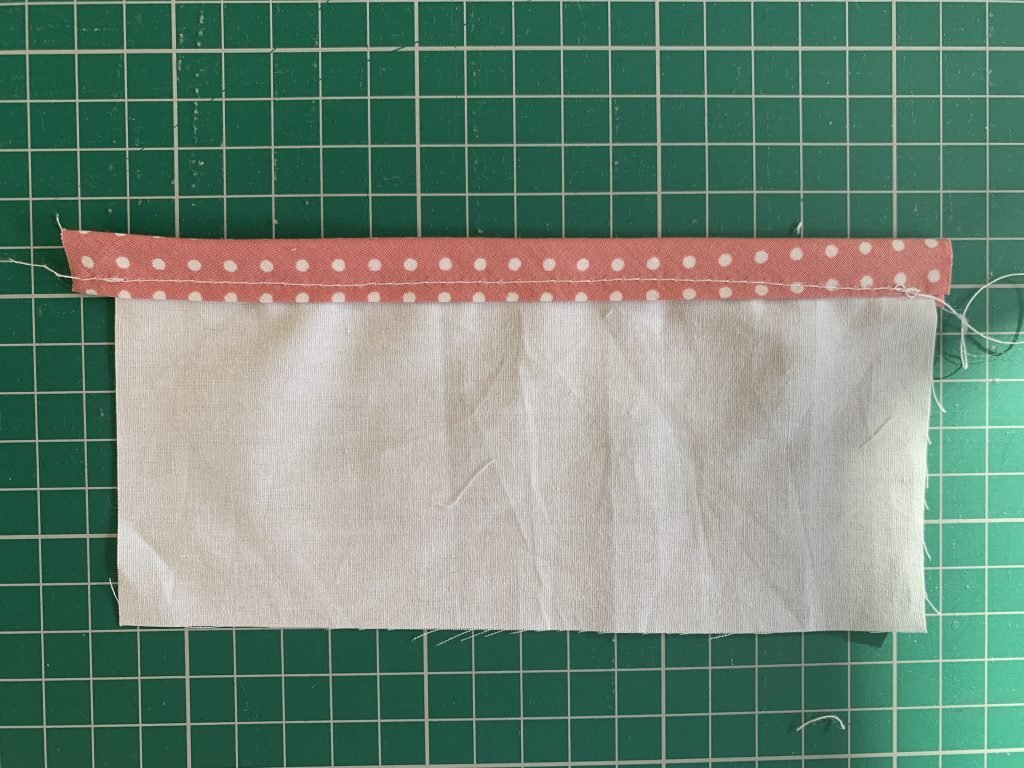
Be sure you are catching the other side at the same time as this can sometimes move and slide and not be caught in the stitch line.
Quilters Binding Method
For this method you will need the following tools;
- Scissors
- Thread
- Pins or sewing clips
- Iron
- Sewing Needle
This method shows a little bit of a different way in which you can sew on bias binding. First you want to make your own bias tape – don’t make the folds inwards as this method requires a different type of fold on your bias tape.
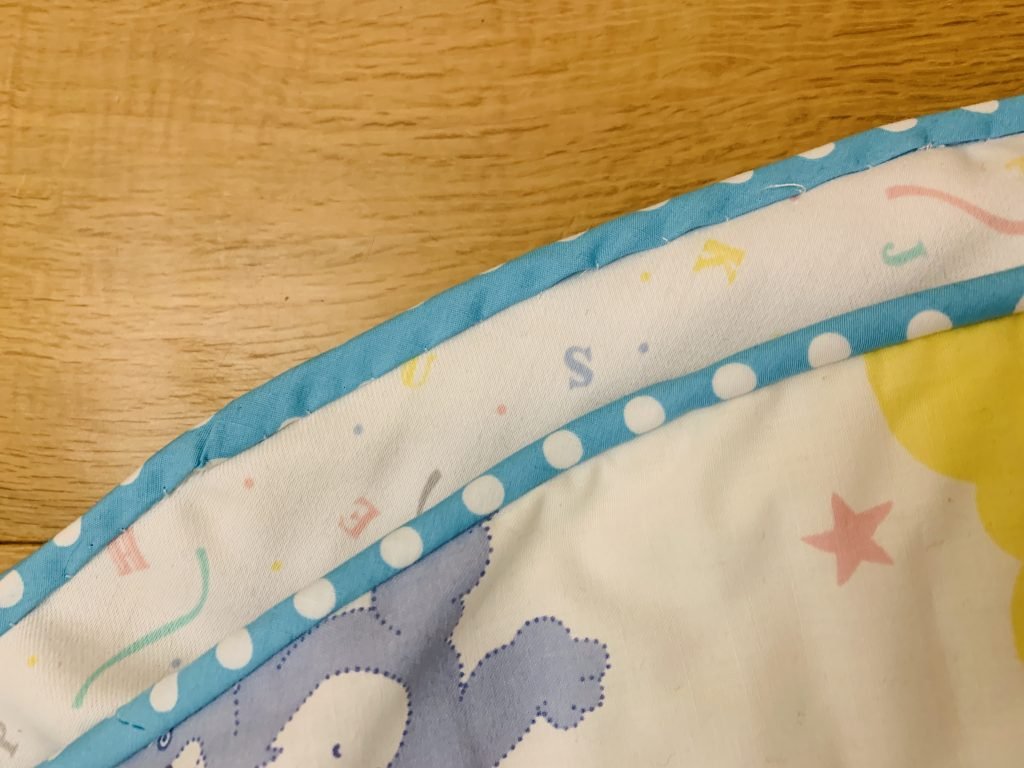
This method is popular for quilters to bind the edge of their quilt and is often used. It was only a method I picked up and tried when I started wanting to create quilts and patchwork as a hobby for friends and family.
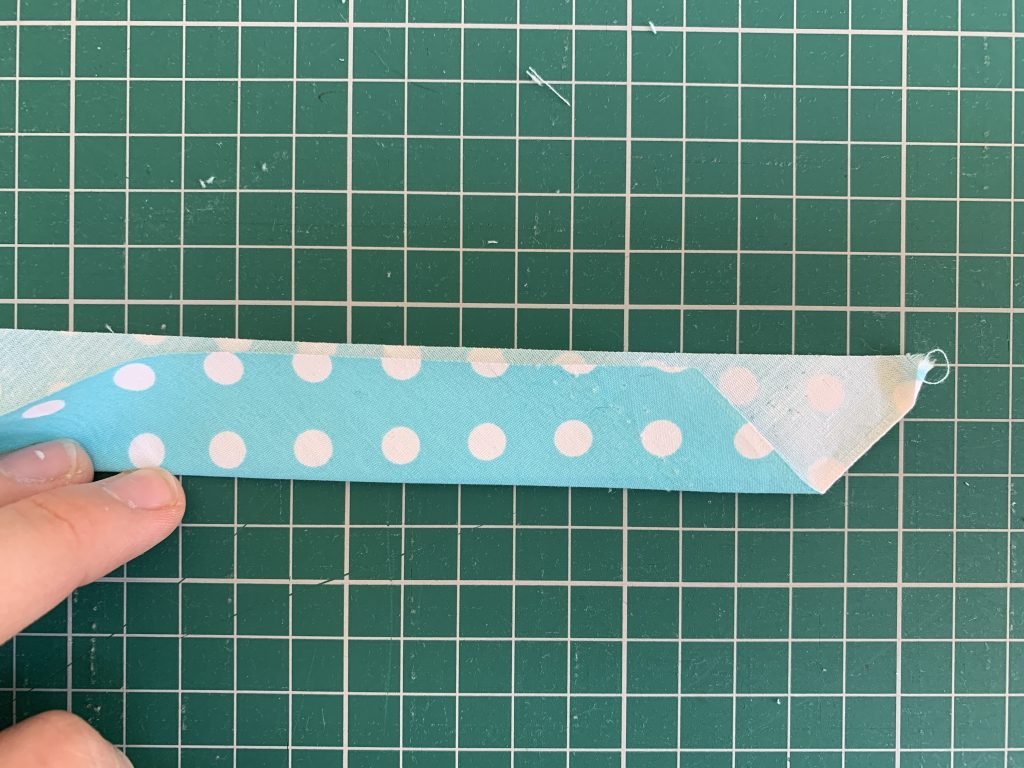
Start by taking your bias tape to the ironing board and fold in half and press. Make sure your binding is wide enough to go over your project seam when folded in half with a 1/4 inch seam on one side.
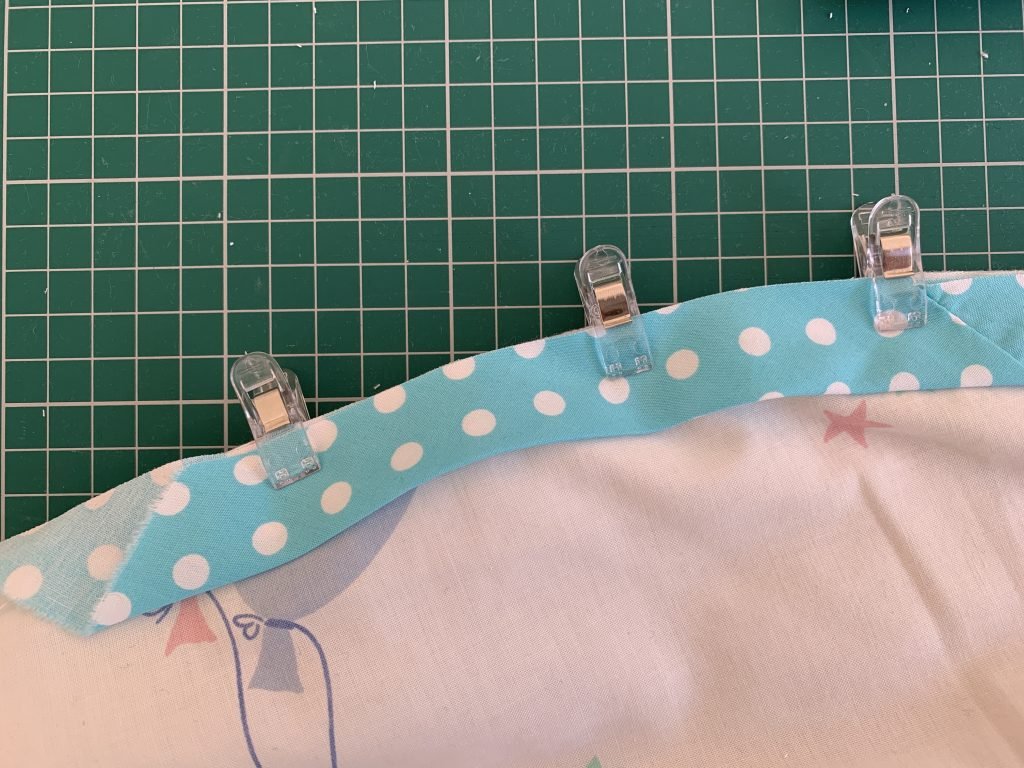
Pin in place around the edge – take into account your corners as they are harder to work with – I will cover that a little later in another post.
Sew with a 1/4 inch seam allowance making sure you catch all layers including both raw edges of the bias tape in the seam.
Once sewn in place pull over the binding to the other side and press the seam. Pin the binding in place on the other side to just line up to the previous stitch line.
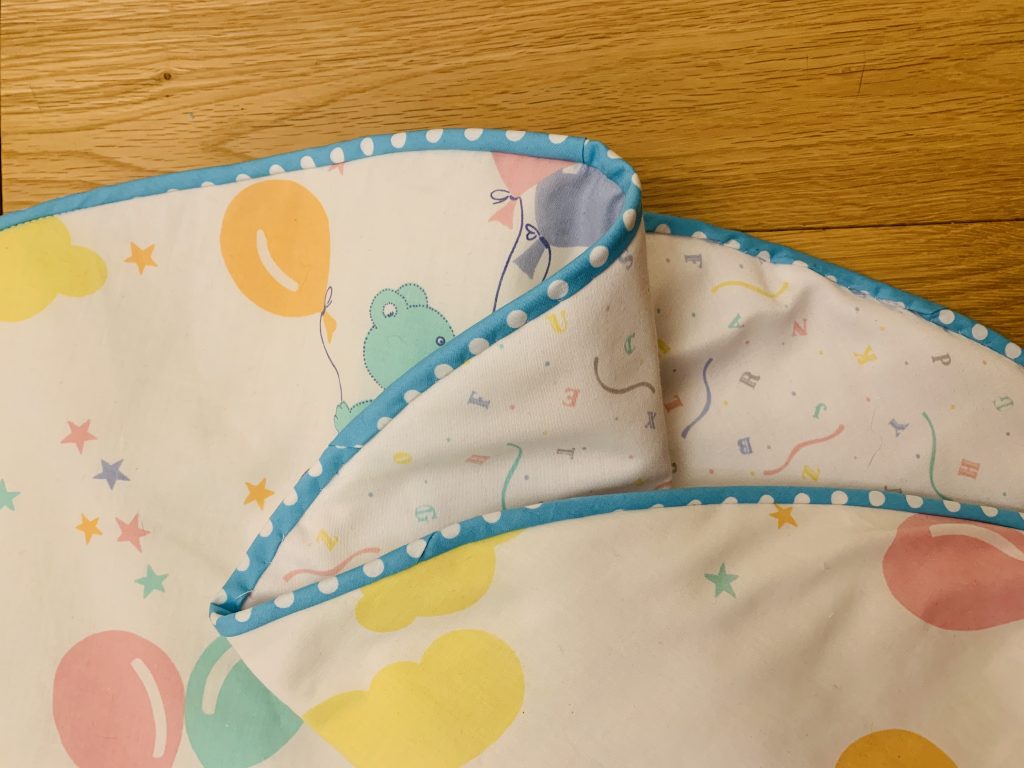
Hand sew down in place using a blind stitch/ slip stitch using clear or matching thread.
Concealed Binding Method
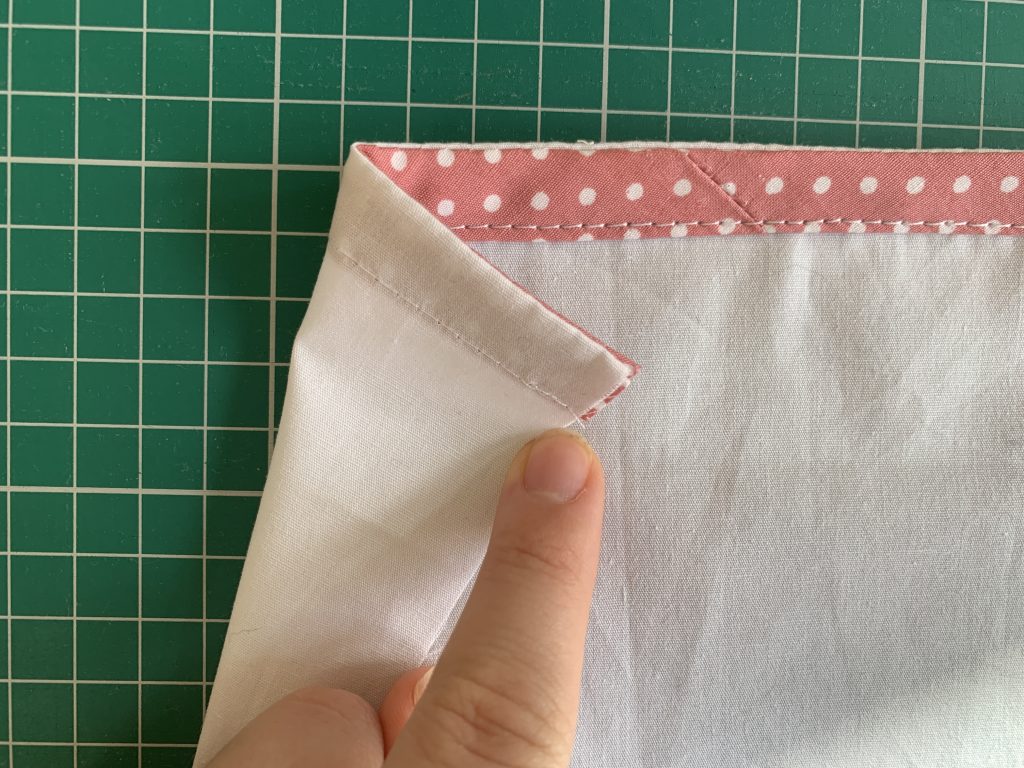
A concealed binding is a binding which is cut on the bias and sewn onto a facing (usually a garment) and folded back to conceal the raw edge.
The binding is completely brought to the wrong side to leave a clean edge and facing on the front.
I chose to use a contrasting fabric which is visible form the right side but that was purely for demonstration purposes. You would use a matching colour.
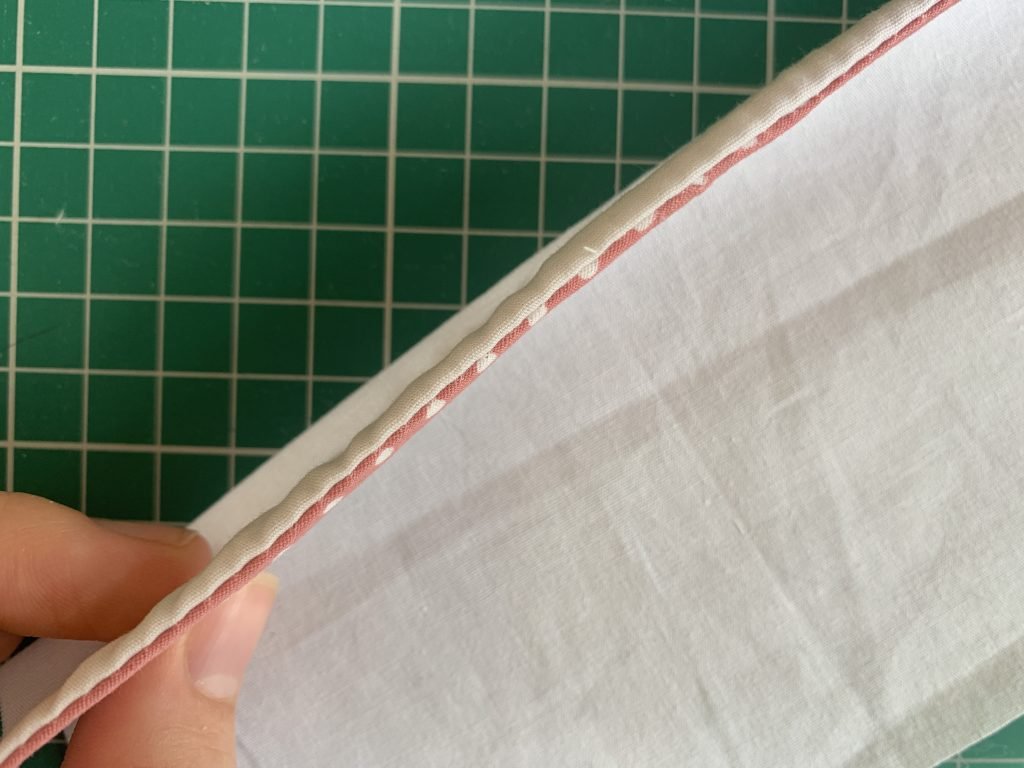
This works well for things such as garment which don’t want the underlayer showing or use the concealed binding as a mini interfacing layer.
To create this type of binding you want to male sure you have a thin binding or follow your pattern instructions.
For this method you will need to following tools;
- Scissors
- Thread
- Iron
- Pins or sewing clips
To create the binding look you first want to attach your binding to the facing. It could be anything from a button front facing, armhole or neckline.
Open the binding up so that the folds are open and the bias binding is at full width. Place the right side of the binding to the right side of the fabric, lining up the raw edges.
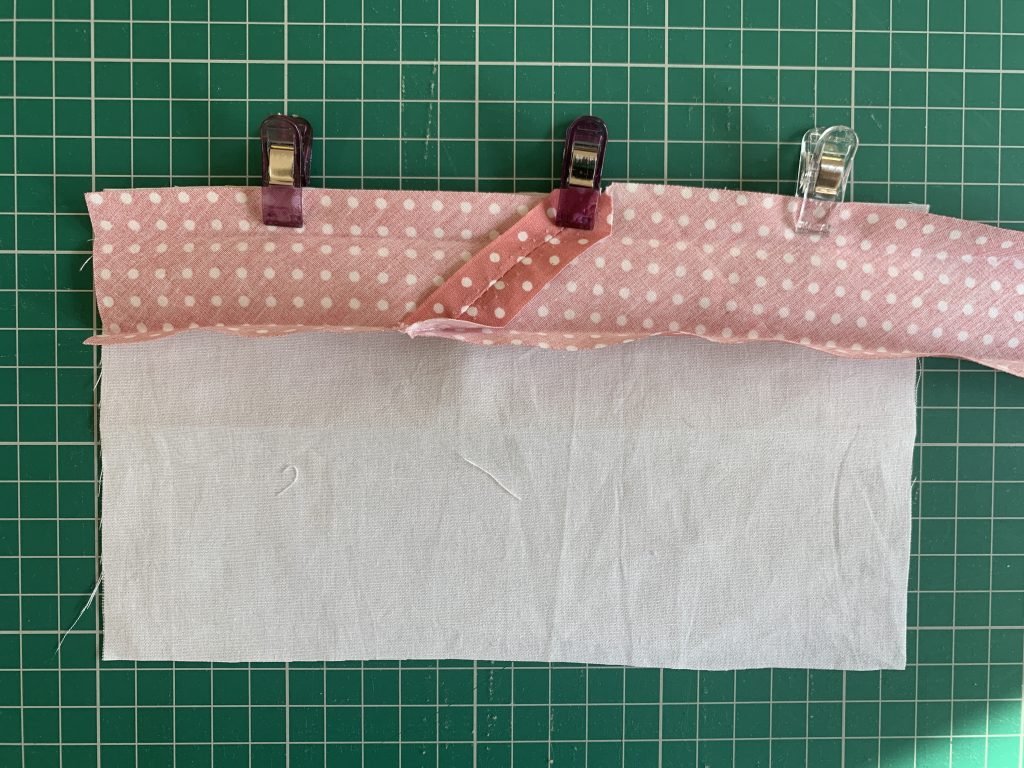
Pin in place following the shape. Sew in place with the recommended seam allowance from your pattern or tutorial. Remember to remove pins as you go.
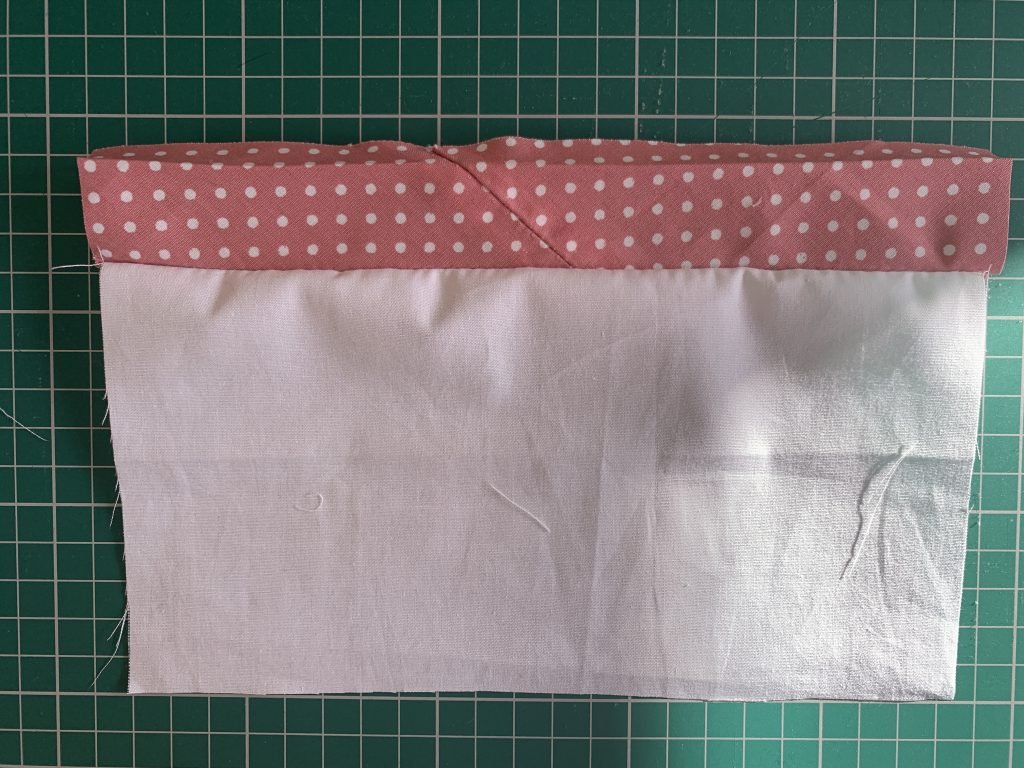
Pull the binding over to the wrong side and fold back under itself. Press the seam with the iron to make a crisp and clean edge. Fold under the binding again to conceal the raw edge.
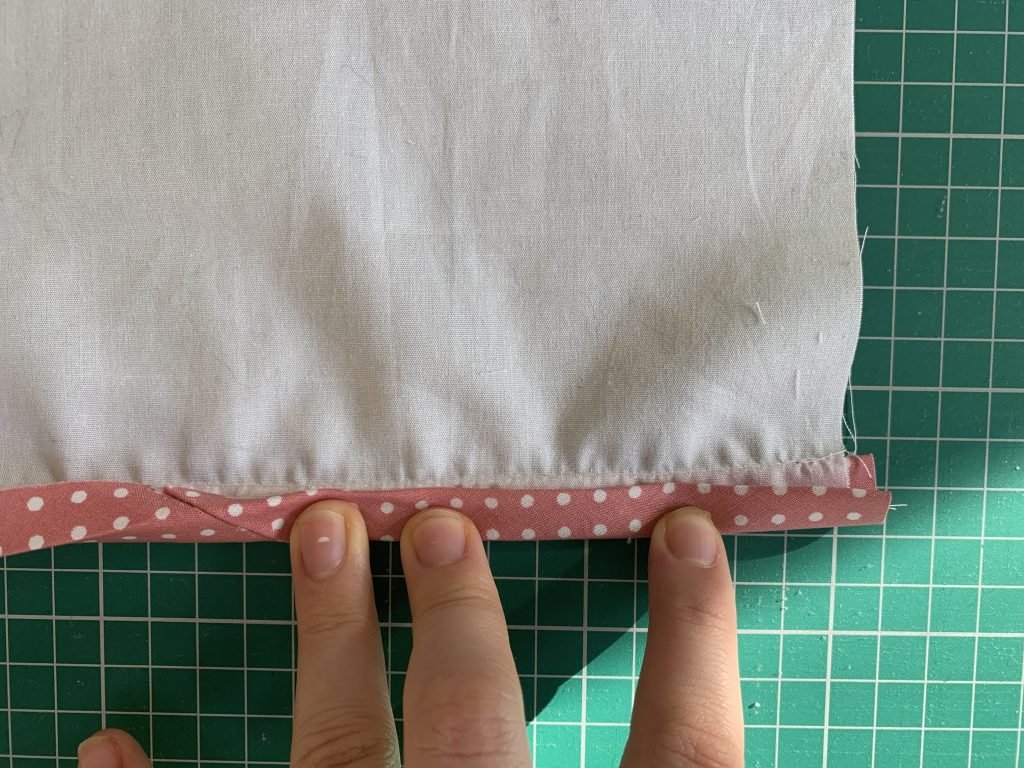
Pin in place ready to topstitch in place.
Before you do you have to think about how far in you want your topstitching line to be. Do you want it 1 inch in from the edge or closer to the edge.
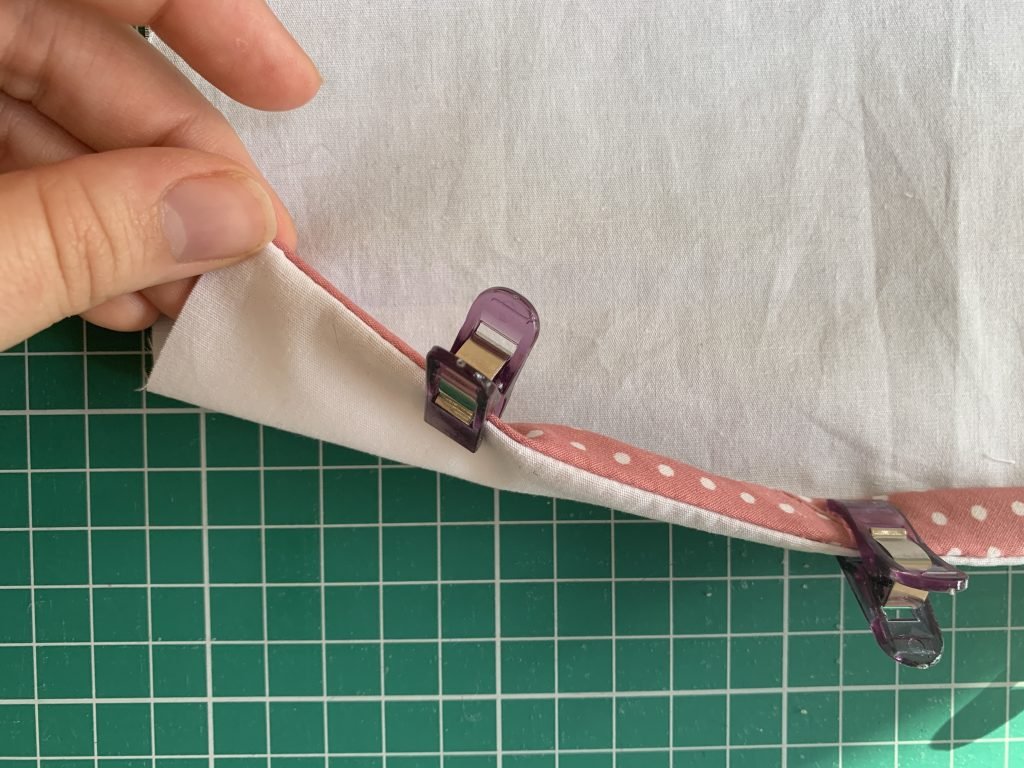
If you want it to be closer to the edge you might need to trim down your bias tape before pinning and sewing.
Topstitch in place using a straight stitch to hold the binding in place. This way you have a clean edge, concealed seams and raw edges and helps stop the armhole or neckline from stretching out of place.
I hope you have found these three methods of how to sew on bias binding helpful and give you something to use a guide in the future. If you have any other ways of sewing on bias binding I would love to know more to try the method myself.
