Ironing Fabric When Sewing — What You Need To Know
Some of the links below are affiliate links. As an Amazon Associate I earn from qualifying purchases. This means that, at zero cost to you, I will earn an affiliate commission if you click through the link and finalize a purchase.
Ironing and pressing fabric during the sewing process is a step that most novices skip, but it’s one of the essential things that can make a finished product look professional.
When ironing, use a slow back-and-forth motion. When pressing, rest the iron on top of a wrinkle for a few seconds before removing it. Do this with a heat setting that’s safe for your fabric. Don’t iron or press over pins, and if your fabric is prone to shrinkage, wash it beforehand.
In this article, I’ll explore when you should iron or press your fabric and how it’s done properly. Read on to learn more!
Should I Iron My Fabric Before Sewing?
You should iron your fabric before sewing, especially if it has prominent wrinkles or creases. Before ironing, ensure that the cloth is made of fibres that won’t melt or be ruined in the ironing process. Given the material will tolerate it, ironing your fabric before sewing is a great idea.
Any wrinkles or creases in the fabric can make your cutting and sewing inaccurate. You may end up with wonky-shaped cuts or imprecise stitching, so don’t hesitate to iron your material if it can withstand the heat!
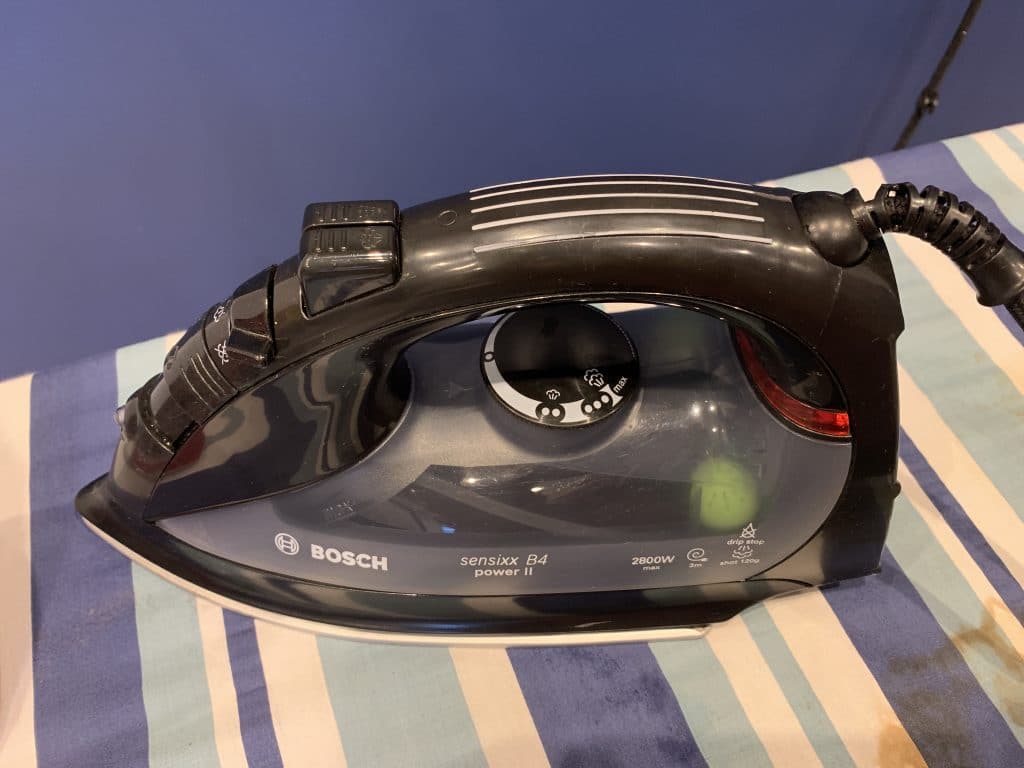
Natural fibres can withstand a high temperature, while synthetic fabrics or textured cloth require lower heat or just steam.
If it is your first time working with fabric then it is always a good idea to read up on the fabric care instructions.
Here are some different fabrics and how you can iron them without damaging your material:
- Iron your wrinkles out using high heat for cotton, linen, and wool fabrics.
- Polyester can handle medium-low heat, but it must remain slightly damp.
- Nylon, acrylic, lace, and silk can be ironed on low heat.
- Do not iron velvet or suede, as this will crush the fibres.
Should I Iron My Fabric After It Has Been Washed?
You should iron your fabric after it has been washed. Most fabrics shrink after being washed, so you must wash these fabrics before working with them. Your fabric might become misshapen during the washing machine. In this case, it’s essential to iron or press it properly to line up the weave.
If you don’t iron your fabric after it’s washed, the hemlines and the fit of the finished garment will be crooked, and the sewing process will be far more difficult than it’d have been otherwise!

It is recommended to prewash fabric in most cases due to excess dyes and chemicals along with combating shrinkage in the first step before making anything from the fabric. It is very important step when you are making clothes, costumes or quilts.
Only don’t iron your fabric, if you don’t intend to iron it at all and it is part of the overall look for the final garment.
Here are some examples of fabrics that shrink after washing:
- Cotton
- Wool
- Silk
- Linen
It’s a good idea to first wash and iron these fabrics before working with them.
However, washing can ruin the factory finish of your new fabric, making it softer and a little bit challenging to work with.
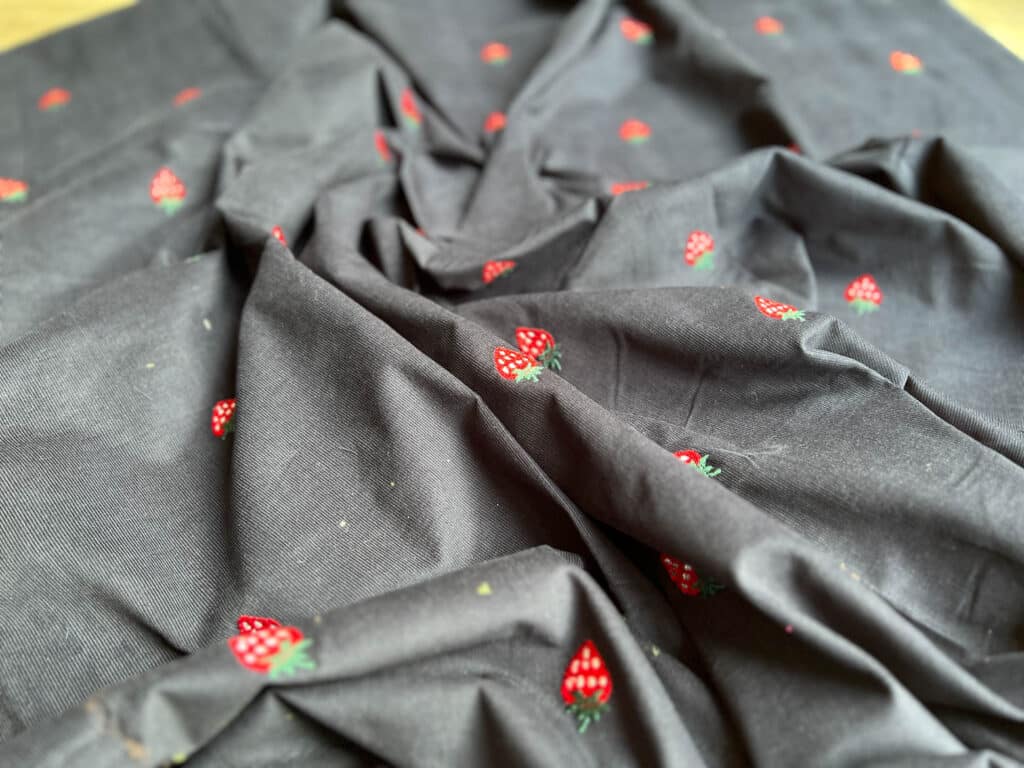
Polyester, nylon, and acrylic won’t shrink in the wash, so you can begin your project with these fabrics worry-free. Though some fabrics may have excess dyes that may need to be washed out to ensure the dye doesn’t transfer during the making/wearing later on.
There may be some fabrics that require dry cleaners, in this case you can iron these fabrics as guided and following the correct care label instructions.
Can I Iron Over Pins?
You can’t safely iron over pins, regardless of the type of pin. Ballpoint or plastic-headed pins can melt under a hot iron, but glass-head pins or thin silk pins can add new creases to your fabric when ironed over.
Even so, you probably will find yourself in the midst of a project where you have to iron with pins. To do this safely, you should iron around the pins instead of directly on top to minimize the risk of damaging your fabric with melted plastic or warping.
In addition to this, you should avoid ironing over buttons, zippers, clips, clasps, or any other item that might melt or crease your fabric in an undesired way.
Why Is Pressing Important During Sewing?
Pressing your cloth is important during sewing because it allows you to align the fabric threads after an ordeal like washing. As mentioned previously, washing can severely deform your perfect rectangle. Pressing helps to remedy the deformity.
If you cut or sew your fabric when it’s misshapen, your final product won’t fit you. Still, it’s almost worse if you don’t press during sewing!

If your fabric is patterned or striped, you’ll waste a considerable amount of time lining up the details properly. This’ll throw off the whole look you’re trying to achieve, so it’s worth going back and forth between the machine and the board, even if it feels like a hassle!
Pressing seams flat during the sewing process will help you achieve a more professional-looking garment. Darts, seams, pleats—all of these must be pressed in between steps because the pins need some help to hold everything together.
Skipping this step makes those seams, pleats, and darts look bulgy instead of sleek, so don’t forget to do it.
The Best Way To Press Sewing Projects
When pressing your sewing projects, there are several ways to make the process work for you.
1. Press the seams flat, then the wrong side, then the right side: Like pressing over pins, stitches can also leave warping in your fabric. To avoid any creasing in your seams, Tilly recommends that you press all sides of your seam. Most people stop pressing the seams flat, but when you press on the wrong side and right side as well, you reduce the risk of impressions.
2. Utilize cardstock to prevent seam impressions: By slipping a piece of cardstock in between the flat seam and the body of your garment, you can avoid those aggravating seam impressions. Sturdy paper or thin cardboard works as well, but be sure that it has no printing on it—you don’t want to steam the nutrition label of a cereal box onto your project!
3. Use shaping tools: Shaping tools are a great way to add some extra body to your project. The HemlineTailor’s Ham is a great option for sewing enthusiasts, and you can also opt to purchase a magnetic seam guide with it. Alternatively, you could always go for a rolled-up bath towel!
4. Use a pressing cloth: Pressing cloths are very popular for not allowing any residue from the iron to transfer to the fabric. Also when using more delicate fabrics or embellished fabrics this can help create a gentle barrier to allow the fabric to be ironed without damaging the embellishment.
What’s the Difference Between Pressing and Ironing?
Ironing and pressing are two techniques that people often mistake for each other or lump into the same basket. The fact is, they’re very different!

The difference between pressing and ironing lies in the motion used to apply heat. While ironing, you use a slow back-and-forth motion to smooth wrinkles. While pressing, you simply lay the hot iron over a place for a few seconds and then pick it up without any of that back-and-forth motion.
If you iron a fabric or garment that should be pressed, you might create new creases and wrinkles, so it’s important to use the correct technique. It’s also essential that you use a reliable iron.
Choosing the Right Iron for Sewing
There are different kinds of irons out there. Since steam ironing doesn’t work on all fabrics, it’s best to get one with various setting options.
If you work with many steam-safe fabrics, consider purchasing a steam iron specifically. Select one that will give you accurate control over your settings for the best results, but make sure you don’t use hard water. If you need to use it as a dry iron, empty the water tank.
On the other hand, if you constantly work with fabrics that don’t require steaming, consider purchasing an iron that doesn’t have the steam function. If you don’t need it, why bother? Still, if you do happen to need it occasionally, using a spray bottle with some water inside is a quick fix.
Should I Iron My Fabric Before Quilting?
You should iron your fabric before quilting. If your material has been on the shelf for a while, you’re bound to have creases or wrinkles. Pressing them out will make your fabric easier to work with.
Use caution when steaming, however. Some steaming is fine, but you must let it dry completely before picking it up from the ironing board. If you fail to let it dry, you run the risk of disturbing the weave. Your fabric might also bleed, which is another reason to be careful about steam.
After pressing your fabric, consider using a starch spray to help the material maintain a factory-like stiffness. There are many different spray starch options on the market.
To use, simply lay your fabric on a flat surface to dry and give it a light misting of the clear starch.
Should I Iron With or Without Steam?
Whether or not you should iron with steam depends on the kind of fabric you have. Most brands have detailed care instructions for each type of fabric they sell, so check with the seller for the most accurate information.
Some delicate fabrics may alter or change under steam and may only require heat to press them into place. Whereas some knit fabrics like wool prefer steam as it helps bring the fibres together and bond.
Here are the dos and don’ts regarding fabric type:
| Don’t Steam | Do Steam |
| Polyester | Cotton |
| Nylon | Linen |
| Acrylic | Wool |
| Lace | Velvet |
| Silk | Suede |

