
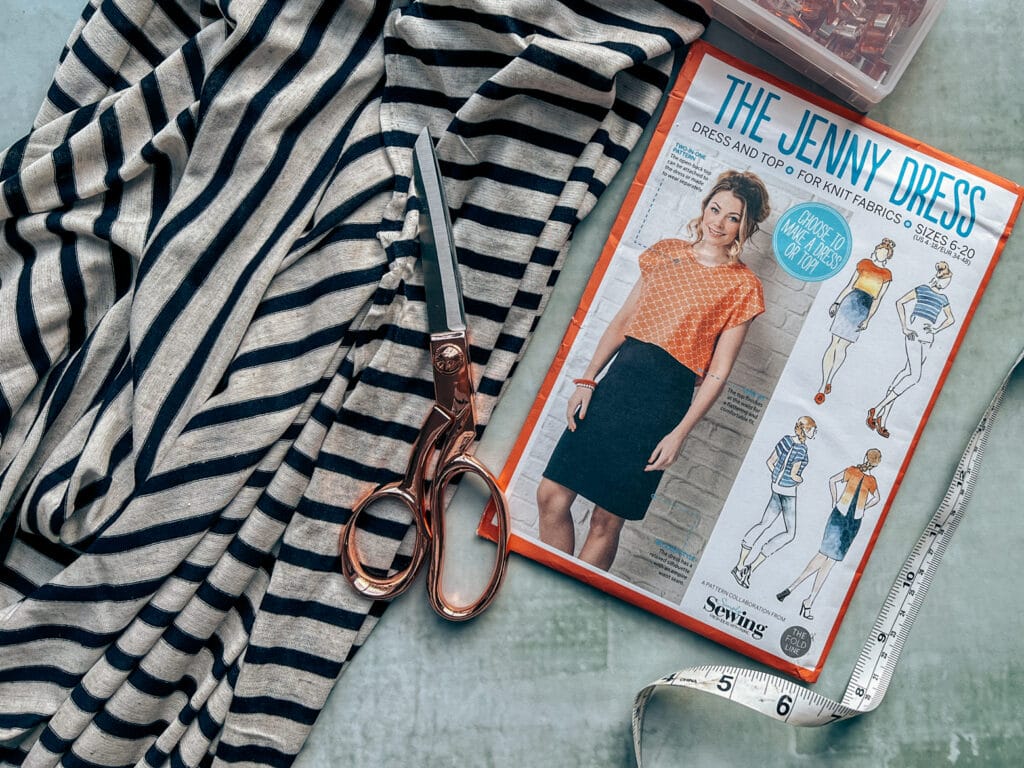
Is Sewing Pattern Sizing The Same As Ready To Wear Sizes?
Some of the links below are affiliate links. As an Amazon Associate I earn from qualifying purchases. This means that, at zero cost to you, I will earn an affiliate commission if you click through the link and finalize a purchase.
When getting your first sewing pattern or ready-to-wear clothes, the sizes might have you confused. If you’re not sure what to look out for, you could even end up with terribly ill-fitting garments. Your body size isn’t changing, so should your size not be the same for both clothing types?
Sewing pattern sizes are different from clothing sizes, as the sizes for ready-to-wear clothes are smaller than the corresponding ones for sewing patterns. The only way to correctly determine sewing pattern size is by taking body measurements.
If you’re confused about the different sizes, stick around. This article will explain why sewing pattern sizes and clothing sizes are different, how to figure out the correct pattern size, and how to add the proper ease to these patterns while sewing them.
Why Pattern Sizes and Clothing Sizes Are Different
When ready-to-wear clothes began to gain popularity, there was a need to create a standardized sizing system. A handful of people were used as a sample size for different body types, and the average of their measurements was used to create a best-fit standard sizing system.
Sewing patterns have become so different from ready-to-wear sizes because as the fat activism sub-culture became popular in the early 2000s, so did vanity pricing.
Vanity pricing is a system where ready-to-wear producers mark clothes in a smaller size than on the standard system. The major pattern companies, on the other hand, stuck to the initial standard size ranges.
This pricing system added inches to each size to exploit the psychological effects of the fat activism subculture and believe it or not, the strategy sold clothes.
It became pretty popular with ready-to-wear brands, and most started to tweak their sizing systems. The old ready-to-wear size 14 became the new size 10 or 12, while the old size 4 jeans became the new size 0, and so on.
That’s why you might even fit into a variety of clothing sizes from different ready-to-wear brands.
While this trend swept through the ready-to-wear industry, sewing pattern companies largely stuck to the original standardized sizing, even though it became less popular.
The sizing charts for patterns in these brands are still very similar to the old sizing systems from hundreds of years ago, so they don’t correlate with the newer, smaller sizing from ready-to-wear clothing brands.
On the other hand, some independent pattern brands adopted one of the newer sizing systems changed by vanity pricing, making things even more confusing.
Just as you might fit into different ready-to-wear clothing sizes depending on the brand, your sewing pattern size can also differ depending on the sizing system your brand uses.
How To Get the Right Size Pattern
Ready-to-wear sizes are different, and even sewing pattern sizes can vary between companies. Do you know what doesn’t change? Body measurements.
Sewing pattern companies include the body measurements they use for their pattern sizing. The best way to figure out your pattern size is to compare your measurements to theirs.

You should measure yourself, compare the measurements to the charts, and choose the corresponding size. You’ll usually get a larger size than your ready-to-wear size but don’t be disheartened.
You should start with the top-priority measurements such as your waist, hips and chest. These are most important because they can be challenging to adjust if they don’t fit properly.
Taking these measurements will give you the best outcome of a garment fitting you in the end, always aim to go bigger than smaller as you can adjust these during the sewing process.
For example, you should put on the bra you’re planning to wear with your finished dress before measuring yourself. Don’t tighten it across your bust, either, as you’ll need to breathe while wearing your finished outfit, do this by measuring your full bust measurement.

If you need to fit for a fitted shirt don’t forget to measure your high bust measurement as this can help with the overall fit over your chest. This is also great for more period costumes and fitted items.
Another thing to remember is when taking your hip measurement you want to make sure you take the measurement of where you want the trousers to sit on your body to get the best fit. This can also apply to the waist measurement.
For most outfits, you should use the measurement from the fullest part of your hips to choose the pattern size for your lower body. If you are looking at making a garment to sit on your waist that will be the most important measurement.
Remember, the tape measurement should fit firmly but shouldn’t be too tight.
Before comparing your recorded measurements with the pattern size chart, check the pattern chart for the finished garment measurements. This will help you figure out if the sewing allowance and darts have been accounted for.

If it hasn’t been included, you can add the allowances to your measurements before choosing your pattern size or grading it.
Another way of finding the correct size sewing pattern for yourself is by creating your own paper pattern as a base to create different garments within your size. This can be achieved by using your own clothes as a base and guide.
How To Add Ease to Your Sewing Pattern
Ease refers to how loosely a dress fits because of the difference between your specific body measurements and the finished garment measurement. Cutting your patterns according to the exact body measurements will make it fit like a second skin, but not in a good way.
You can create this by using a tape measure to add ease to your sewing pattern or by cutting the larger size and altering down during the sewing process.

There are two types of ease to consider before cutting your sewing pattern:
- Wearing ease: This space allows you to wear your dress comfortably while breathing, eating, sitting, or moving around.
- Design ease: This space allows you to alter and style the basic pattern of your garment.
The fabric type is also significant in figuring how much ease you’ll be adding to a dress. Woven, non-stretch fabric needs about 1” (2.54 cm) of wearing ease in most places, but more around the bust and waist. Stretch fabric, on the other hand, requires negative ease to allow the stretch to create a perfect fit.
A generous but reasonable allowance will make your finished outfit comfortable enough for you to remain functional, but an excellent fit for your body type.
How To Blend Different Pattern Sizes
Each body is unique, so it’s pretty unlikely that every part of your body will fit a pattern size perfectly. It’s not a problem with the patterns or with your body.
In fact, that’s the very beauty of sewing, which is the freedom to blend sizes and materials to create a unique, custom-made product that fits perfectly.
To create a custom size, choose the pattern size that matches your measurements best.
If your measurement is midway between two sizes, choosing the larger size is often better. It’s pretty easy to take in the fabric if it turns out too large, but you can’t conveniently add fabric if it’s too small.
While cutting and sewing, you’ll have to compare your measurement to the pattern size again to accurately determine what adjustments you’ll need to make. Mark up the points for the adjustments, and connect the marks to guide your cutting and sewing.
Blending patterns can be a lot of work, but getting to grade the sizes up or down to create a perfect fit is even more awesome.

