Wool Pressing Mats: Everything You Need To Know
Some of the links below are affiliate links. As an Amazon Associate I earn from qualifying purchases. This means that, at zero cost to you, I will earn an affiliate commission if you click through the link and finalize a purchase.
When it comes to sewing, crisp, clean lines are essential for creating a quality piece. Perfect creases are achieved by using a warm iron and various pressing surfaces, and wool pressing mats are one of the most popular choices for this.
Wool pressing mats offer a quick and effective way to press fabric by efficiently absorbing heat and moisture. These mats are an excellent tool for any sewing style but are particularly helpful for quilting.
The rest of this article will tell you everything you need to know about wool pressing mats. I will discuss the purpose and advantages of using a wool pressing mat, how to clean it and what you should put underneath it when it is in use.
What Is A Wool Pressing Mat?
A wool pressing mat is a thick, flat, square, or rectangular wool surface used to press fabric with a warm iron. The wool is very effective for absorbing the heat of the iron, allowing the user to utilize a lower heat setting than a typical pressing board.
They are typically used on a flat surface such as a desk, protected surface or traditional ironing board to create a safe ironing space.
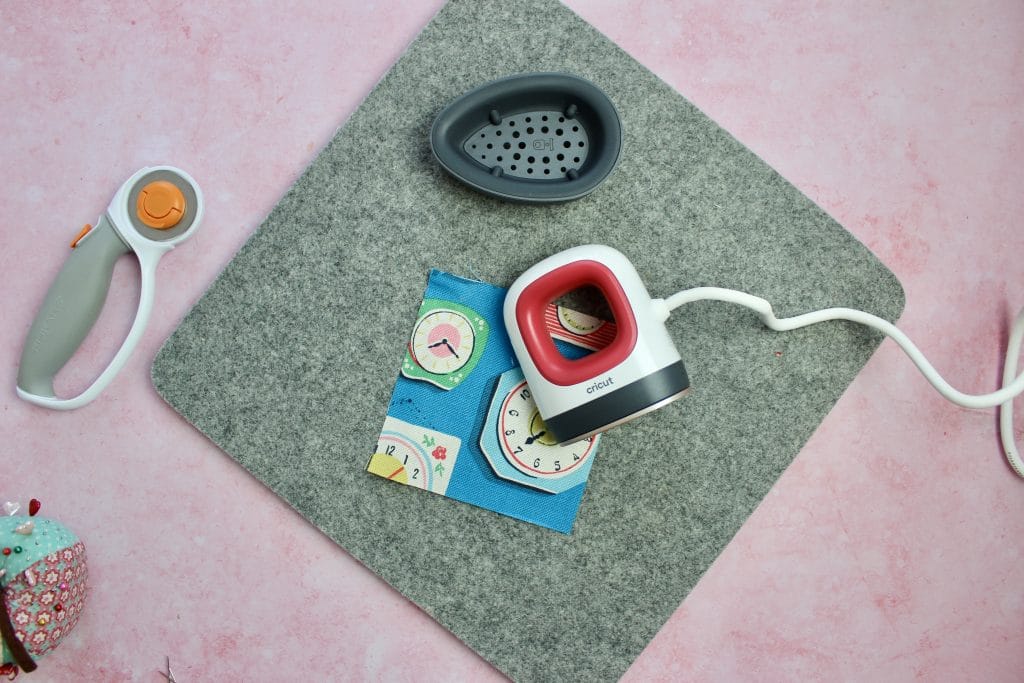
Wool mats are most popular with quilters, embroidery and other small craft projects but are a handy tool for larger projects such as ironing seams of clothes or home projects.
These style mats allow you to use a dry iron – no steam to iron your projects but still getting the full effect steam would give. As it reflects the heat back up to the fabric, essentially pressing with heat from both sides to create crisp seams.
With the added heat from the underneath this can create a quick pressing motion which can take half the time to ironing your seams and press your fabrics, making it quicker and more efficient to work on your projects.
You can also use a wool pressing mat as a table-top ironing board so you don’t have to get up to your full-size ironing board every time you need to press a seam or ironing something in place.
How Wool Mats Reflect and Retent Heat
In nature, animals that grow wool coats do so in order to retain their body heat. Knowing this, it makes sense that a pressing mat made entirely of wool would do an excellent job of retaining the heat.
The premium wool absorbs the heat and “reflects” it back onto the other side of the fabric. Because of this thorough heat retention, both sides of the material are pressed simultaneously, cutting your pressing time in half!
Sizes and Storage
Typically, a wool pressing mat is about ½ inch (1.27 cm) thick and comes in a variety of widths and lengths. The most common sizes available are:
- 9” x 9” (22.9 cm x 22.9 cm)
- 17” x 17” (43.2 cm x 43 cm)
- 17” x 24” (43.2 cm x 61 cm)
These mats are a quilter or sewer’s dream: they are easy to use and conveniently portable. Rather than pulling out a bulky, awkward ironing board, a wool pressing mat is lightweight and can easily be placed on your sewing surface for quick, easy pressing.
The smaller size is great if you are looking for a portable option. If you are attending a sewing class or a quilting retreat, the 9” x 9” is very lightweight and easy to bring along with you.
For more stationary use in your sewing room or office, the large size is a great choice. It gives you plenty of room for whatever project you have your sights set on.
It is vital to ensure your wool pressing mat is always stored flat to avoid any warping. You will want to maintain a flat, level surface for optimum pressing results.
Pressing and Pinning
Because of the texture of the wool mat, you will find that it creates a “non-slip” surface, helping your fabric pieces stay in place. An added benefit is that you can pin your fabric pieces directly to the wool mat without damaging it.
When using your wool pressing mat, you’ll be happy to know that repeatedly pressing back and forth, lifting, and pressing again is no longer necessary.
The wool pressing mat gives a clean, flat press easily and quickly without having to go back over the fabric multiple times. The wool fibers are perfect for holding any type of fabric in place while you work so even if you aren’t ironing this is a handy tool to have in your sewing space.
An Alternative To The Wool Pressing Pad
Wool pressing mats have been around for a very long time but have only begun to increase in popularity over the last couple of years. As this simple tool takes the world of sewing by storm, they have become more readily available and affordable.

Wool mats were not always so easily accessible or affordable. In the past, many quilters used horse saddle pads for wool pressing.
These pads are made entirely of wool and are intended for placement between the horse and saddle for horseback riding. They work exceptionally well and offer a large size for a reasonably inexpensive price.
Because saddle pads are so effective, many sewers still use wool saddle pads instead of a pressing pad today. If you have trouble finding a large enough pressing pad for your intended project or are looking to save a buck or two, you might want to give saddle pads a try!
If you are looking to do a lot of small ironing projects, quilting and patchwork or embroidery projects I would easily say that a wool pressing mat is an essential tool.
What Do You Use A Wool Pressing Mat For?
Wool pressing mats are used for creating sharp, clean creases in fabric for quilting and sewing projects. They can also be used for applying heat transfer vinyl and other appliques or for pressing your own linens and clothes.
Quilting and Sewing Projects
Most popularly used in the quilting world, wool pressing mats are an absolute dream for pressing your quilting blocks. The clean, sharp lines that the wool pressing mat produces will make blocking your next quilting project a piece of cake!
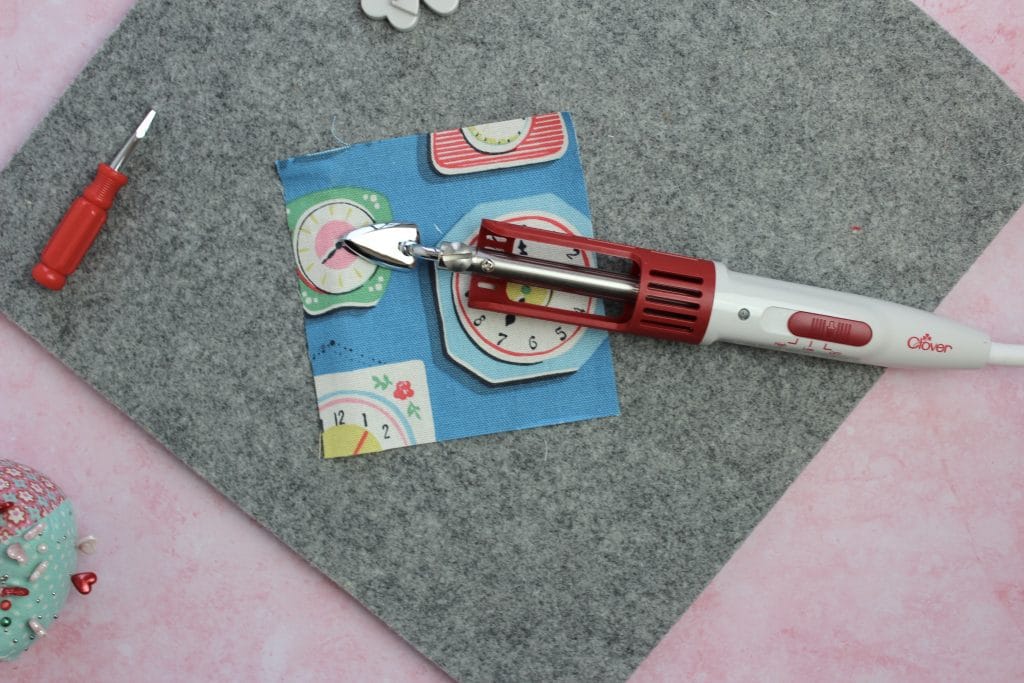
When compared to the quality of press created by your regular ironing board, there is a clear, noticeable difference. The natural wool pressing mat does an obviously better job of producing flat, flatter seams than the traditional ironing board.
These 100% wool mats are handy to have around for any sewing project, whether it be garments, quilts, or something more unique!
You will have more time to dedicate to sewing because of how quickly the wool pressing mat allows you to create a flat seam and press.
Heat Transfer Vinyl and Other Appliques
Wool pressing mats are a fantastic tool for applying heat transfer vinyl (HTV) or any other kind of applique. When working with these types of materials, it is a good idea to purchase some heat resistance sheets to place on top of the mat and protect your iron.
Pressing Linens and Clothing
Short on space? No problem. Your wool pressing mat can be used as an alternative to your typical ironing board! With this practical pressing surface, your shirts and pants will be wrinkle-free in just moments.
It is a great space saving idea for those who are in smaller spaces, needs something that is easier to store or just portable if you are often on the move.
Can You Clean A Wool Pressing Mat?
You can gently clean a wool pressing mat with lukewarm water in the sink or bathtub. Do not machine wash your wool pressing mat. Once clean, you can hang the mat up to dry.
You don’t need to clean your wool pressing mat very often. Typically, you can remove bits of debris like loose threads and fabric pieces or animal hair by using a simple lint roller.
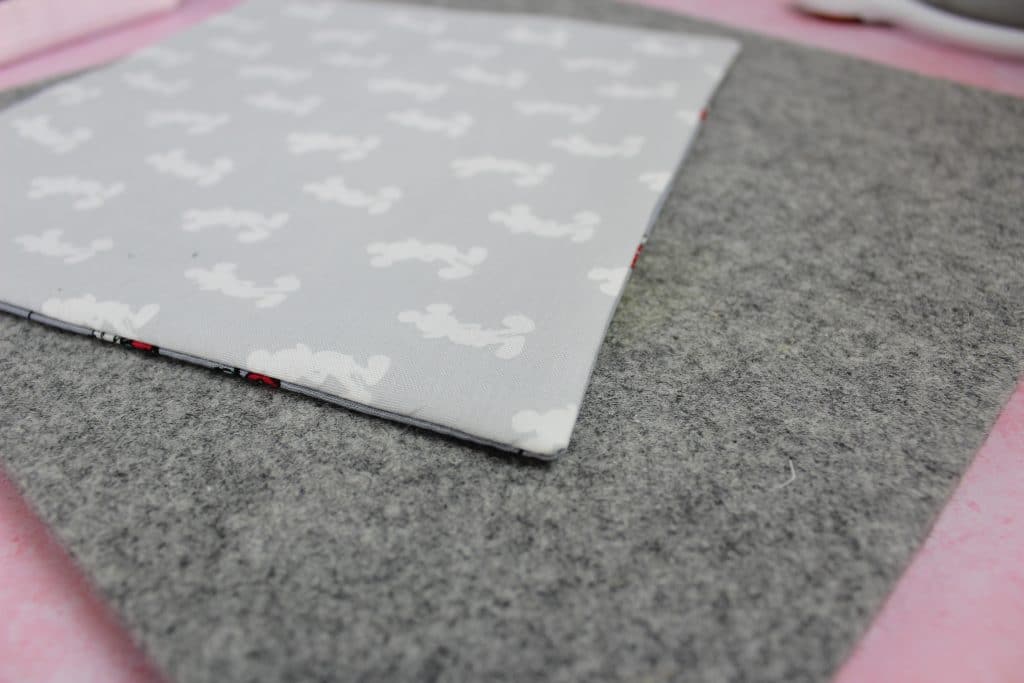
If you find yourself needing to deep clean your wool pressing mat due to spills, stains, or discoloration, then a gentle wash will surely do the trick. You can also use cold water to clean if you are wanting to air on the side of caution.
The most common reason why quilters deep clean their wool mat is to remove scorch marks. However, you can avoid the issue altogether by not using starch. Wool is able to absorb a lot of moisture, which makes starch unnecessary.
Tips for Washing Your Wool Pressing Mat
Here are a few tips for washing your mat well without causing any damage to it:
1. Do not scrub the wool material. It is important that you wash your mat gently in order to maintain the integrity of the surface’s texture. Rough scrubbing in any one area of the mat could cause pieces of the material to come apart, creating an uneven surface.
2. Hang or stand up straight to dry. After washing, you can place the mat in between two towels and gently press to absorb the excess water. Then, you can either hang up the mat with a pants hanger or lean it against a wall or another flat surface to dry. It is essential that you don’t allow the mat to dry in a bent position, as this can cause irreversible warping.
3. Only use water. Unless you have a severe stain or discolouration that requires deep cleaning, water alone is sufficient to rinse your mat. If you must use something stronger for a deeper clean, be sure it is specifically compatible with wool so that you don’t damage your mat.
4. Allow it to dry completely before use. Because these mats are made entirely of wool, they can sometimes give off a strong aroma that is worsened by moisture. This is one of the reasons why using the steam setting on your iron is not recommended when using a wool mat. Be sure to allow your mat to dry completely before use to prevent that smell from affecting your fabric pieces.
5. Don’t use starch. When using your wool pressing mat, you don’t want to spray starch directly onto it. This can cause residue to build up and compromise the integrity of the material. However, you will find that because of the wool’s super ability to absorb moisture, starch is usually unnecessary anyway.
6. Keep your iron clean. One of the easiest ways to keep your pressing mat clean is to clean the iron itself. This is one of those things that often gets neglected, but the proper care of your wool mat, the fabric that you are using, and the life of the iron require that you clean your tools regularly.
7. When storing your wool mat, it’s essential that you don’t place it in a bin with other things on top of it. This will cause it to warp, which will lead to warps in your sewing and quilting projects.
8. As I mentioned before, hanging the wool mat in the closet is an option, but even this could create impressions on it.
What To Put Under A Wool Pressing Mat
Wool pressing mats are simple, lightweight, and easily transportable, making them one of the most conveniently useful sewing notions. They can be used on their own for efficient pressing, but you must place them on top of a proper surface first.
You can place your wool pressing mat on almost any surface, but you must be aware that heat may transfer through the mat onto the surface below—especially if you use steam.
Steam is not recommended for use with a wool pressing mat because it goes right through the pad and can damage the surface below. It also creates unnecessary moisture in the pad, releasing unpleasant smells and transferring the moisture and odor to your fabric.

If you find that you do need to use steam, know that it can be done and will not damage your wool pressing mat, but you will need to make sure you have placed the mat on a water-resistant surface or you’ve placed something to protect it underneath the mat that will.
Here are some ideas for surface-protecting materials that can be placed between your mat and the table:
- Several layers of batting (the same type you would use for quilting).
- A piece of cardboard covered in tin foil.
- A piece of plywood.
- A traditional ironing board.
- A portable ironing mat – Check out some of my top recommended ironing pads here.
- A towel.
What Not To Put Under Your Wool Pressing Mat
One thing you absolutely do not want to place your wool mat on is a cutting mat. Because of the heat and moisture that can be released when pressing, a cutting mat can suffer permanent warping, mangling its intended shape and rendering it useless.
You can use your wool mat on many different surfaces but make sure you are using low heat and you move the mat after using it to let the surface dry, cool down and to make sure it hasn’t stained.
If you want to be able to leave your mat out on a table in your sewing space permanently look at using a mat or protective layer underneath to ensure your main table doesn’t endure damage. This can create safe surfaces to use time and time again.
Wooden tables can be the most sensitive to the heat and moisture caused by ironing, these can re repaired but it is worth keeping in mind if you have a wooden surface.
